
Claims
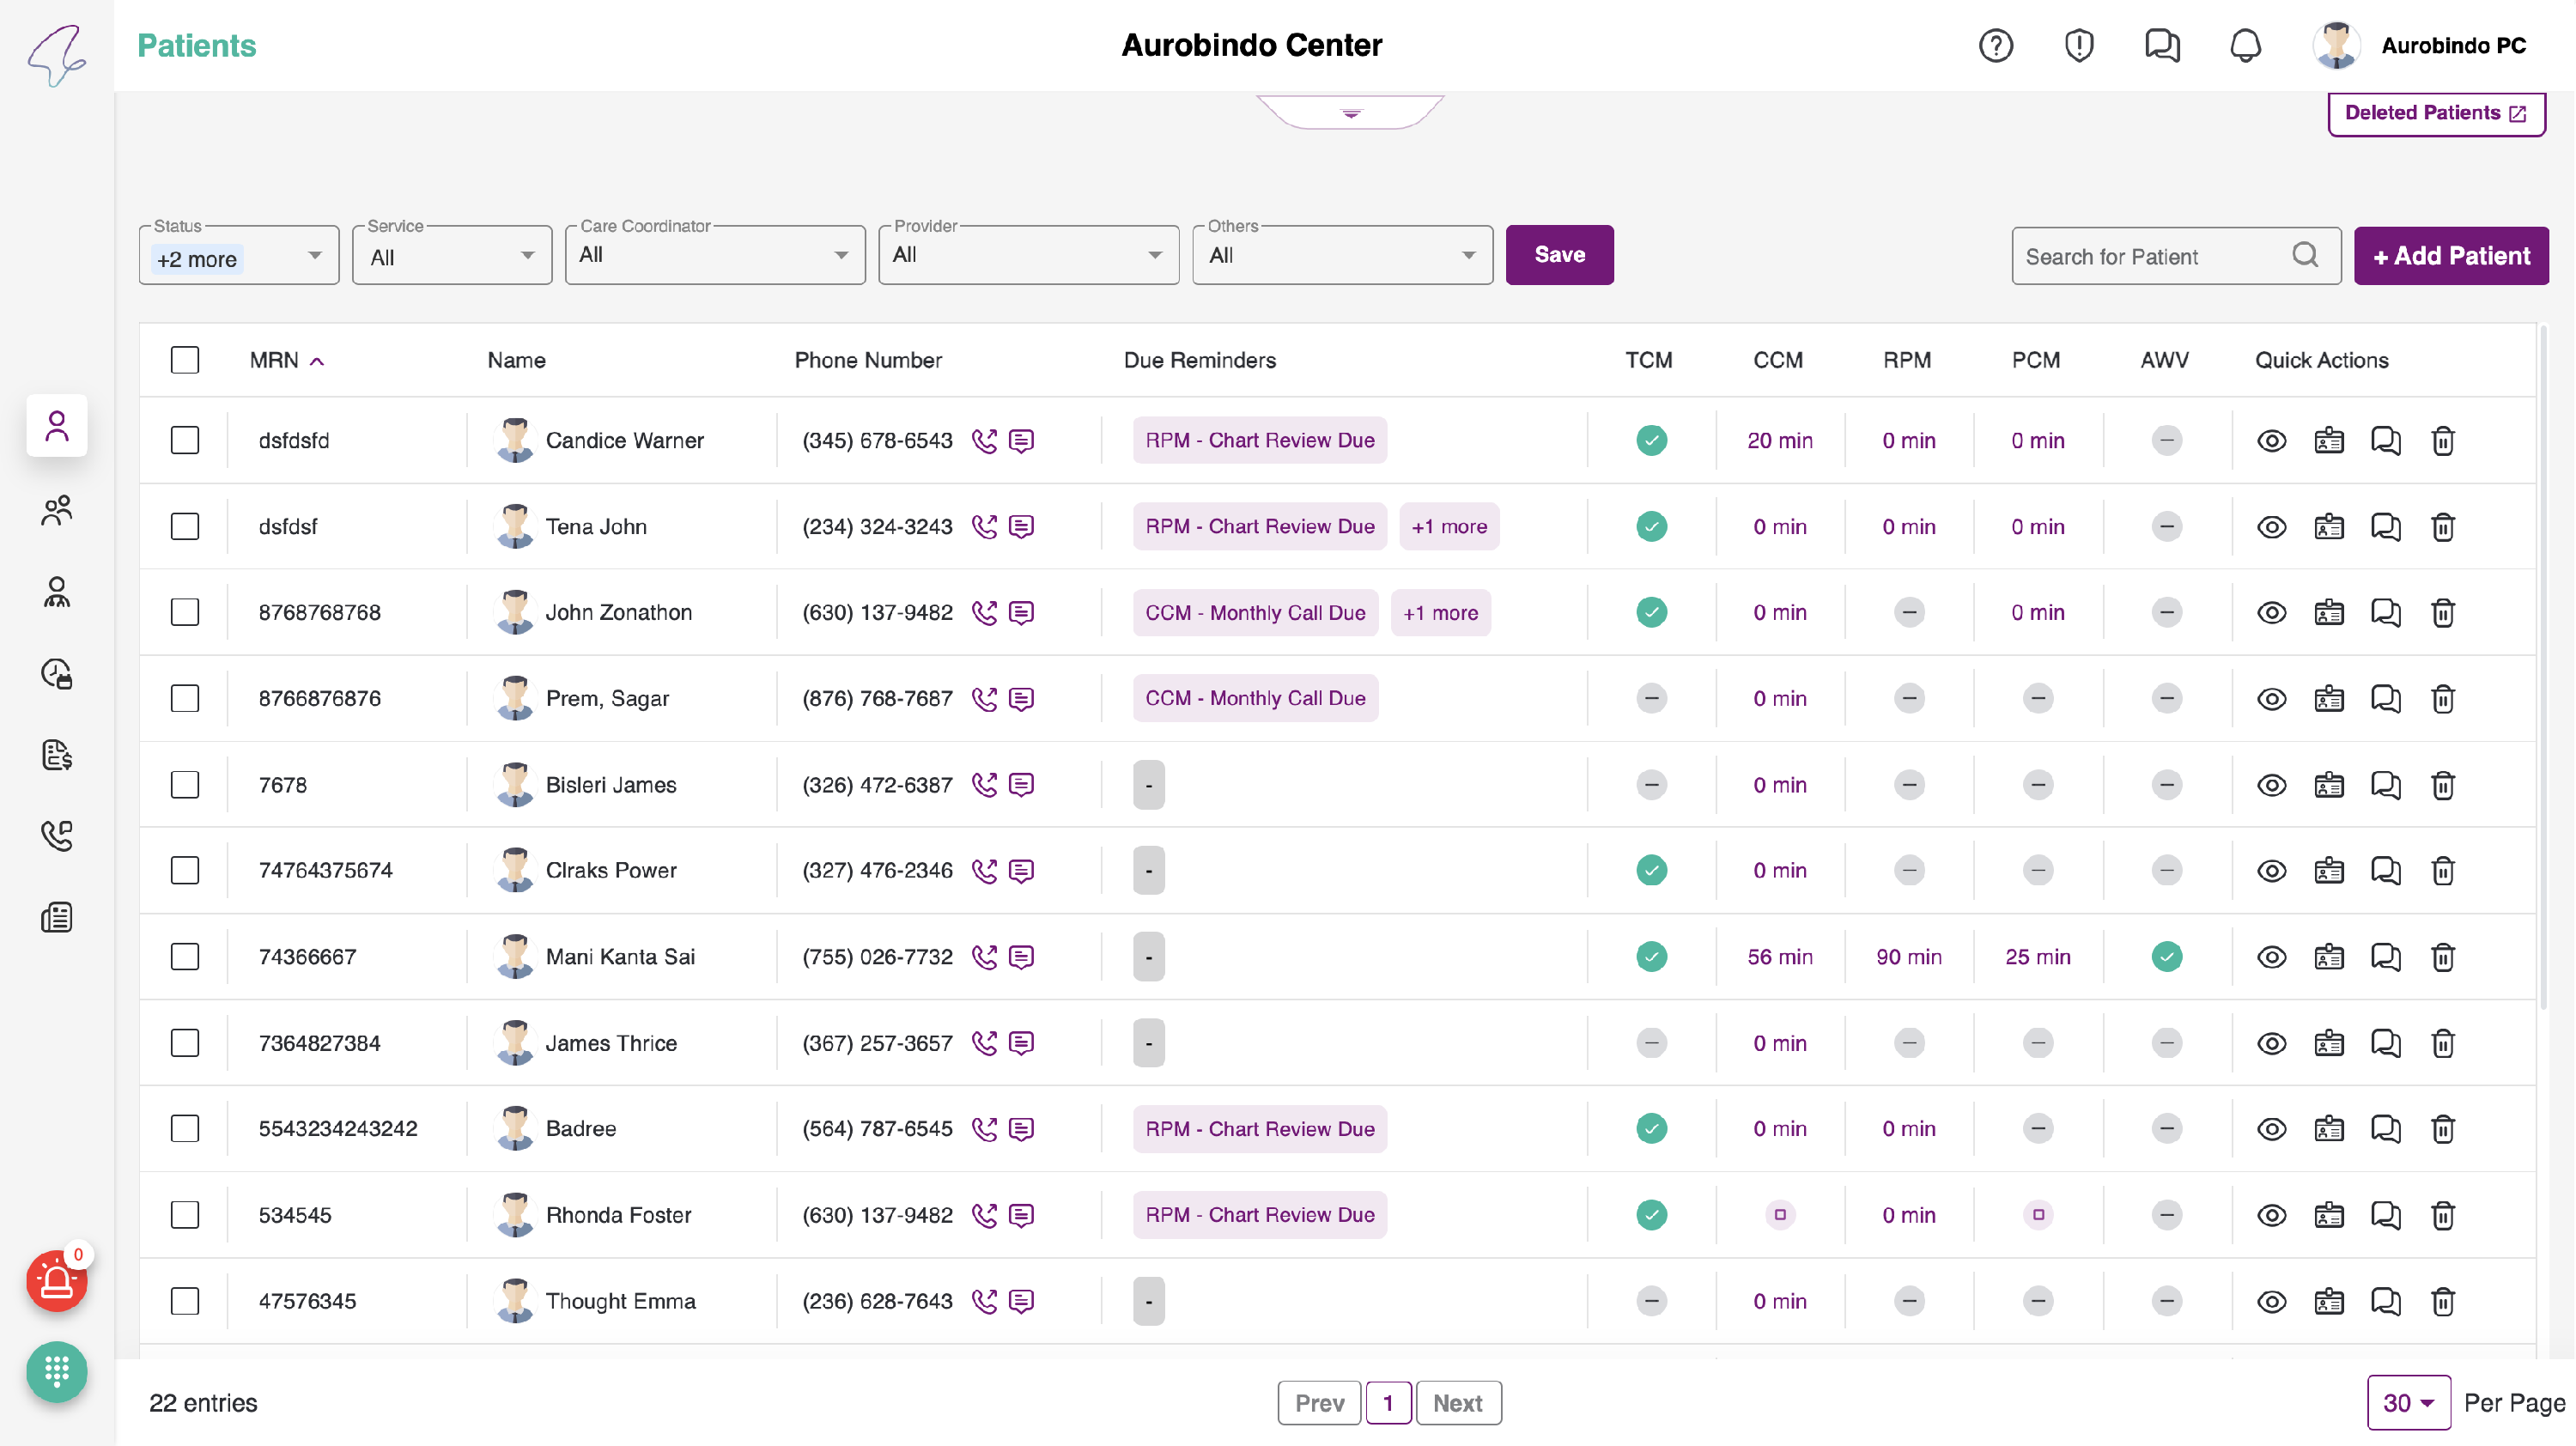
Upon successful authentication, you will be directed to the patient's tab as the landing page as Patient list.
Claims Tab
- Click on the Claims Tab to navigate.
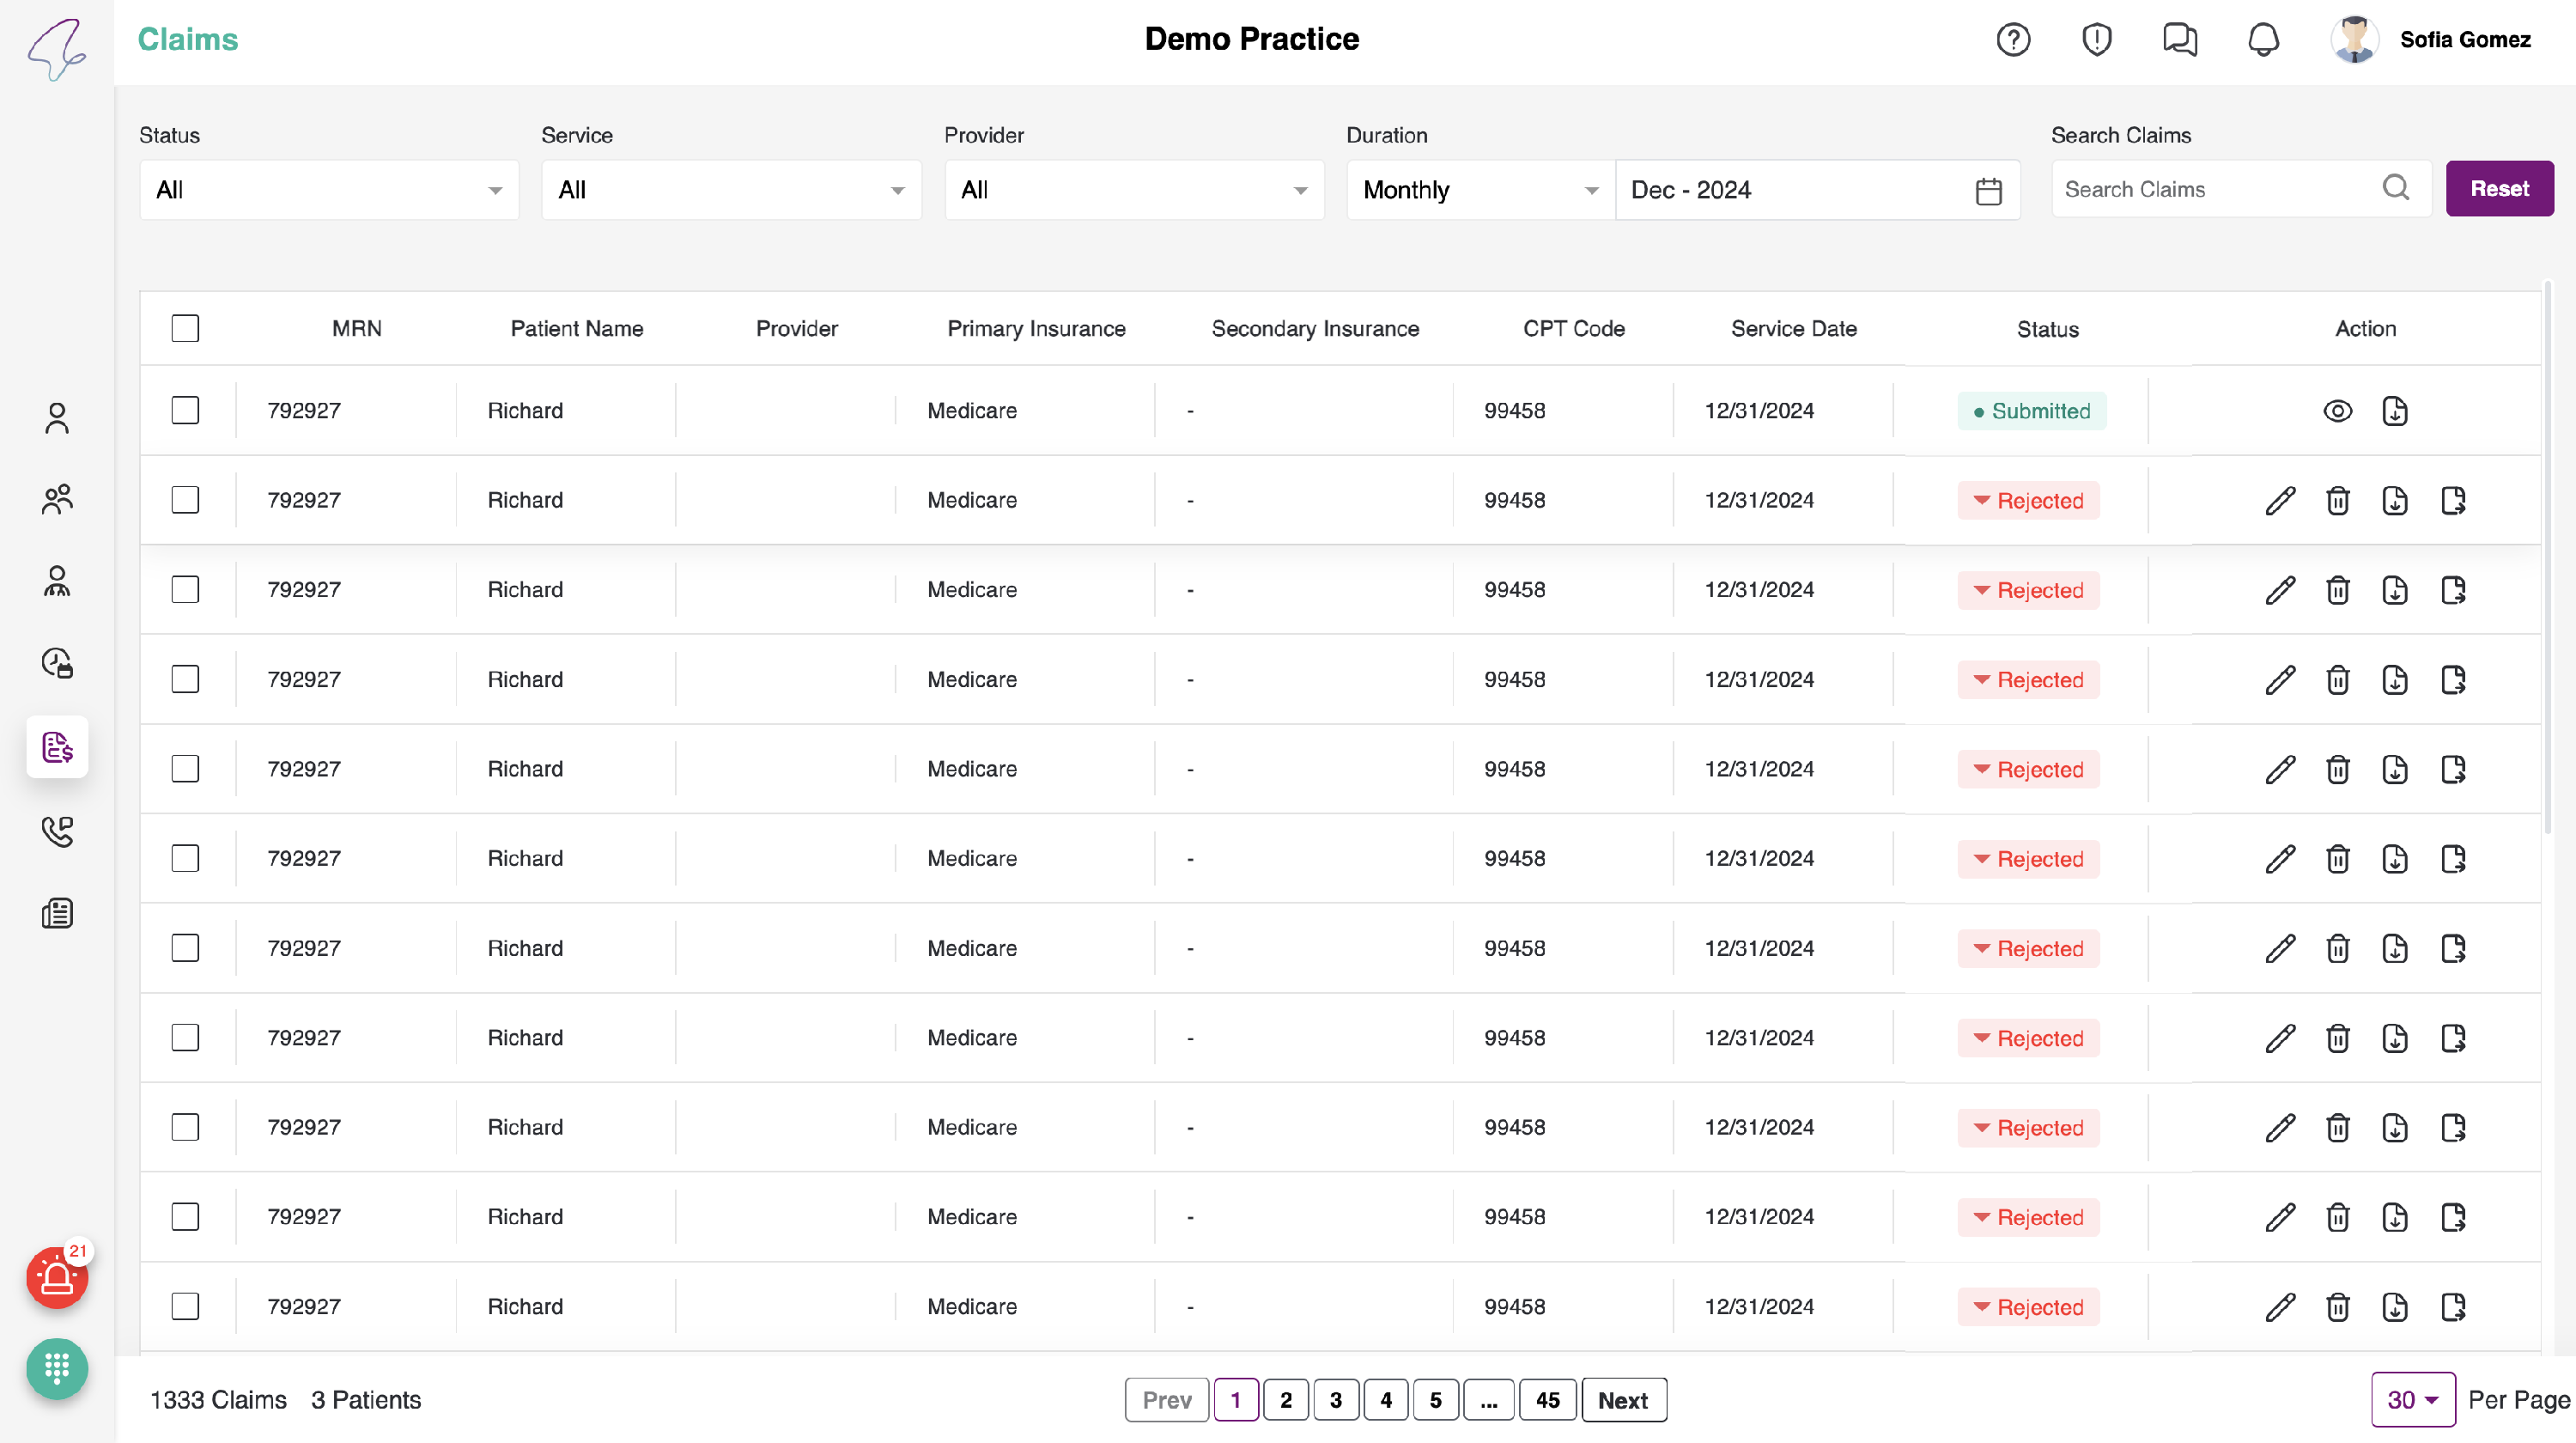
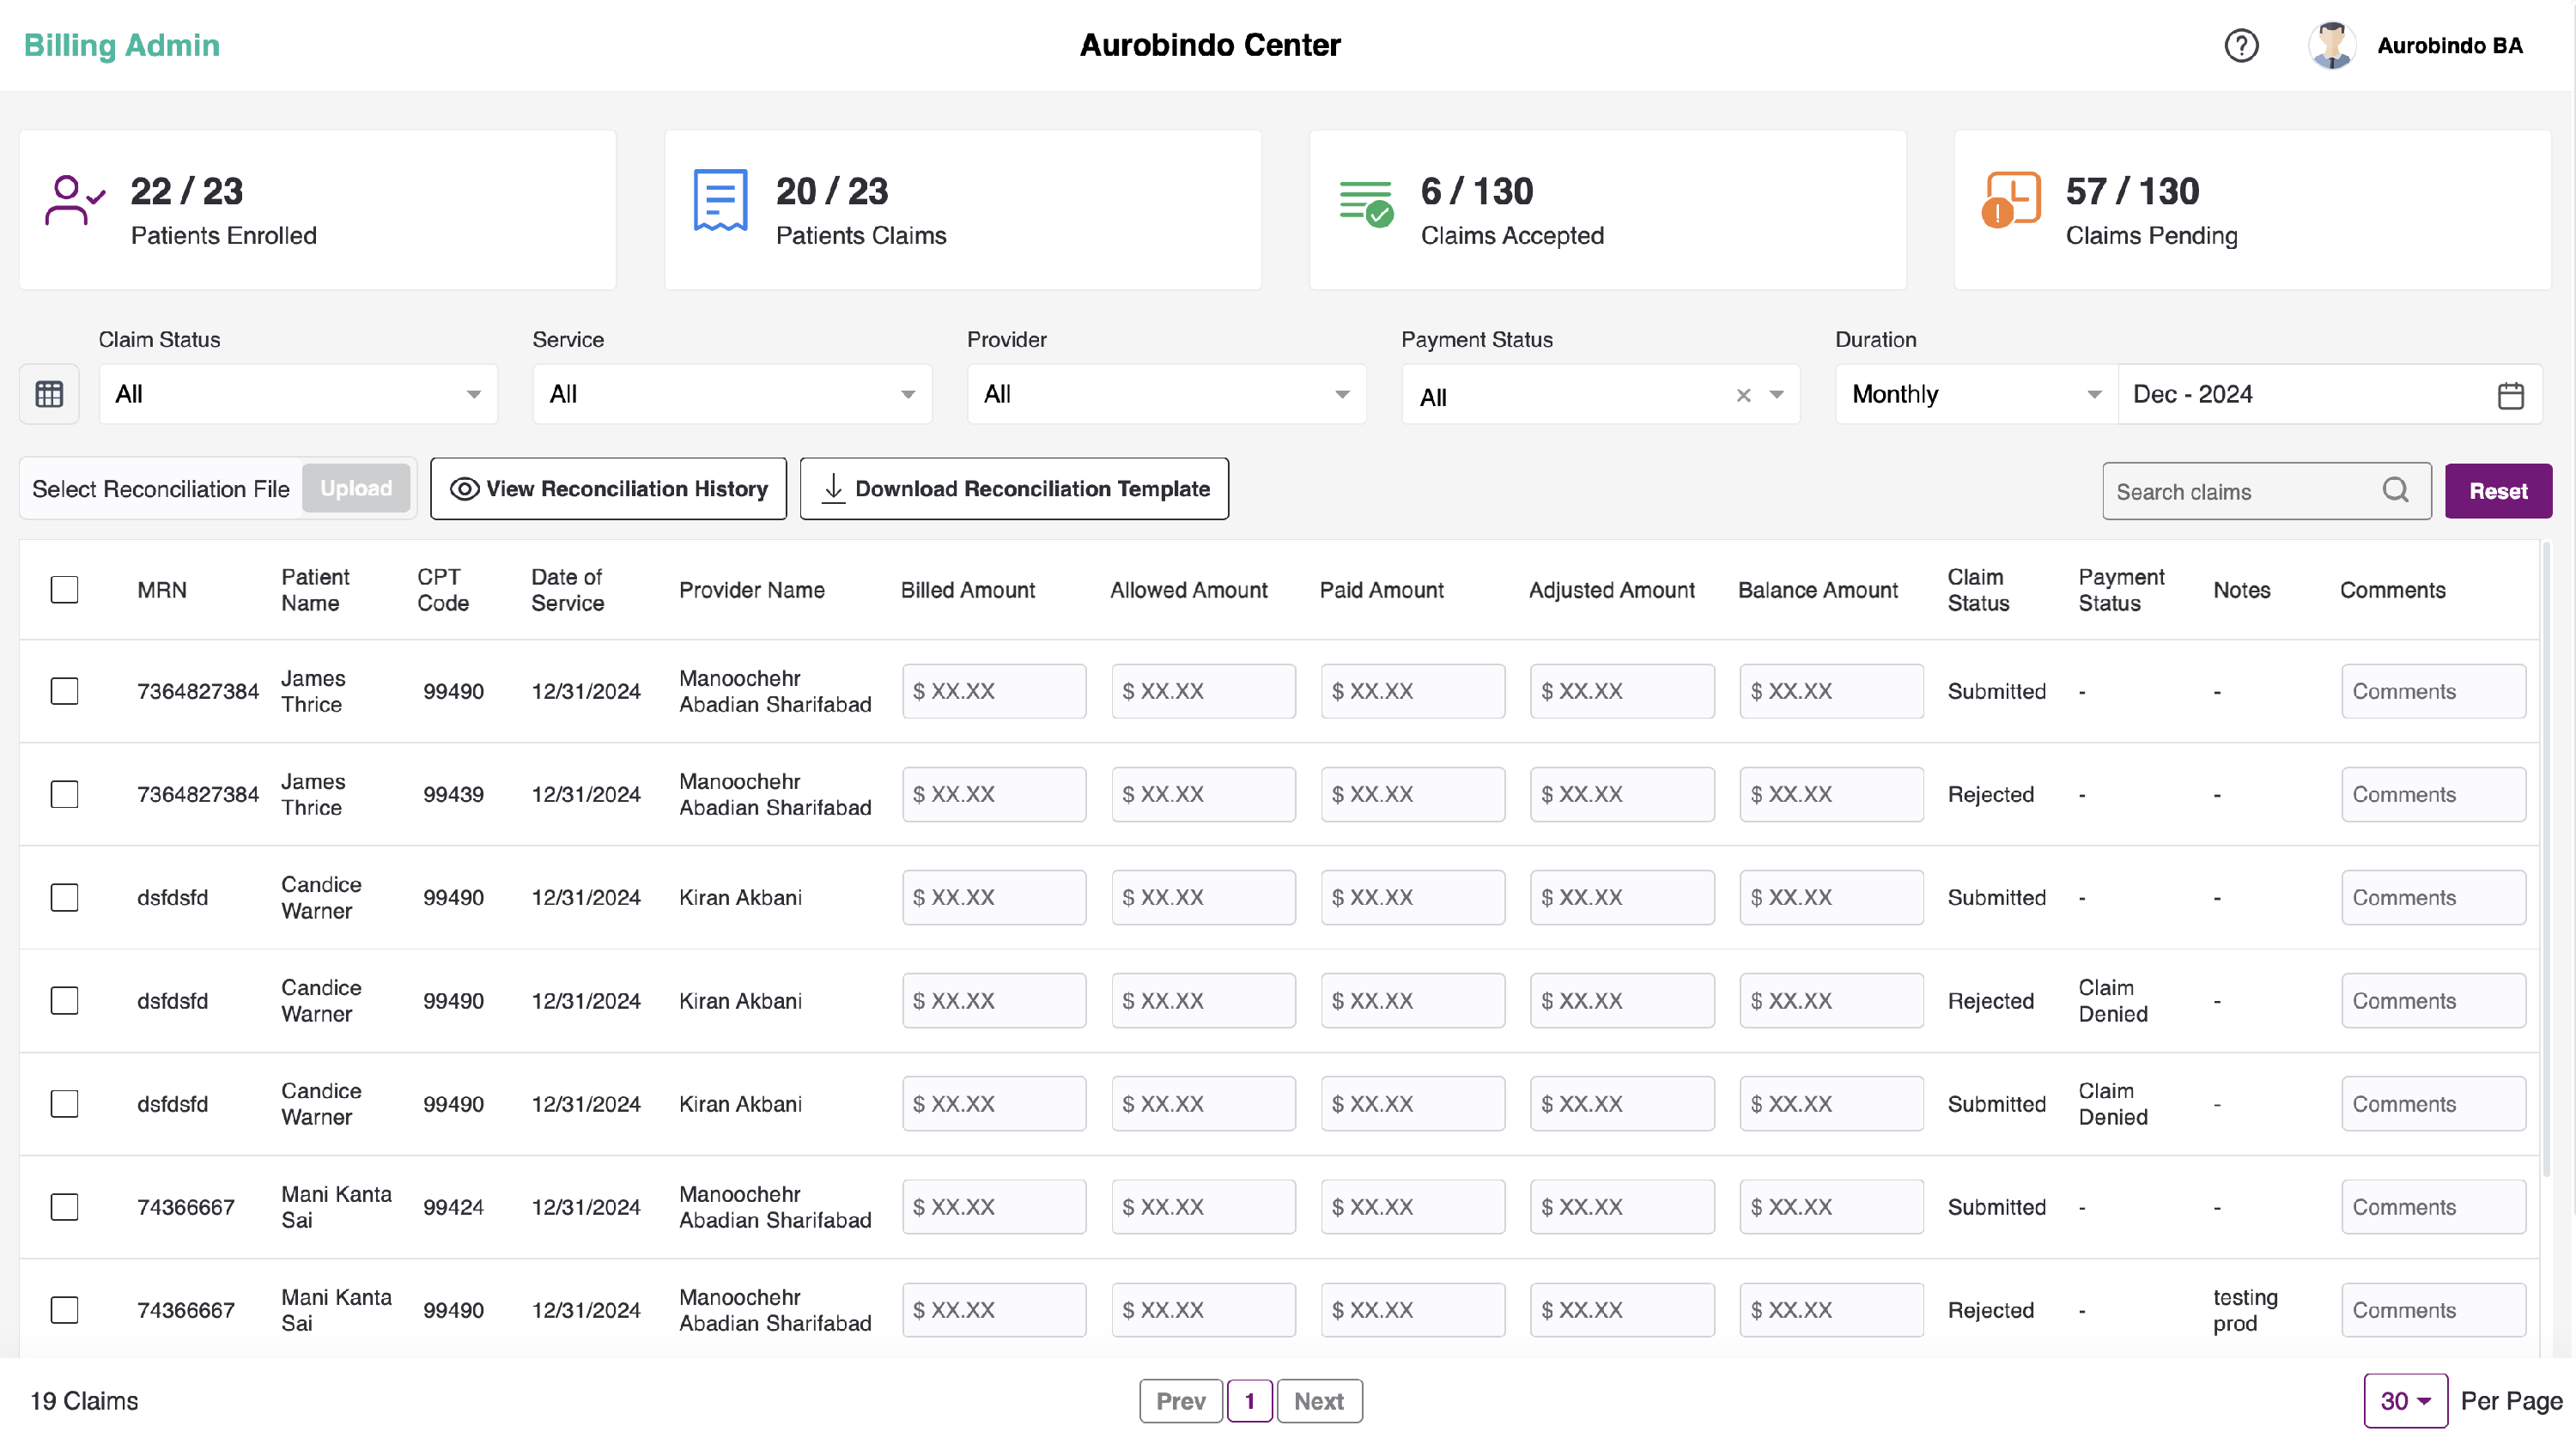
All filters will be set to their default state, which is All. In the Duration filter, the month will default to the previous month. You can sort the columns in ascending or descending order by clicking on the column name.
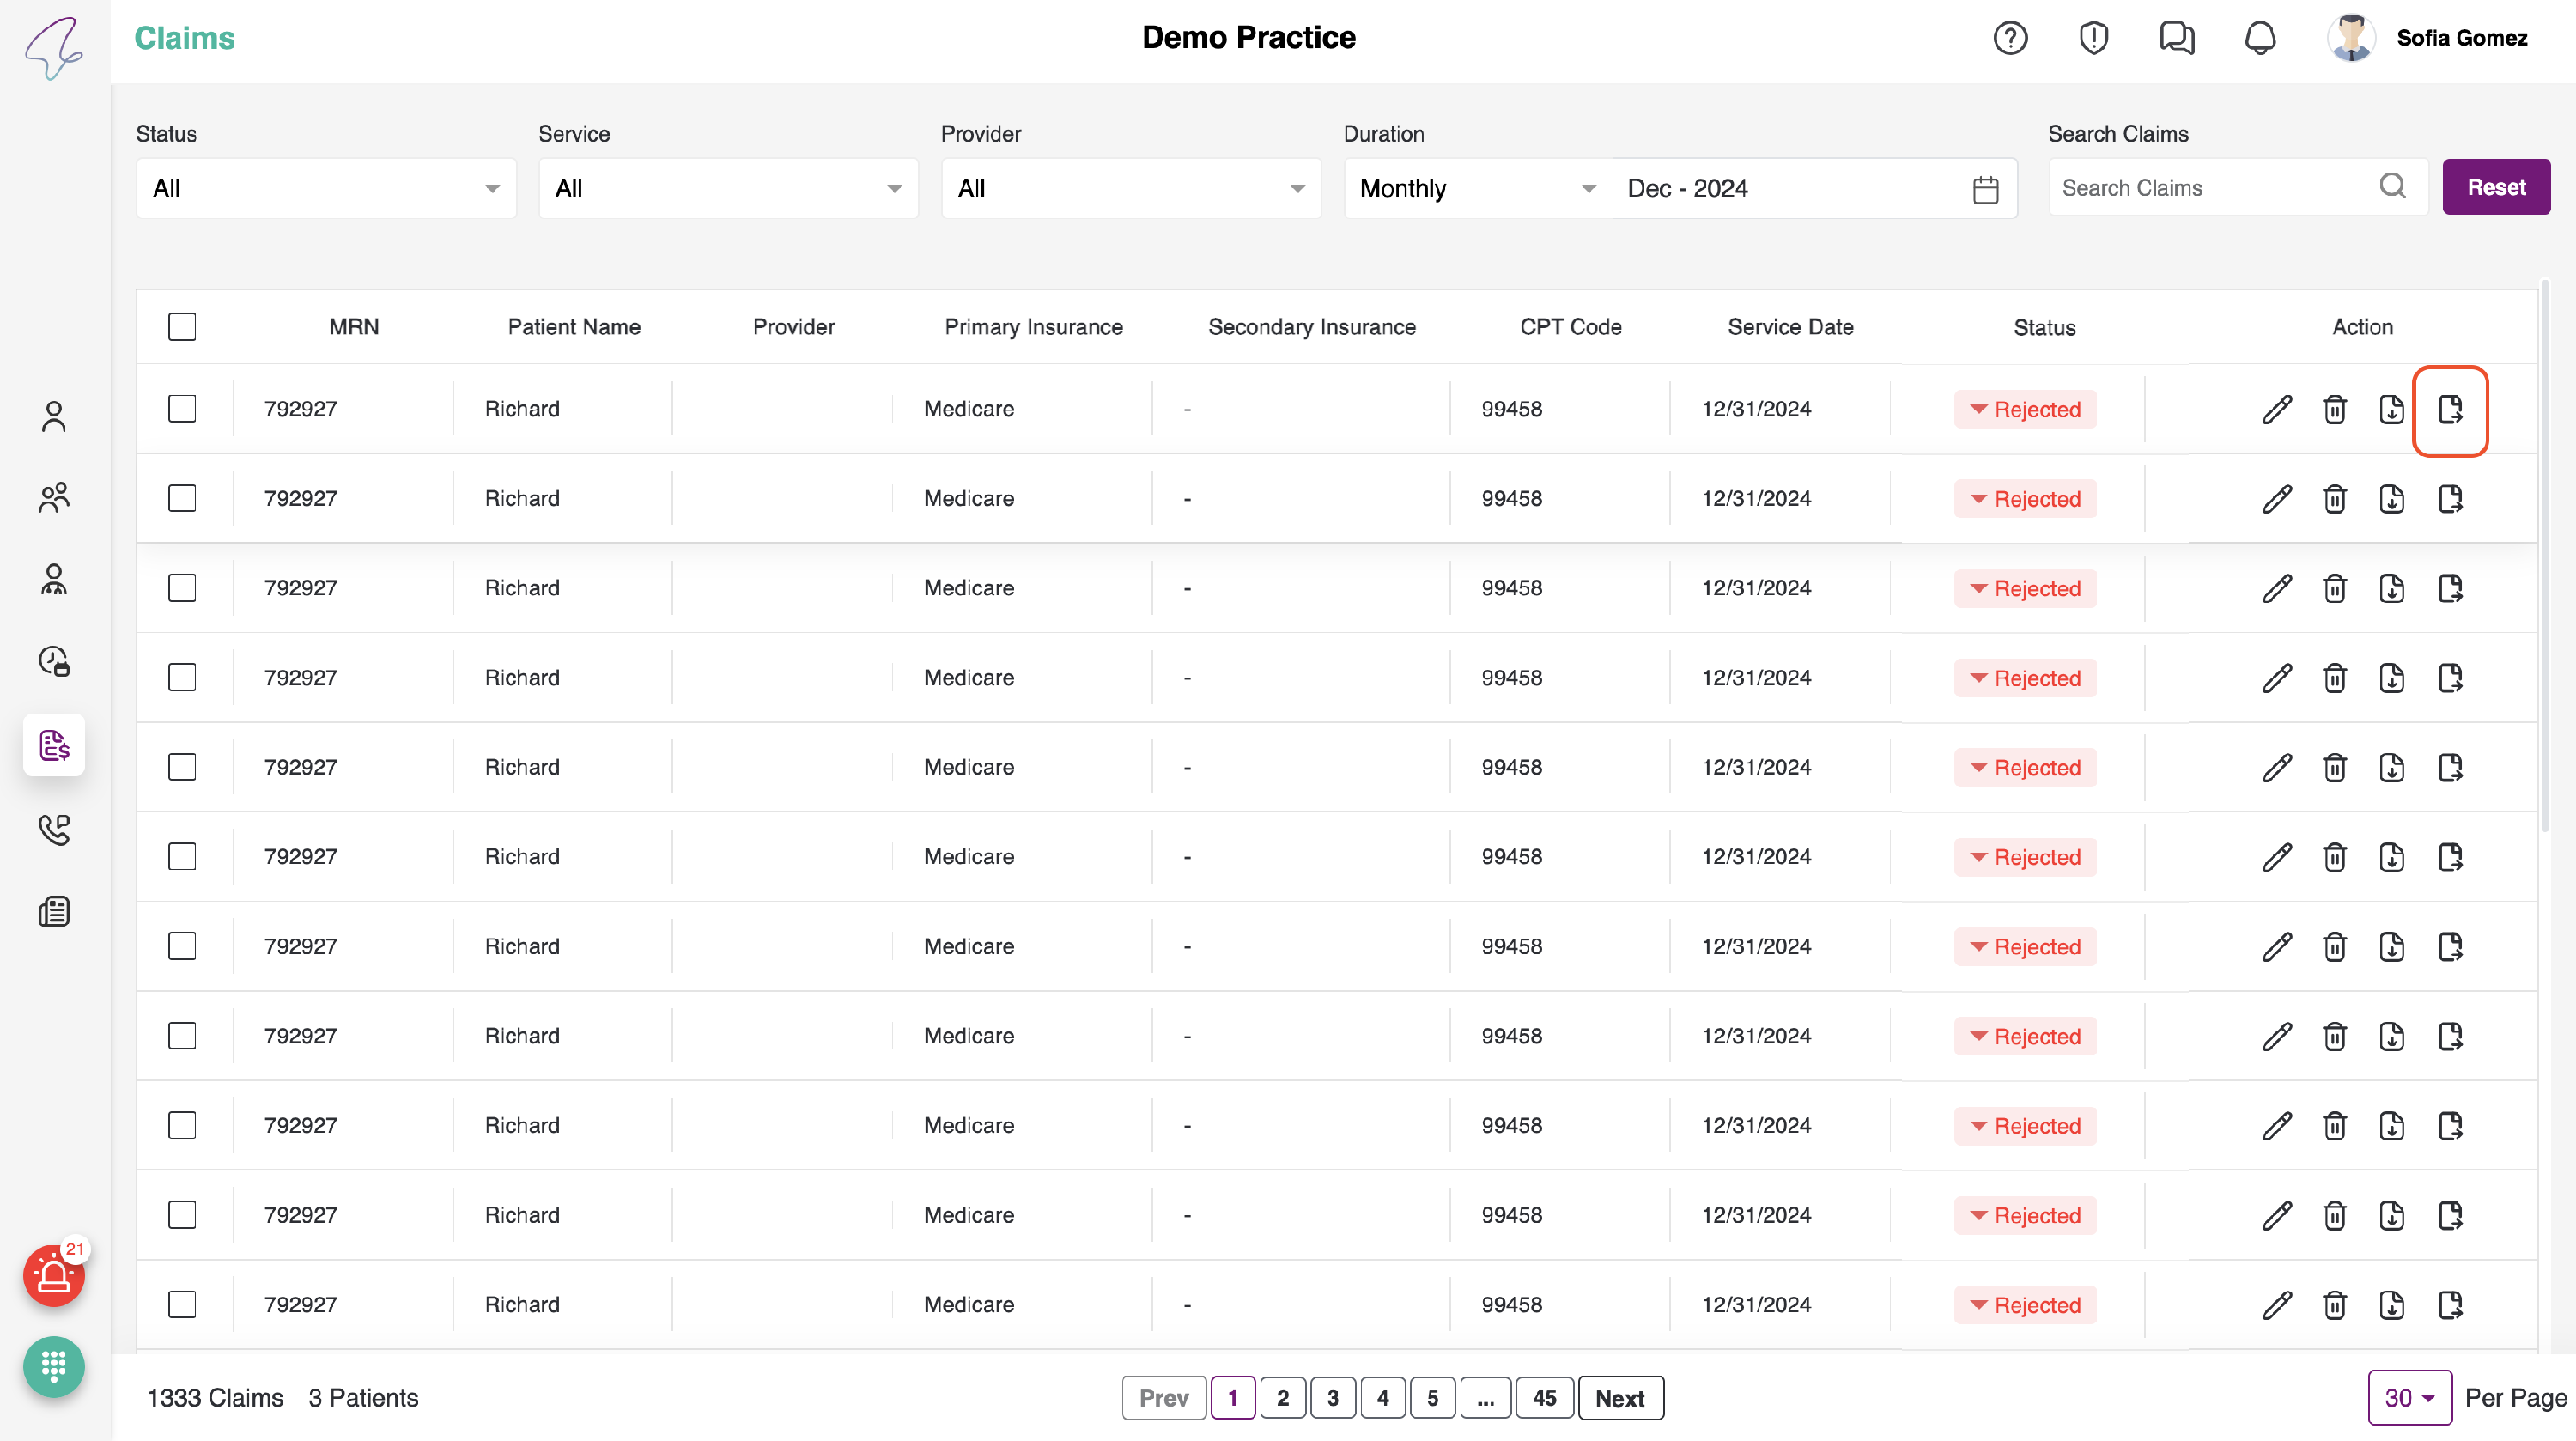
- Here, all of the patient's claims can be viewed and submitted. Additionally, we perform necessary actions such as Edit, Download, Delete, and Submit Claims.
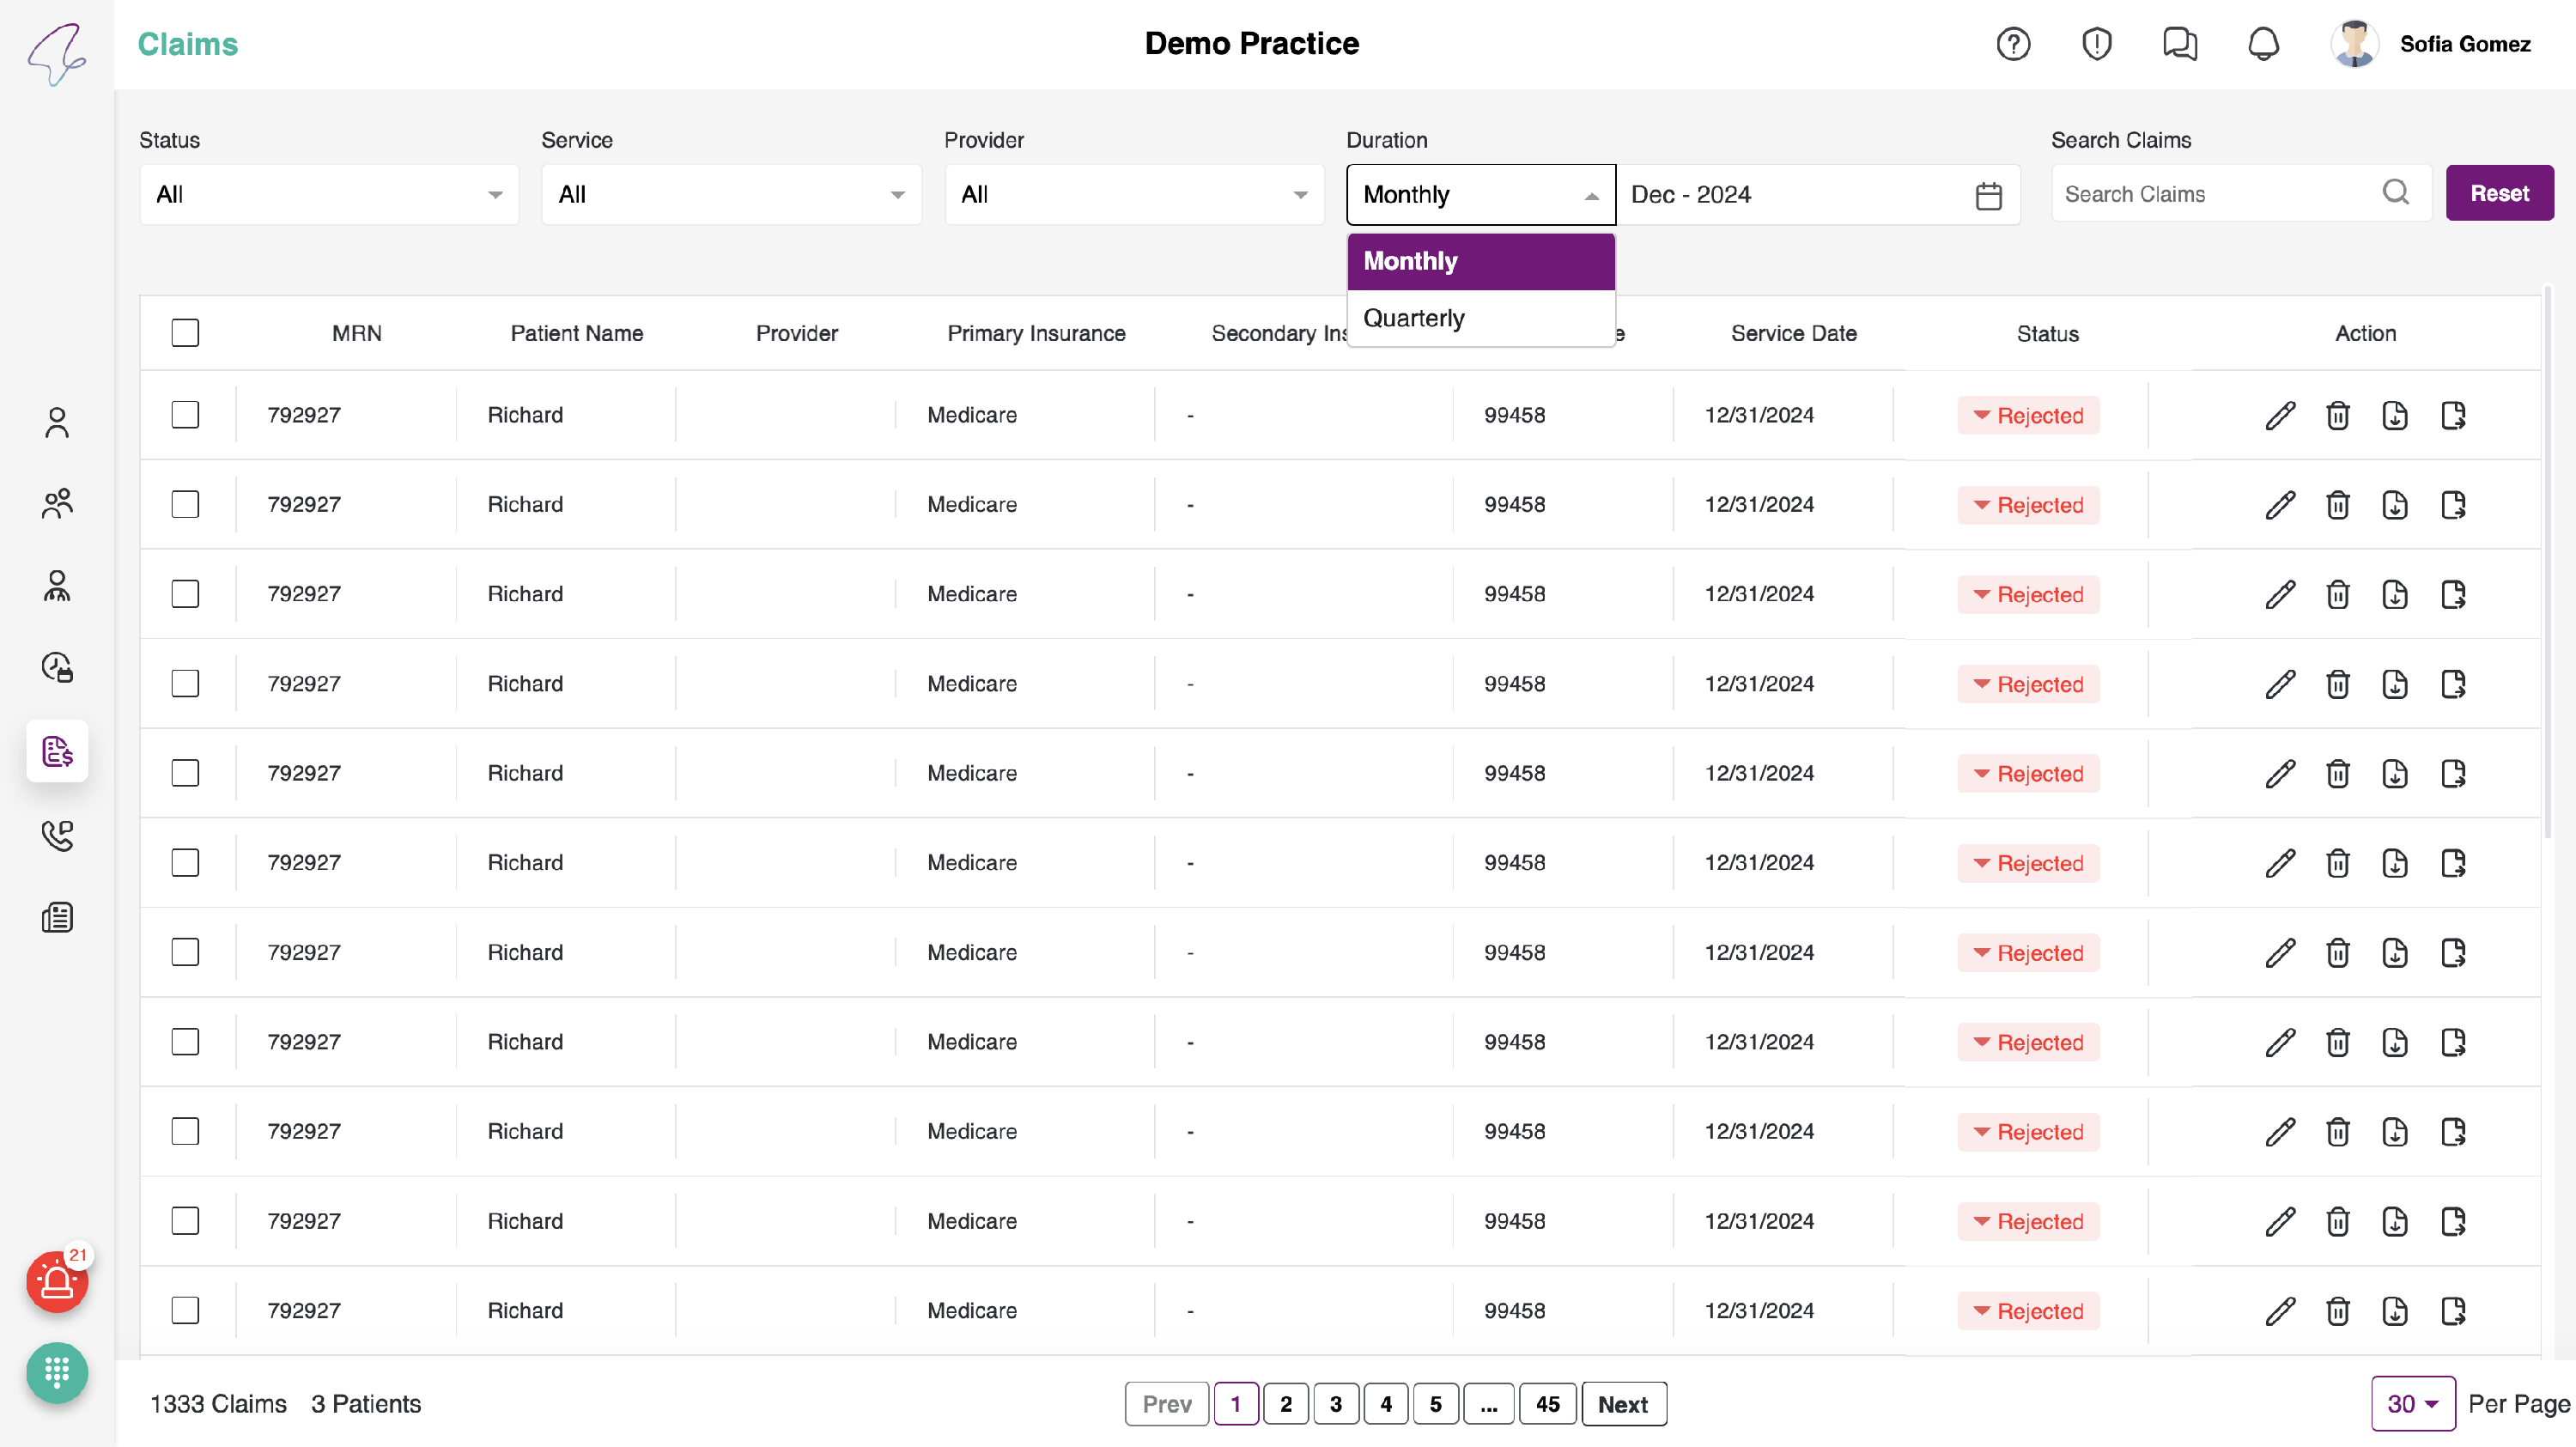
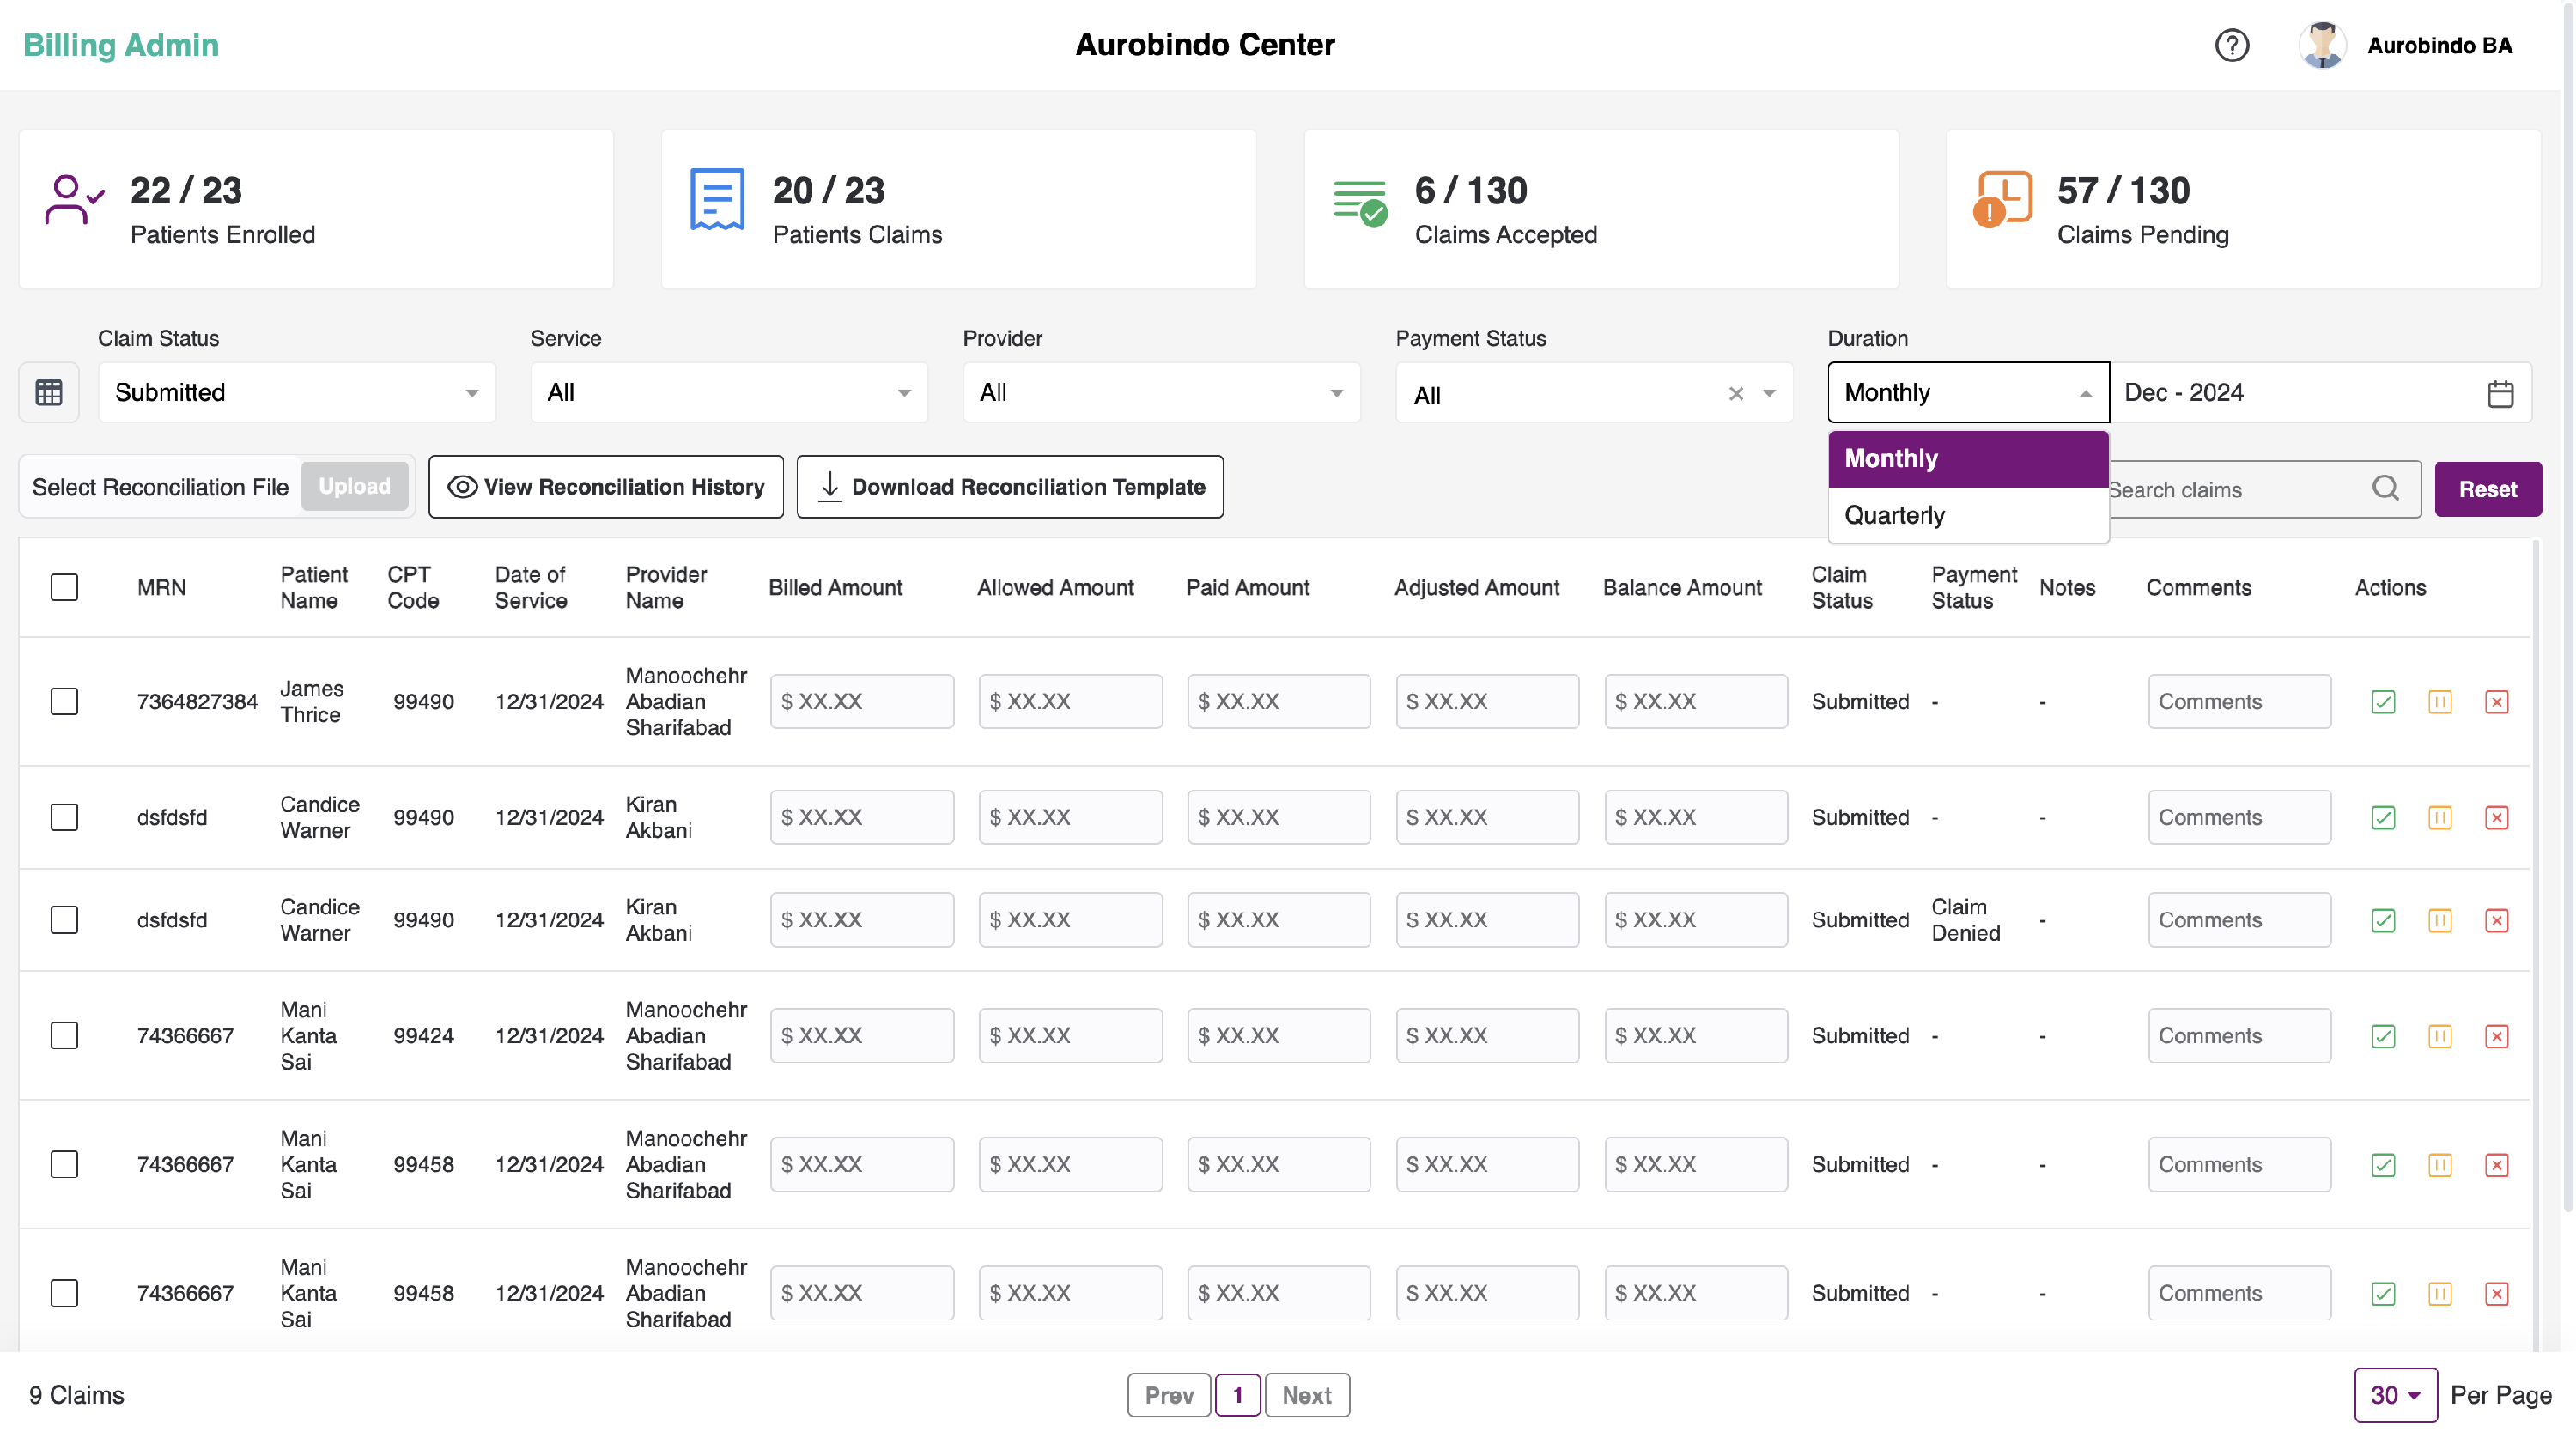
- The duration filter offers two options: month and quarter. When selecting the month option, users can view claims on a monthly basis, while the quarter option allows for viewing claims on a quarterly basis.
-
The claims are filtered based on the status, service, and provider, following a hierarchical structure of status, service, and provider.
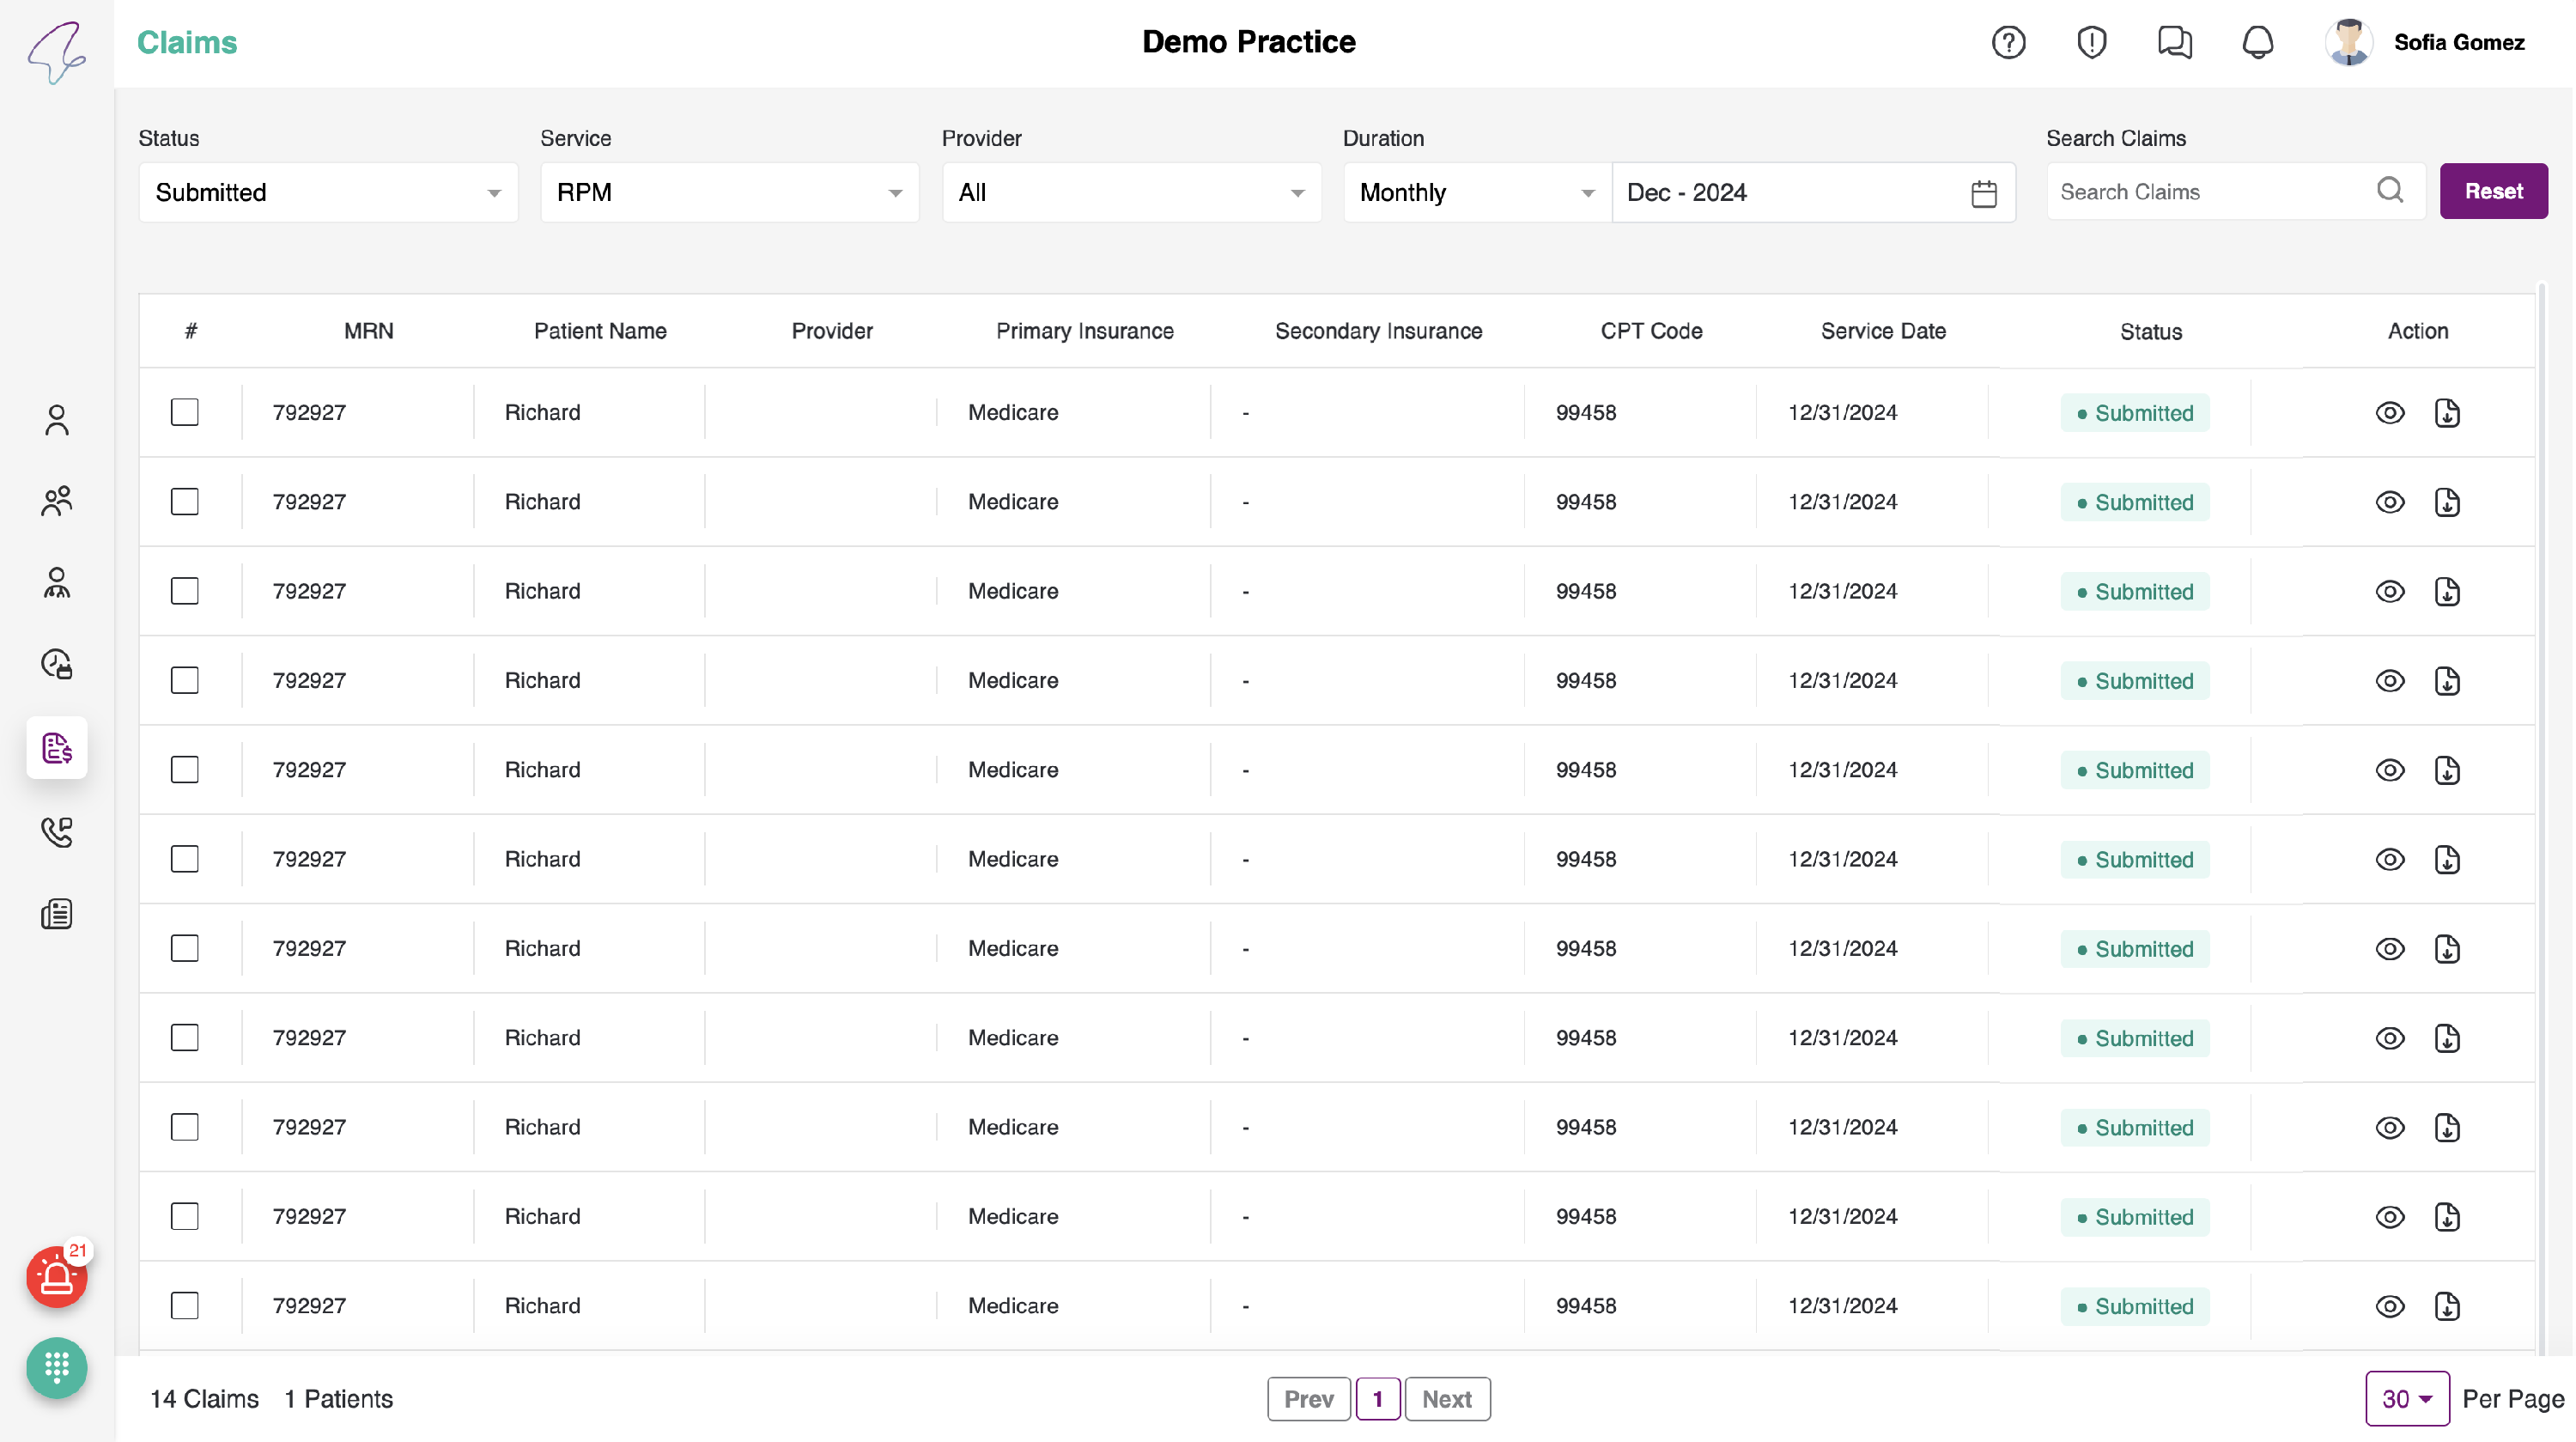
- We can also search the claims based on MRN, Patient Name, Provider Name, Insurance and CPT code.
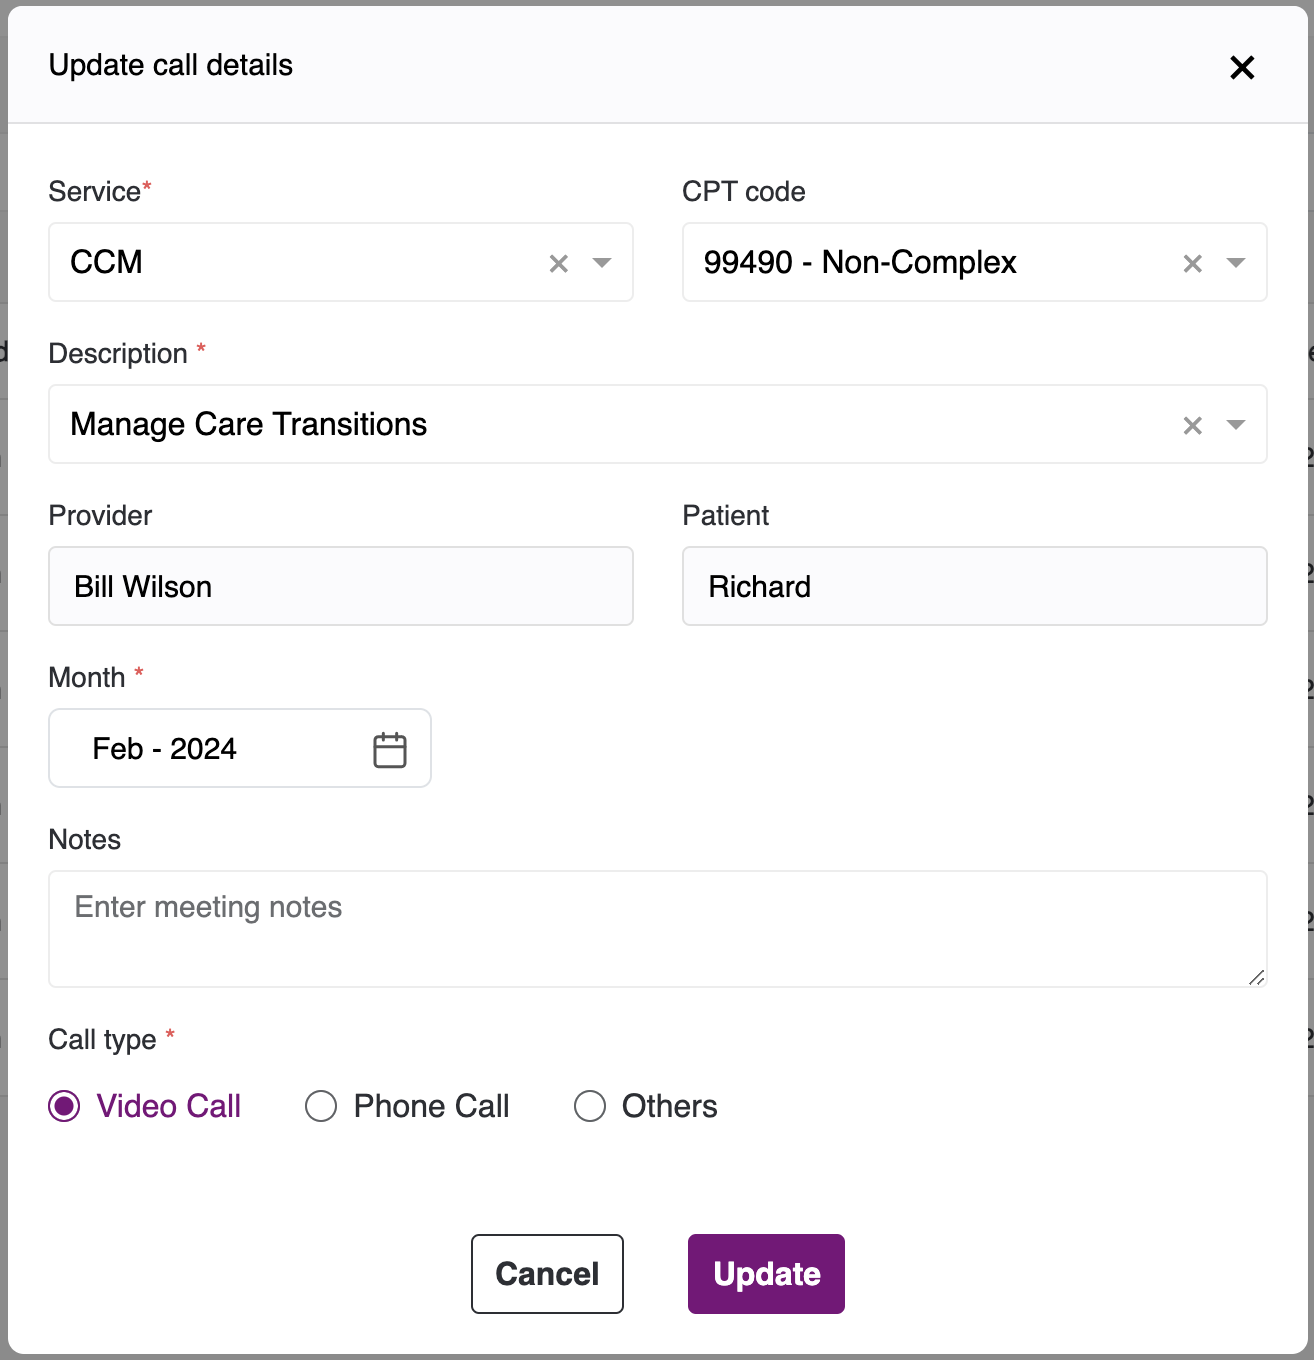
- In order to edit a bill, click on the edit icon (pencil). Upon clicking on the icon, you will be presented with a modal where the claims data is already pre-filled. You can make the necessary changes and submit, or click Cancel to revert the changes.

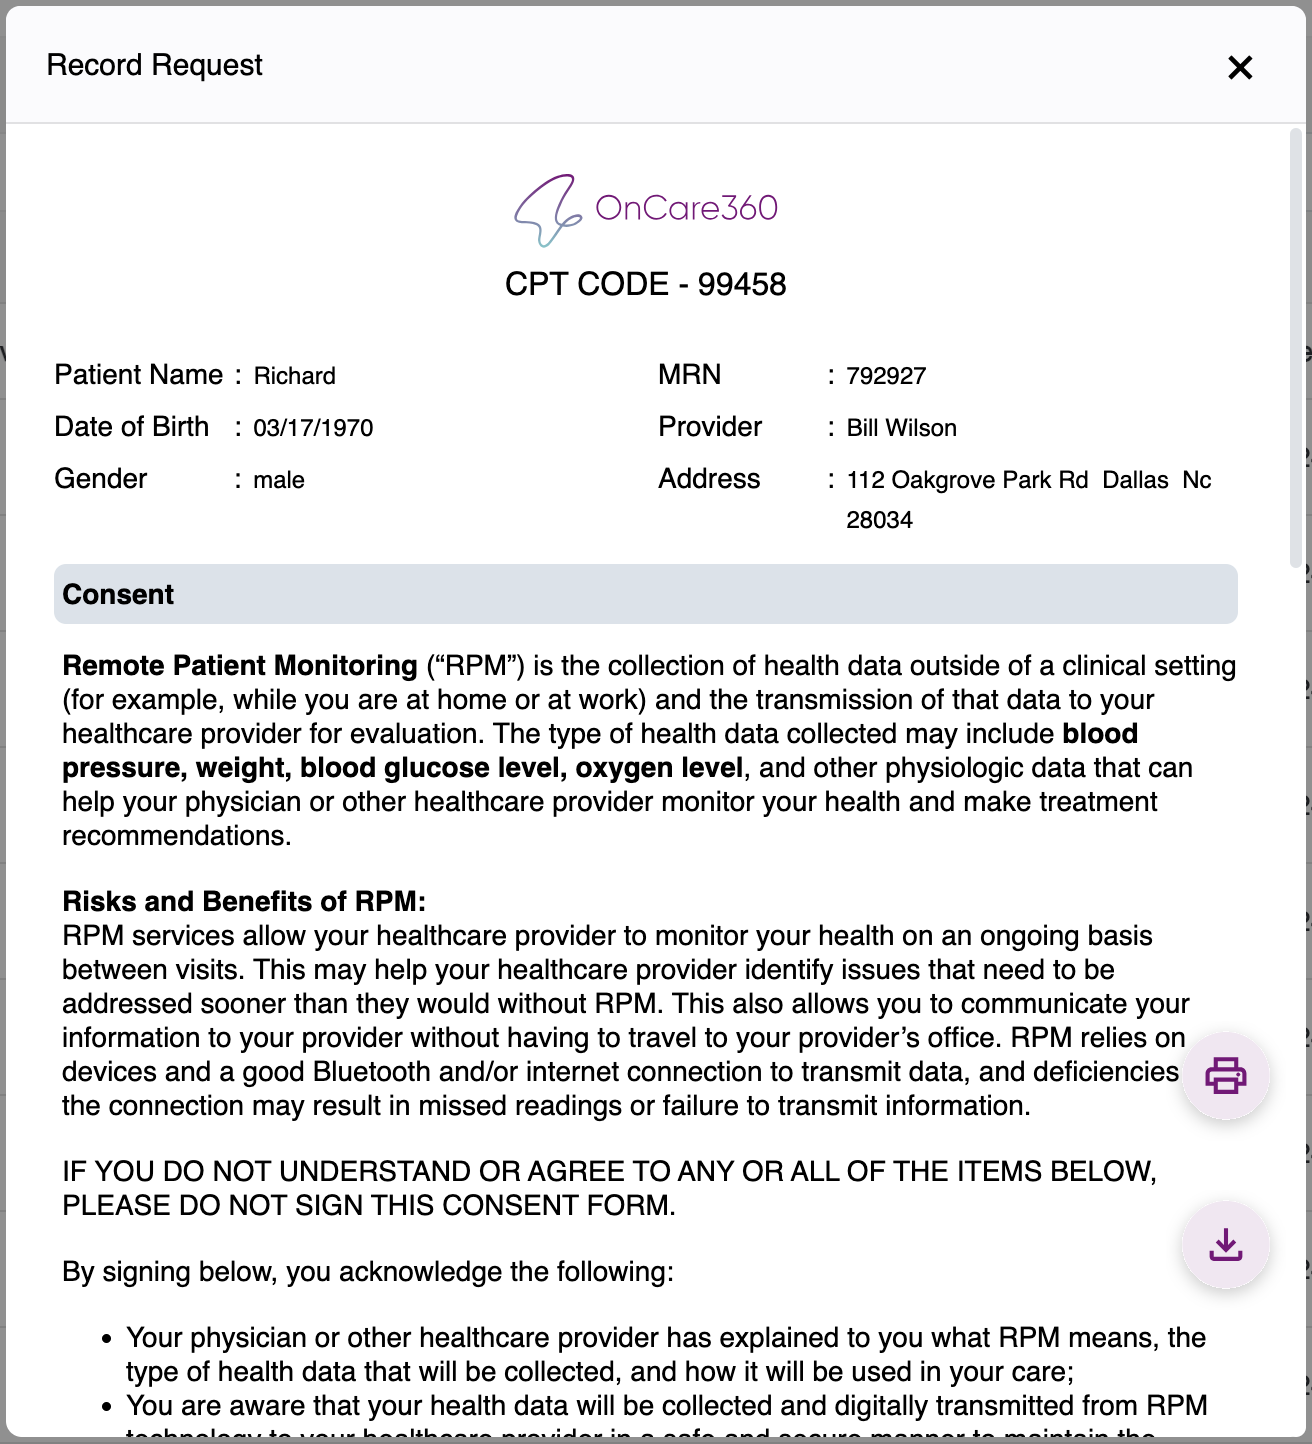
- To edit the downloaded claims, click on the download button for the particular record. Upon clicking, you will be able to access a model containing all the data, with the consent of the service.
- We have two floating icons to print the claims and download them in PDF format.
-
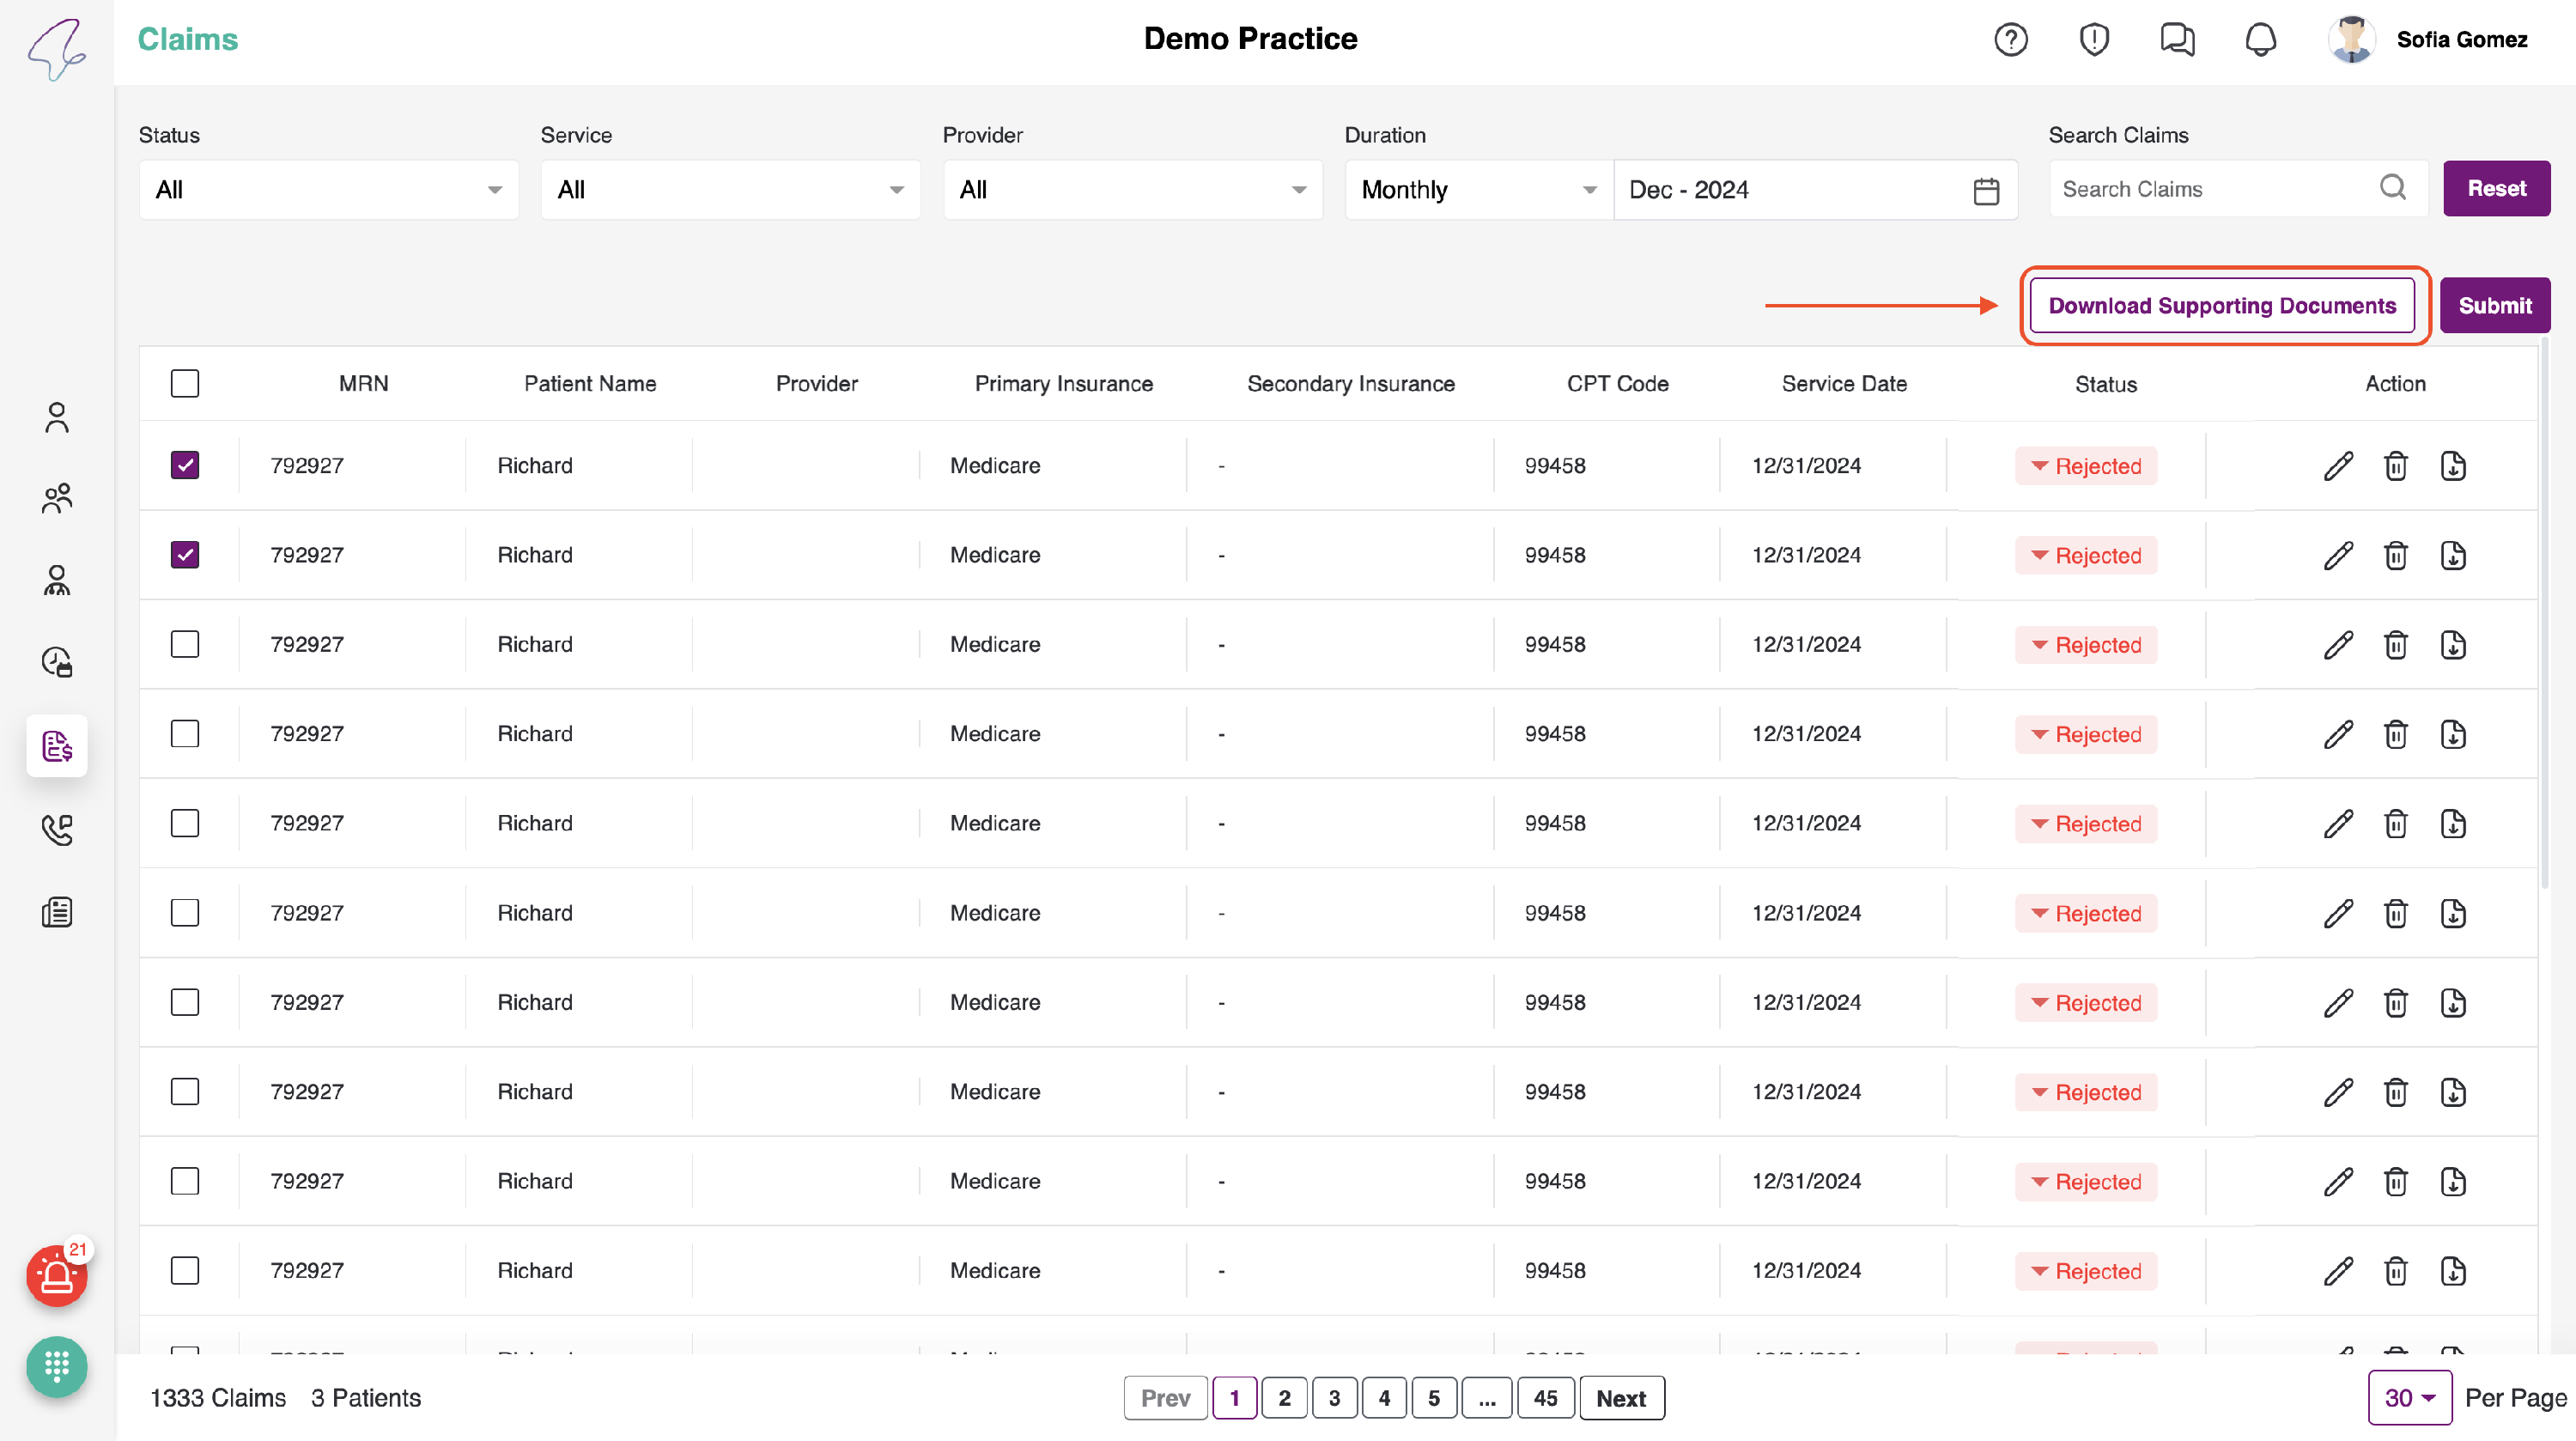
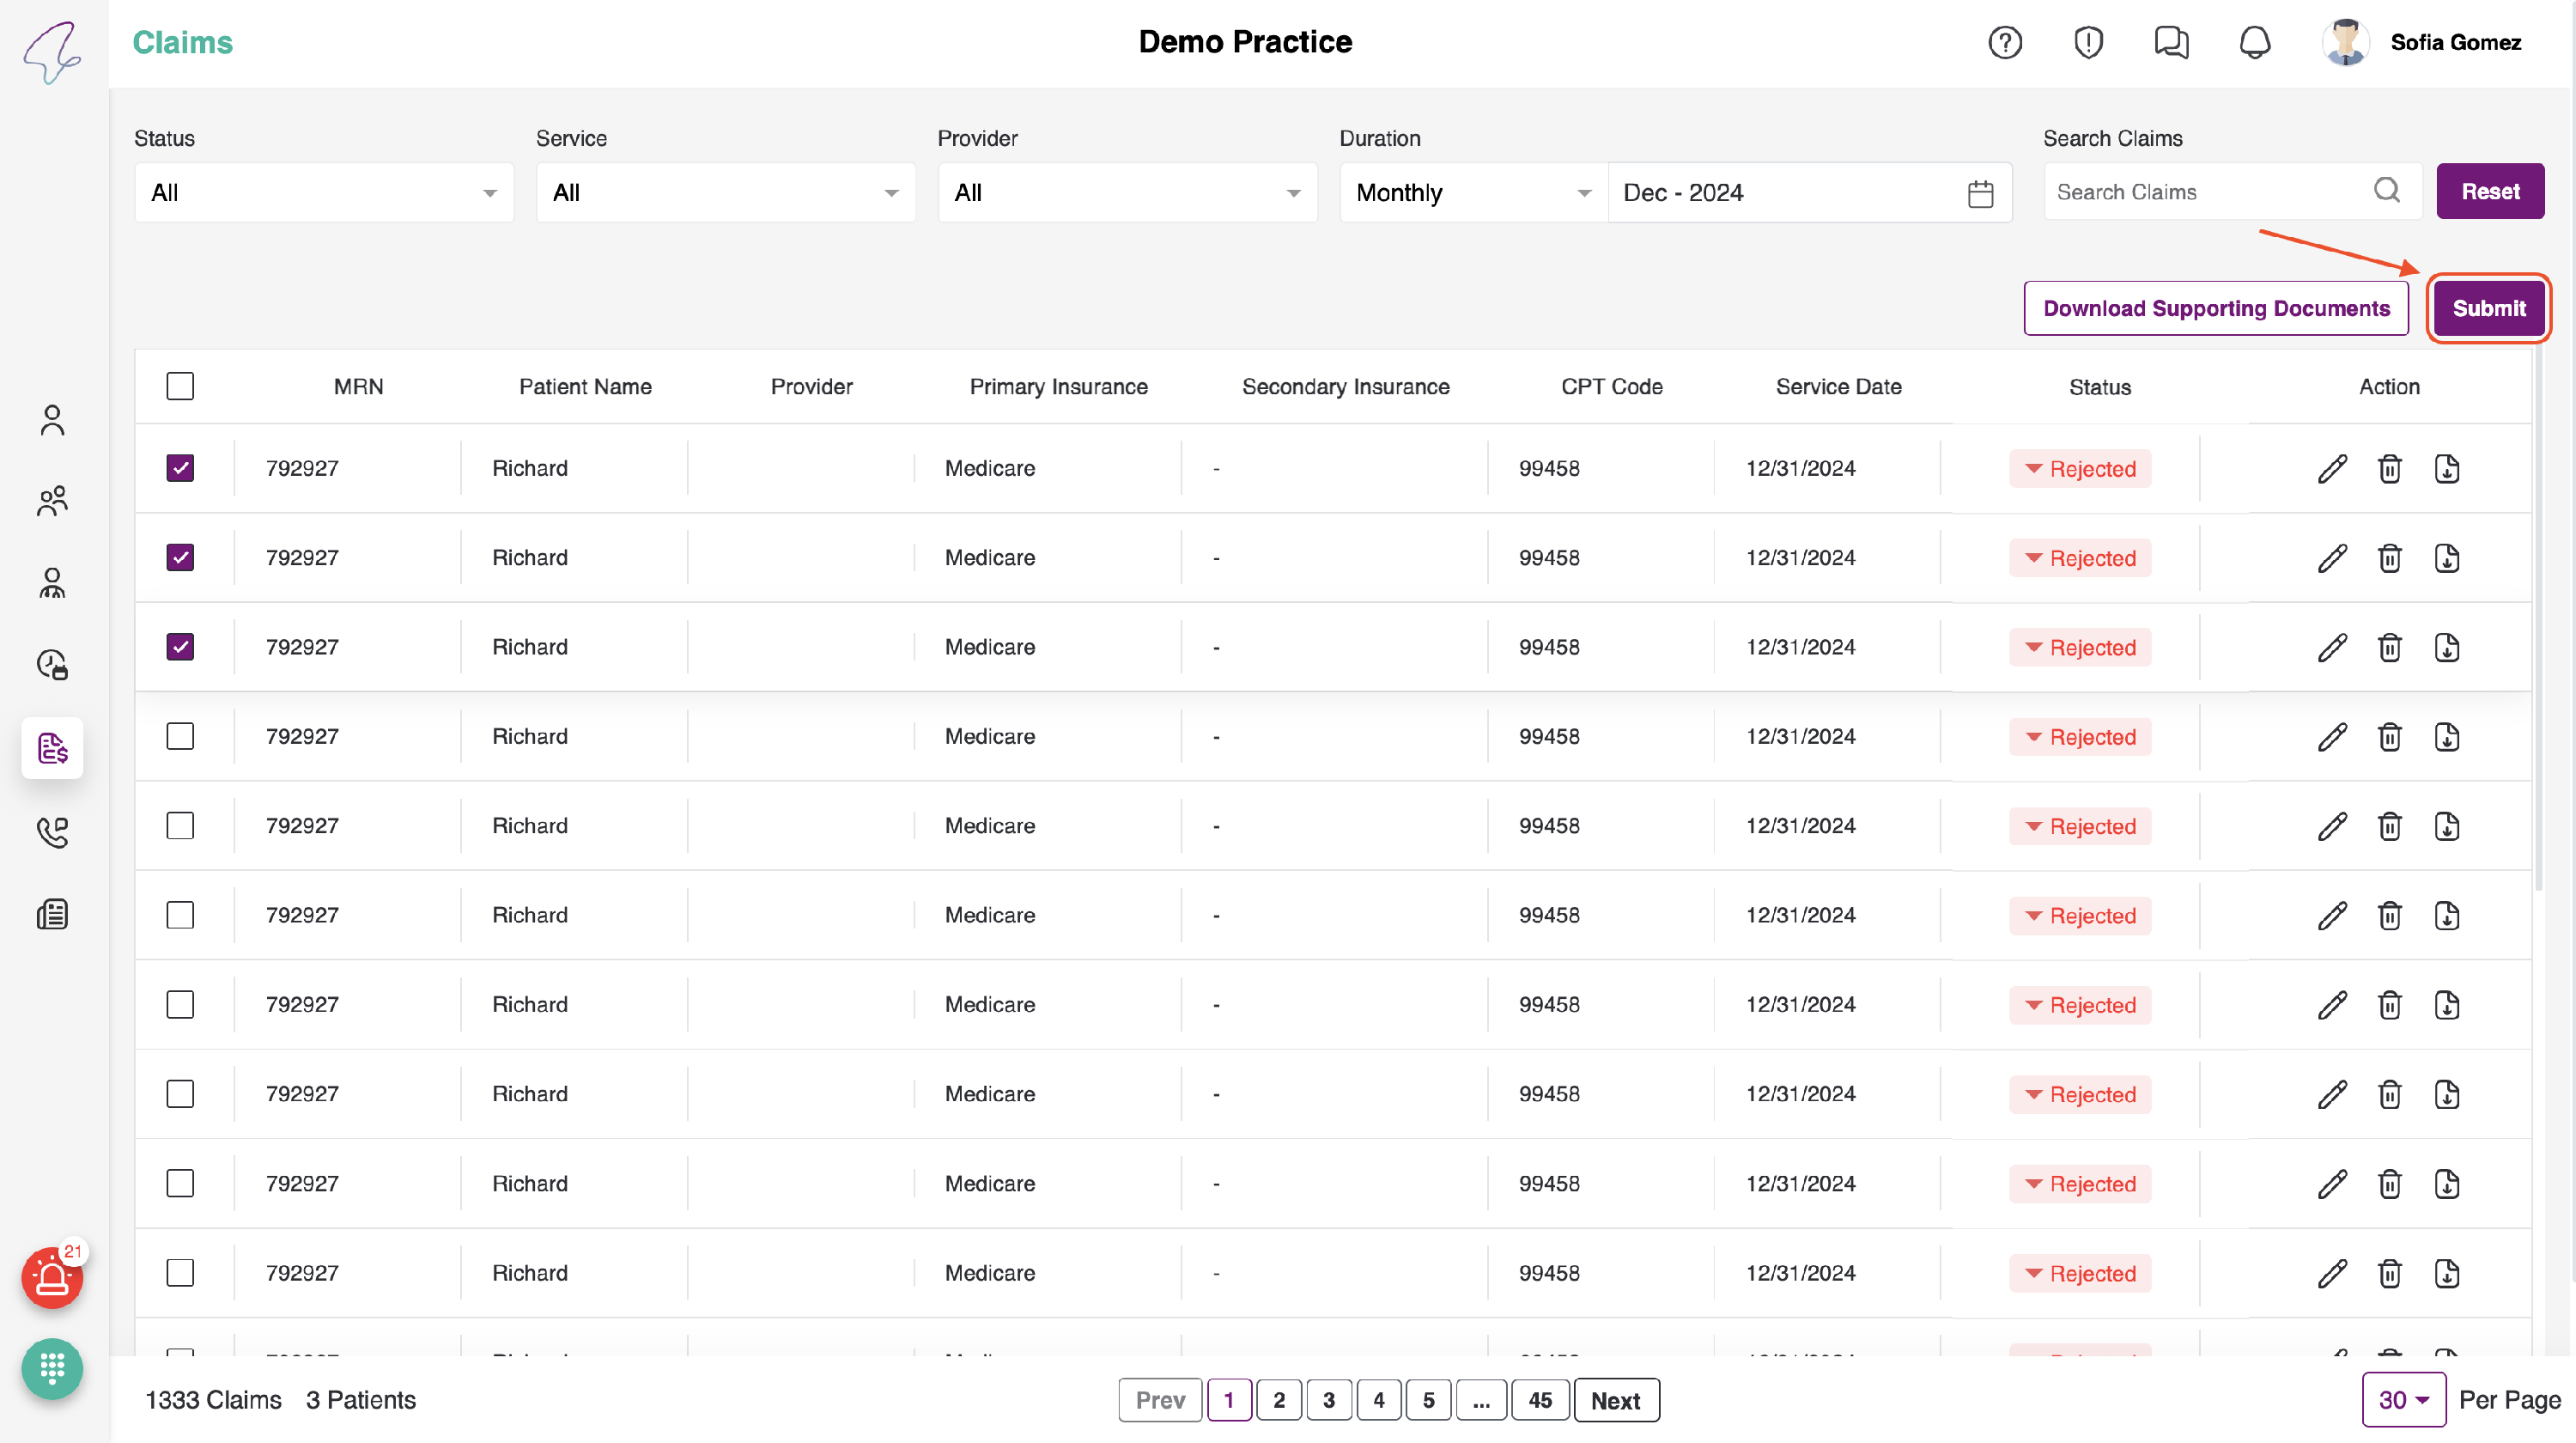
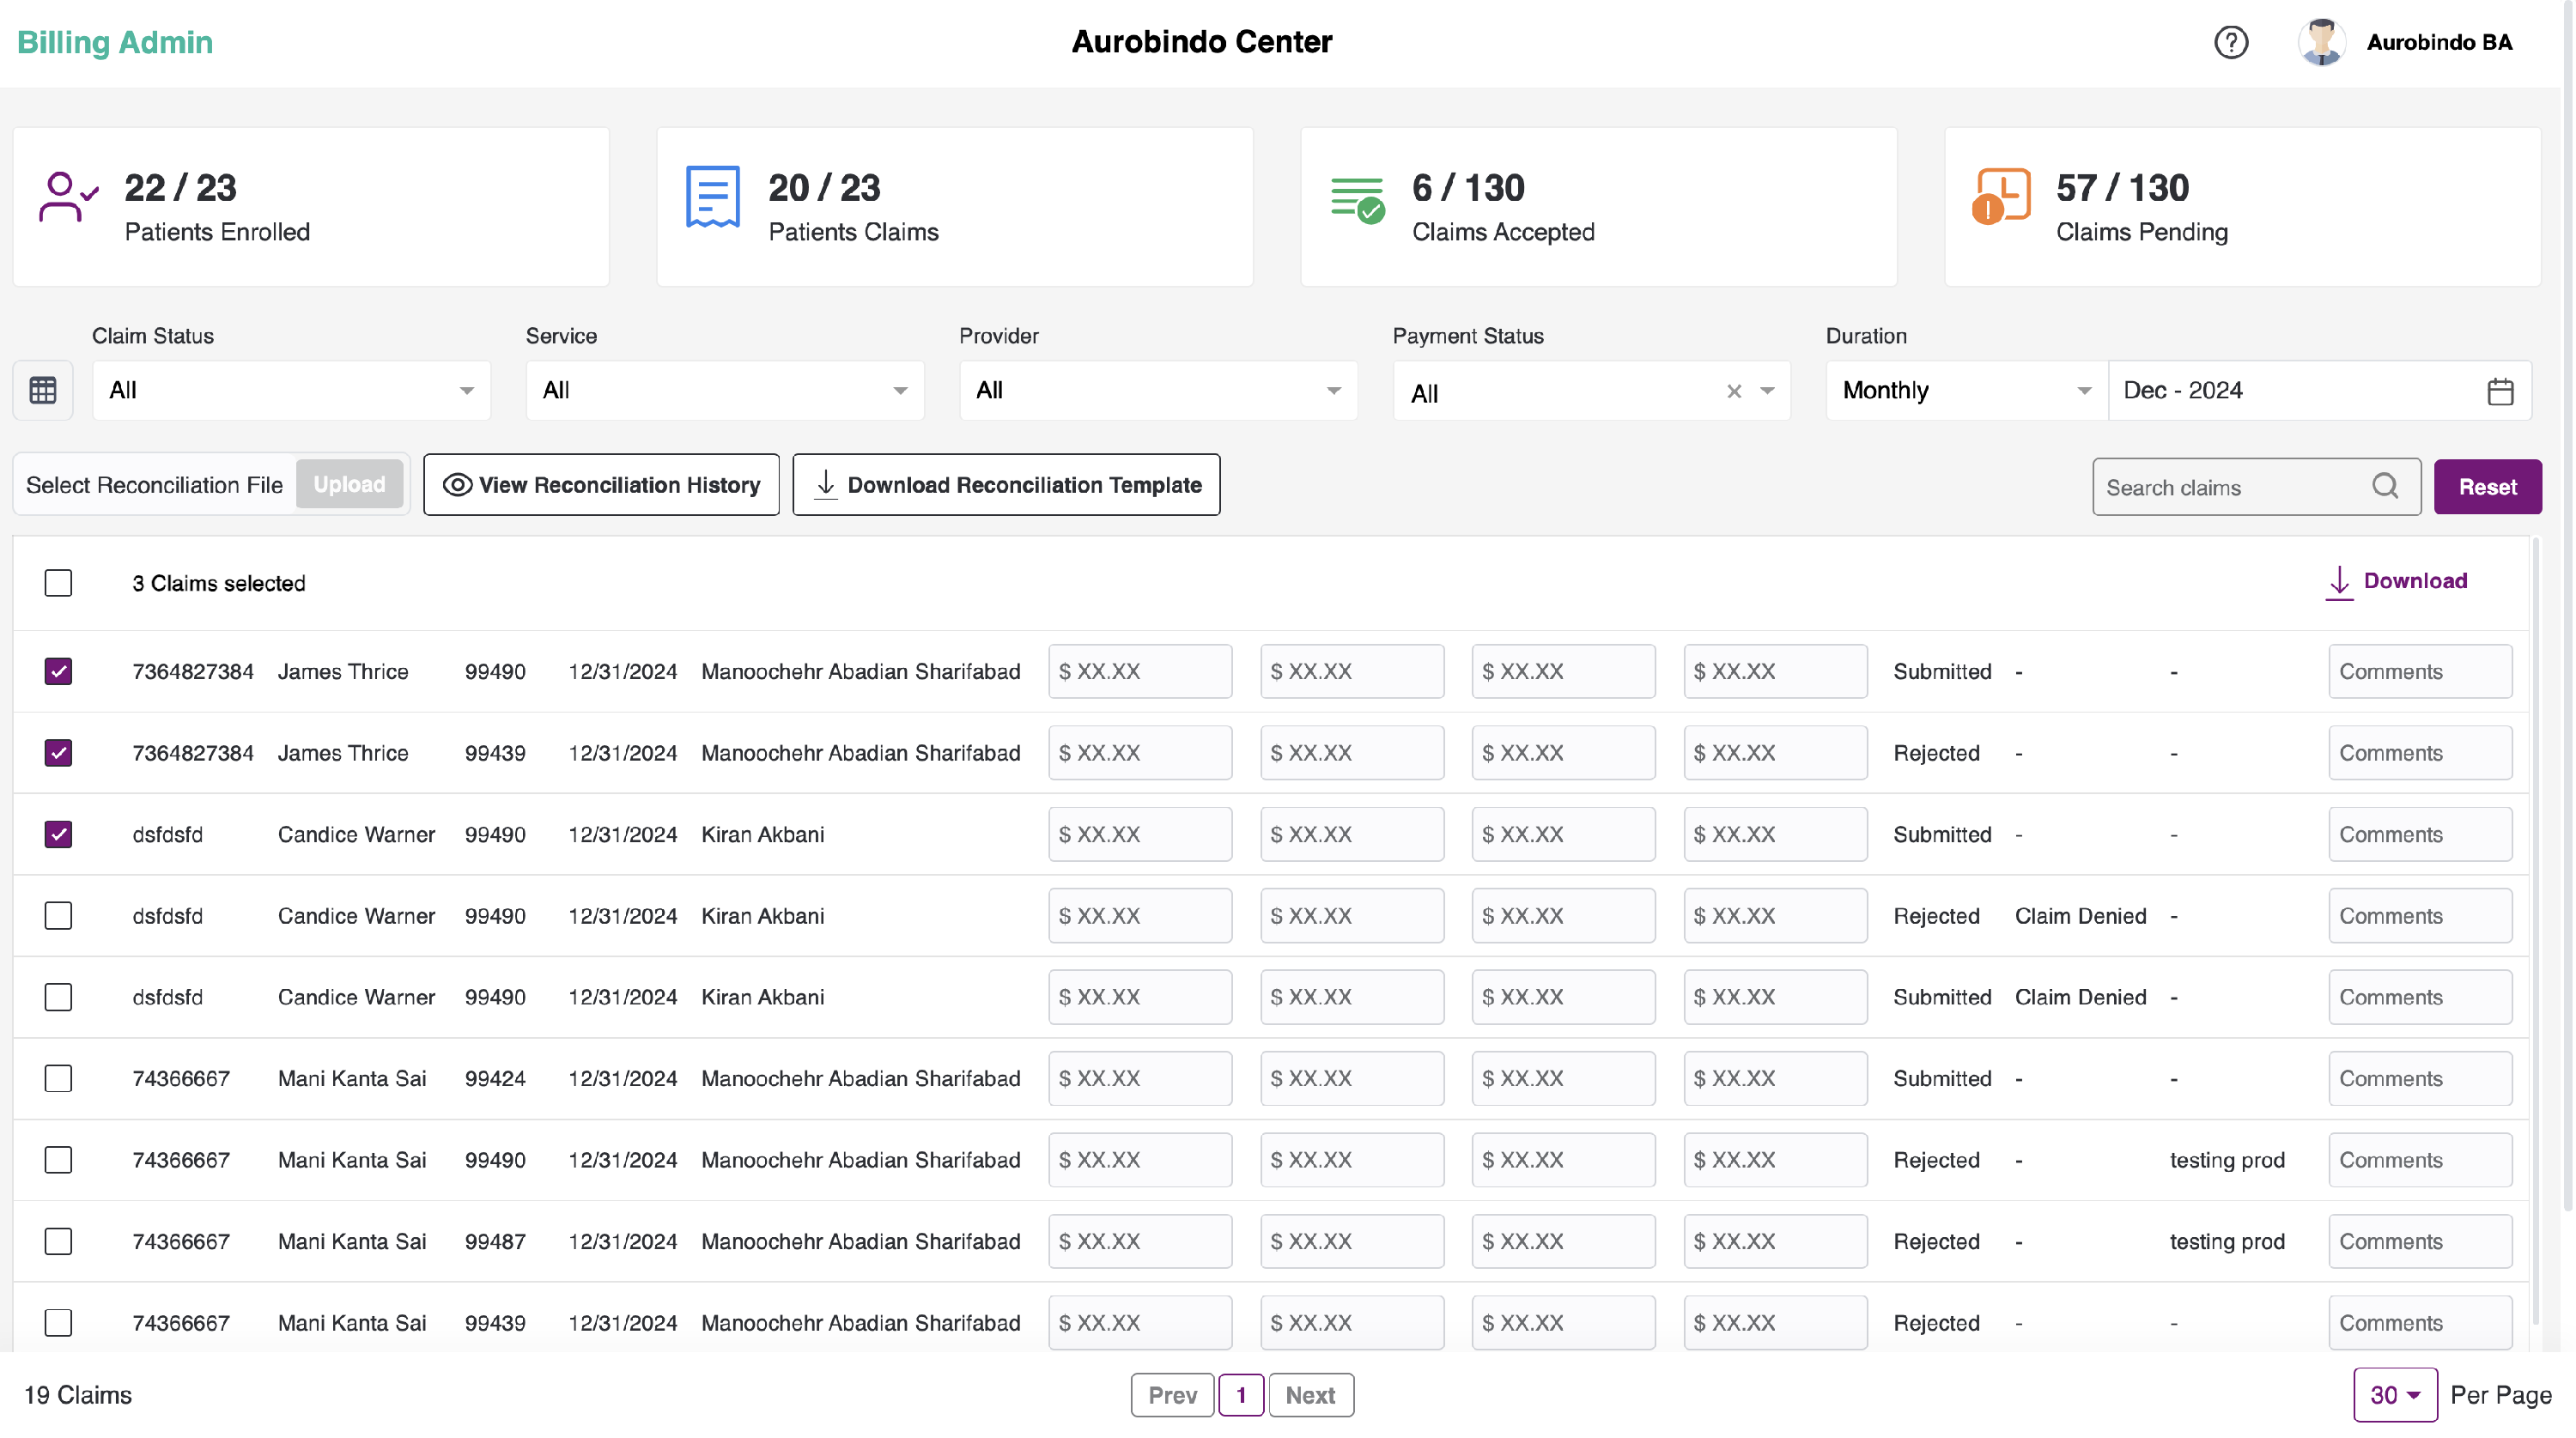
It is also possible to download multiple claims at once by selecting the required records. Once you have checked one or more, you will see the "Download Supporting Document" button at the top right side of the table.

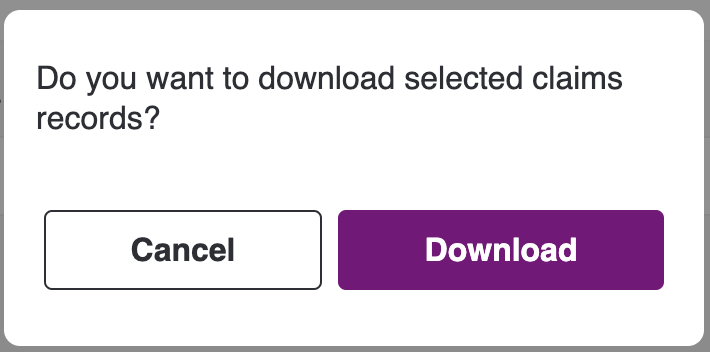
- Upon clicking the button, a pop-up will appear prompting you to confirm the download by clicking "Yes" or "Cancel" to close the pop-up.
- The claims can be submitted by clicking on the submit icon. Upon clicking the icon, the claim will be processed and validated, which may take a few seconds. The status of the claim will change based on the validation outcome.
- It is also possible to submit multiple claims at once by selecting the required records. Once you have checked one or more, you will see the "Submit" button at the top right side of the table.
-
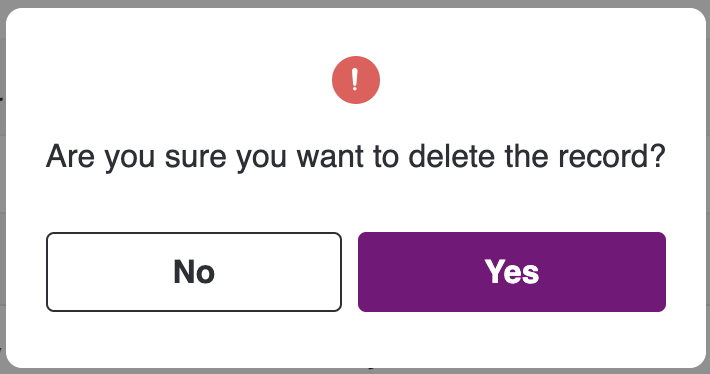
Claims can also be deleted based on the record by clicking on the delete icon of a particular record. Once the Delete icon is clicked, a pop-up will appear asking for confirmation. Click "Yes" to delete or "Cancel" to close the pop-up.
-
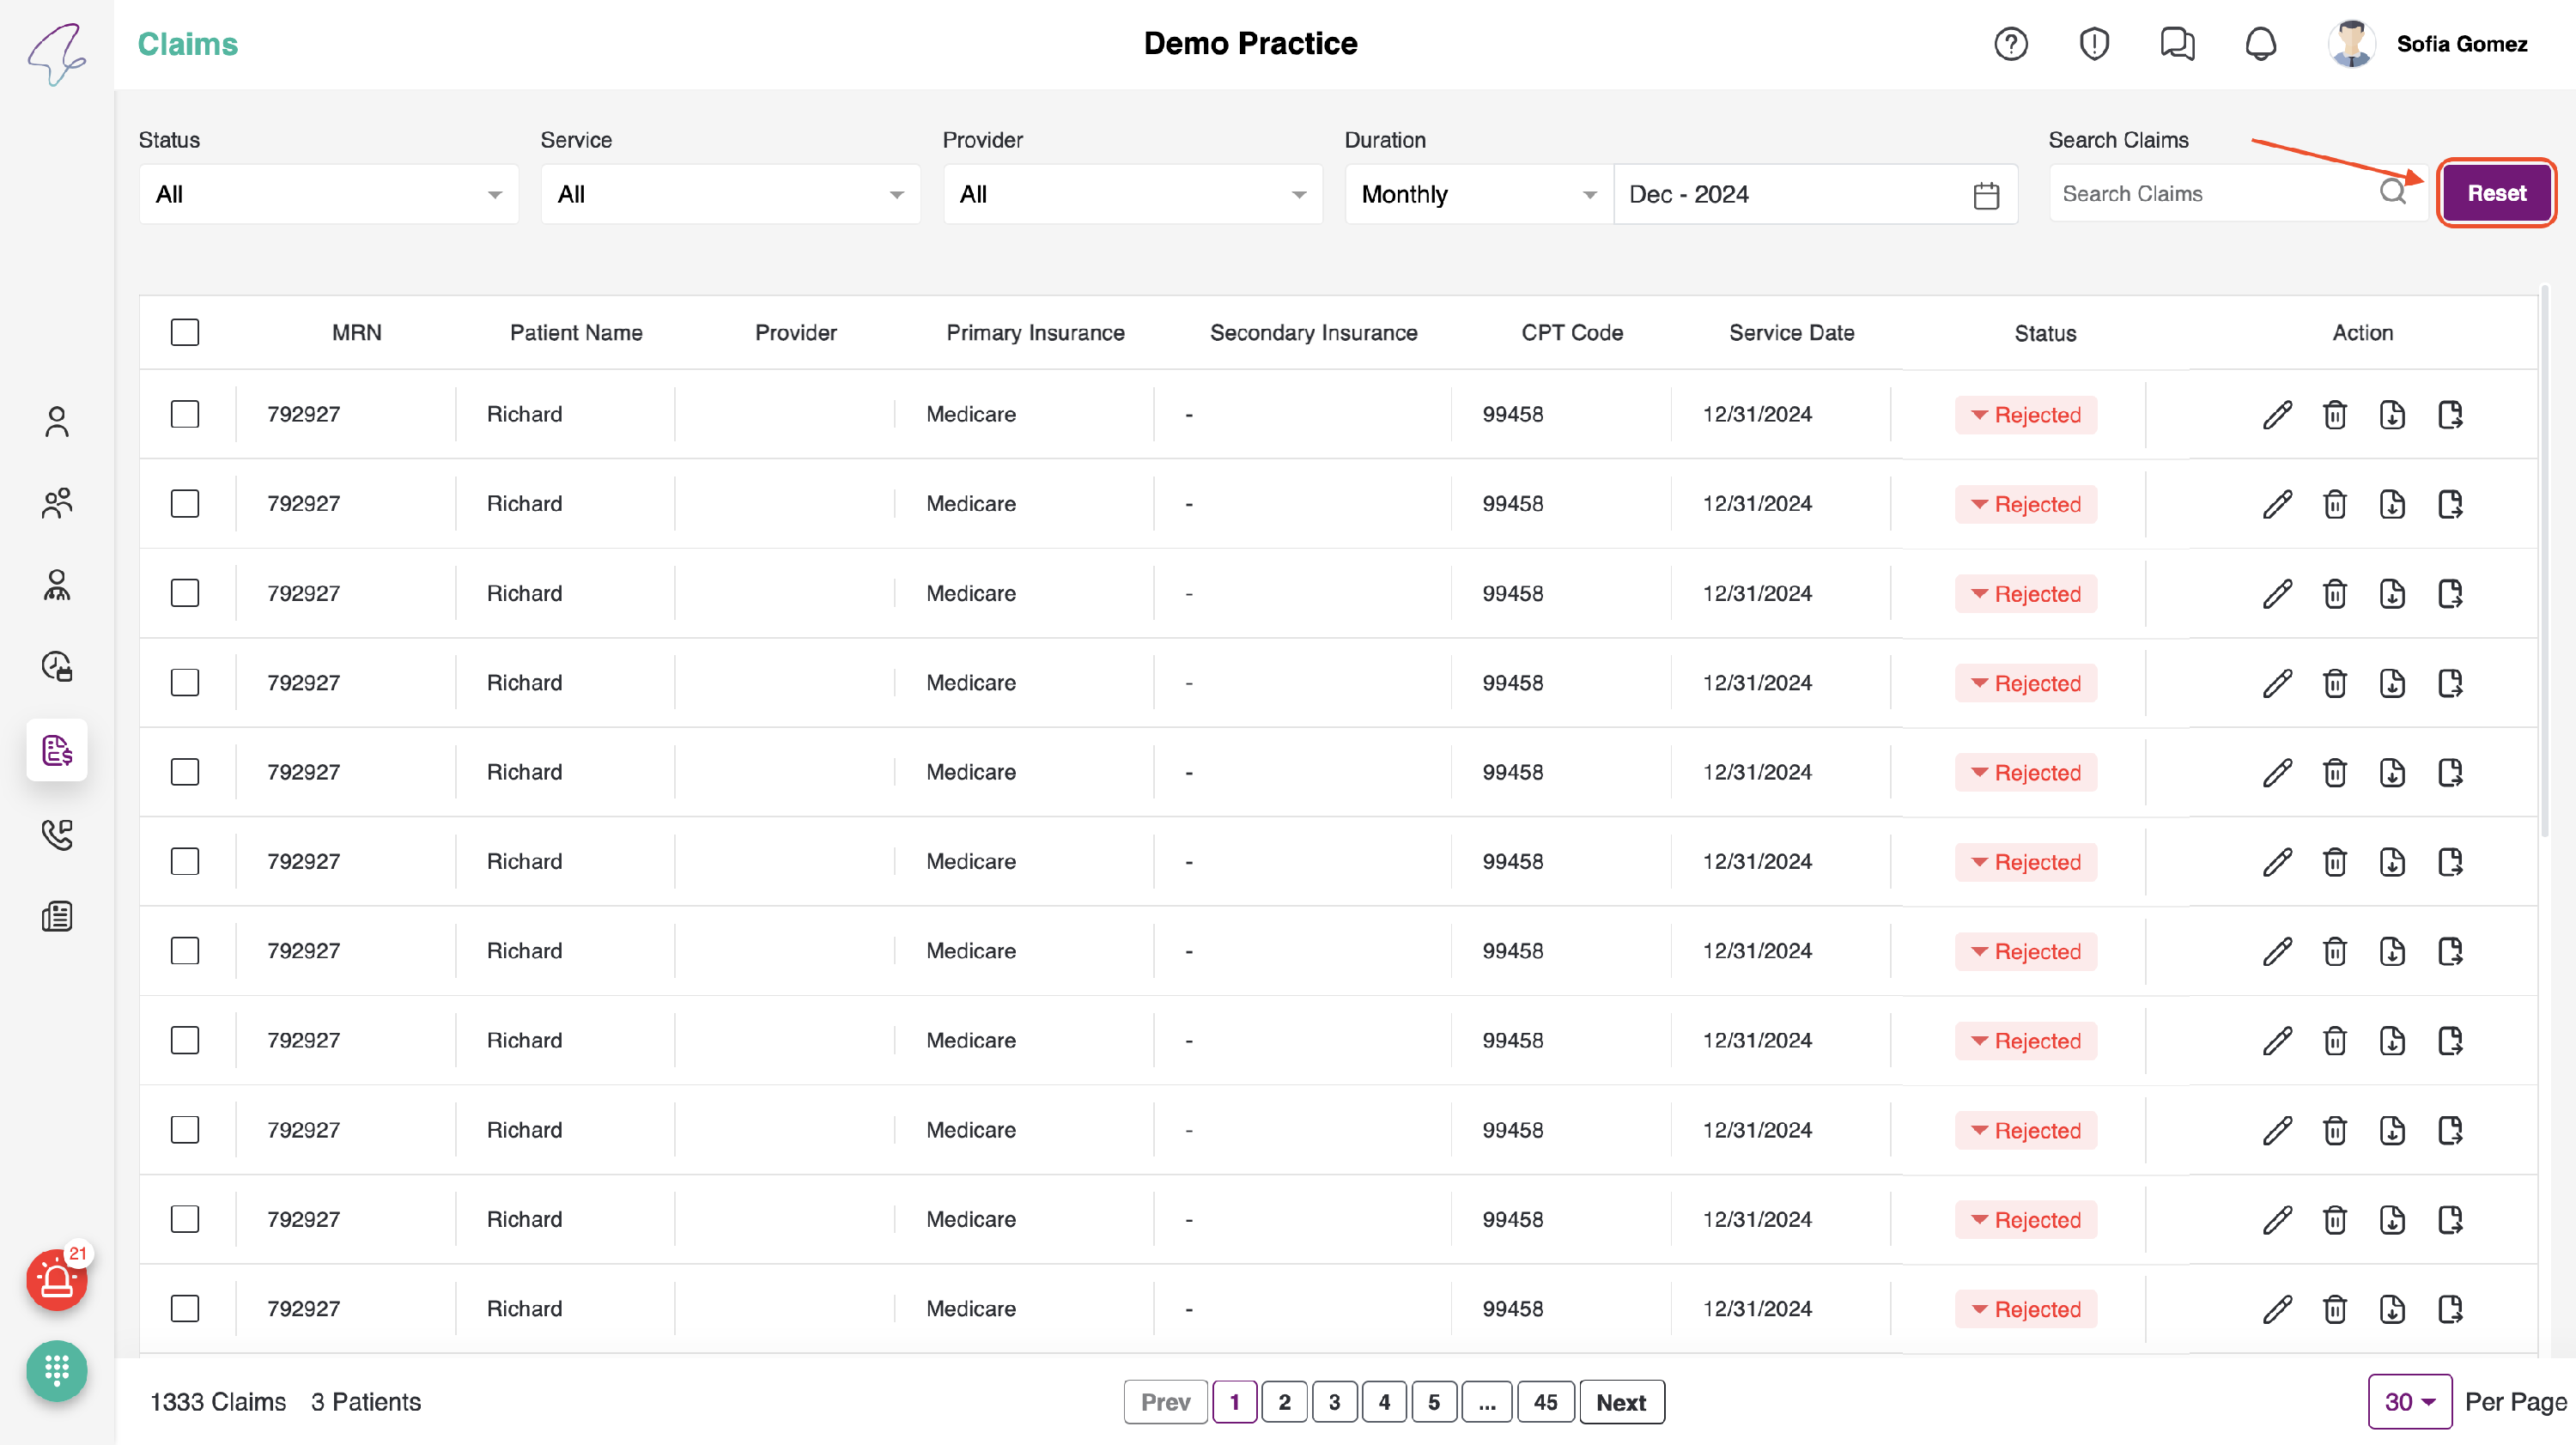
The filters can be reset to their default state by clicking on the reset button located on the top right side.


Approve Time:
- The calls logs that are being submitted are saved in the Billing Portal. When the Admin logs in he can view the following screen.
- By default, we have All Programs and All Providers selected. You can change it based on your preferences.
- On the dashboard, count for Patients enrolled, Patients billed, Bills accepted, Bills pending will be displayed.
-
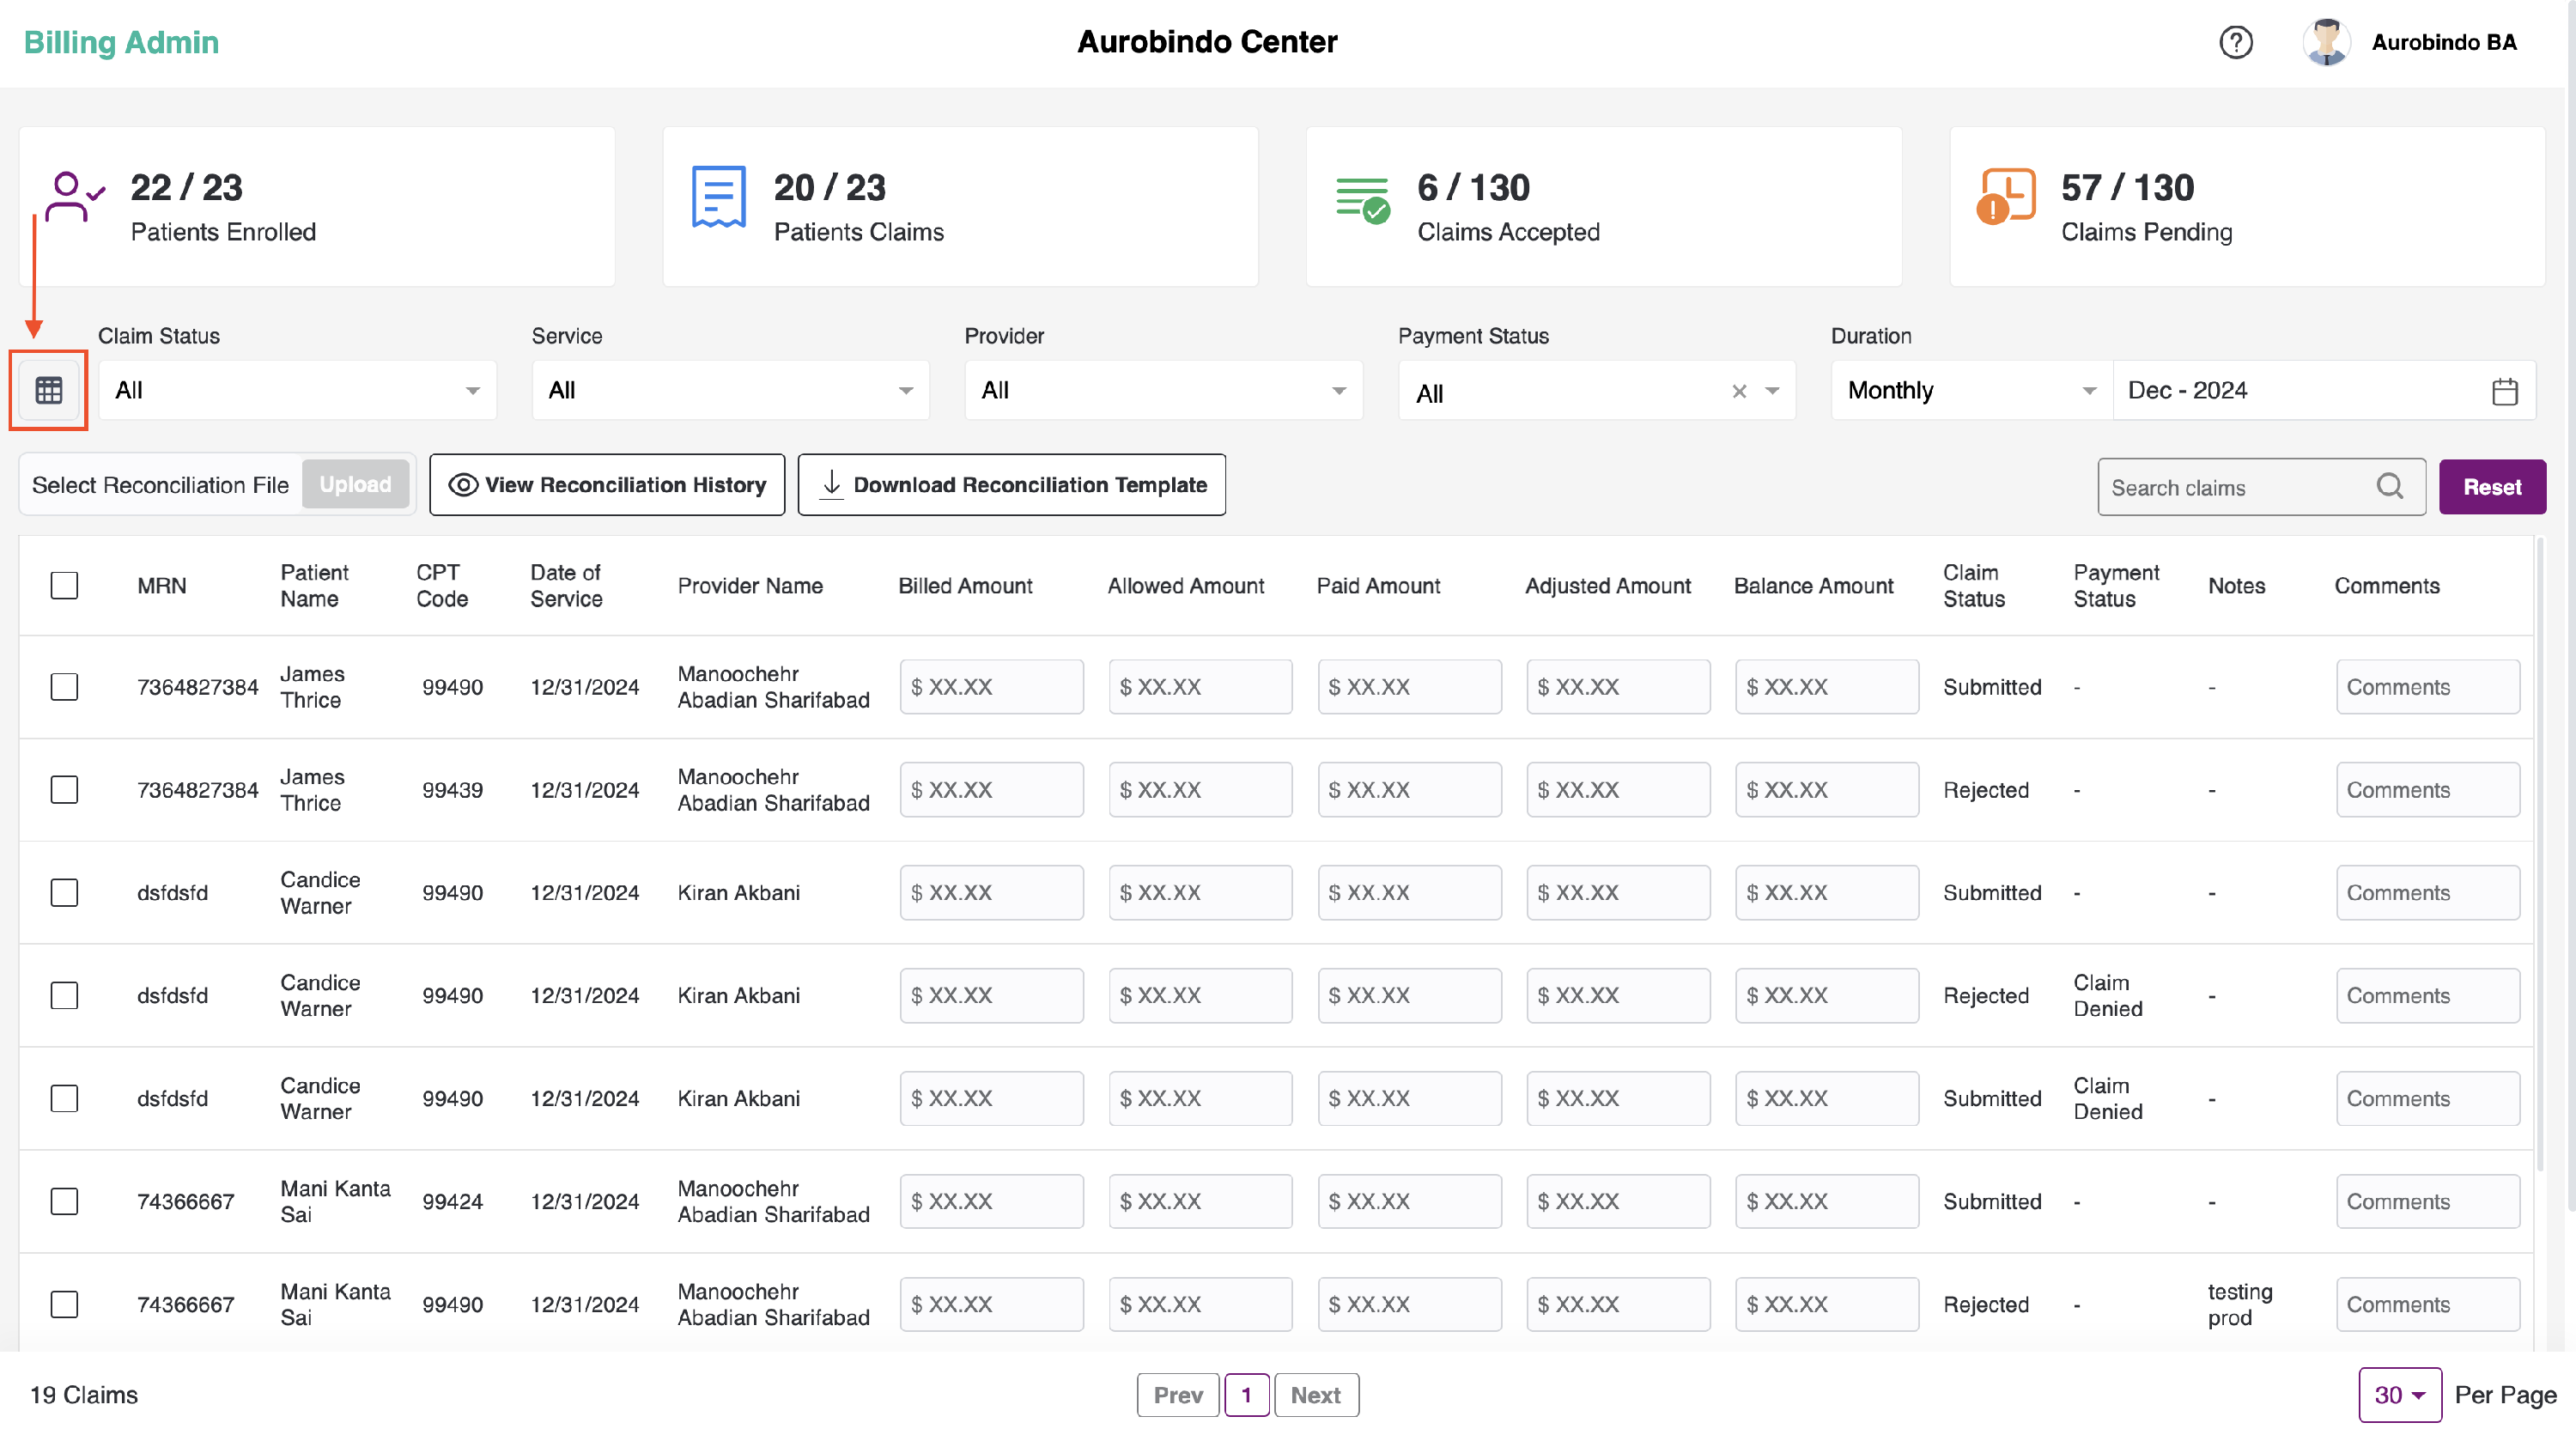
On the left-hand side, there is a table icon. Upon clicking on it, a pop-up will appear where you can select the required table columns, as shown below.

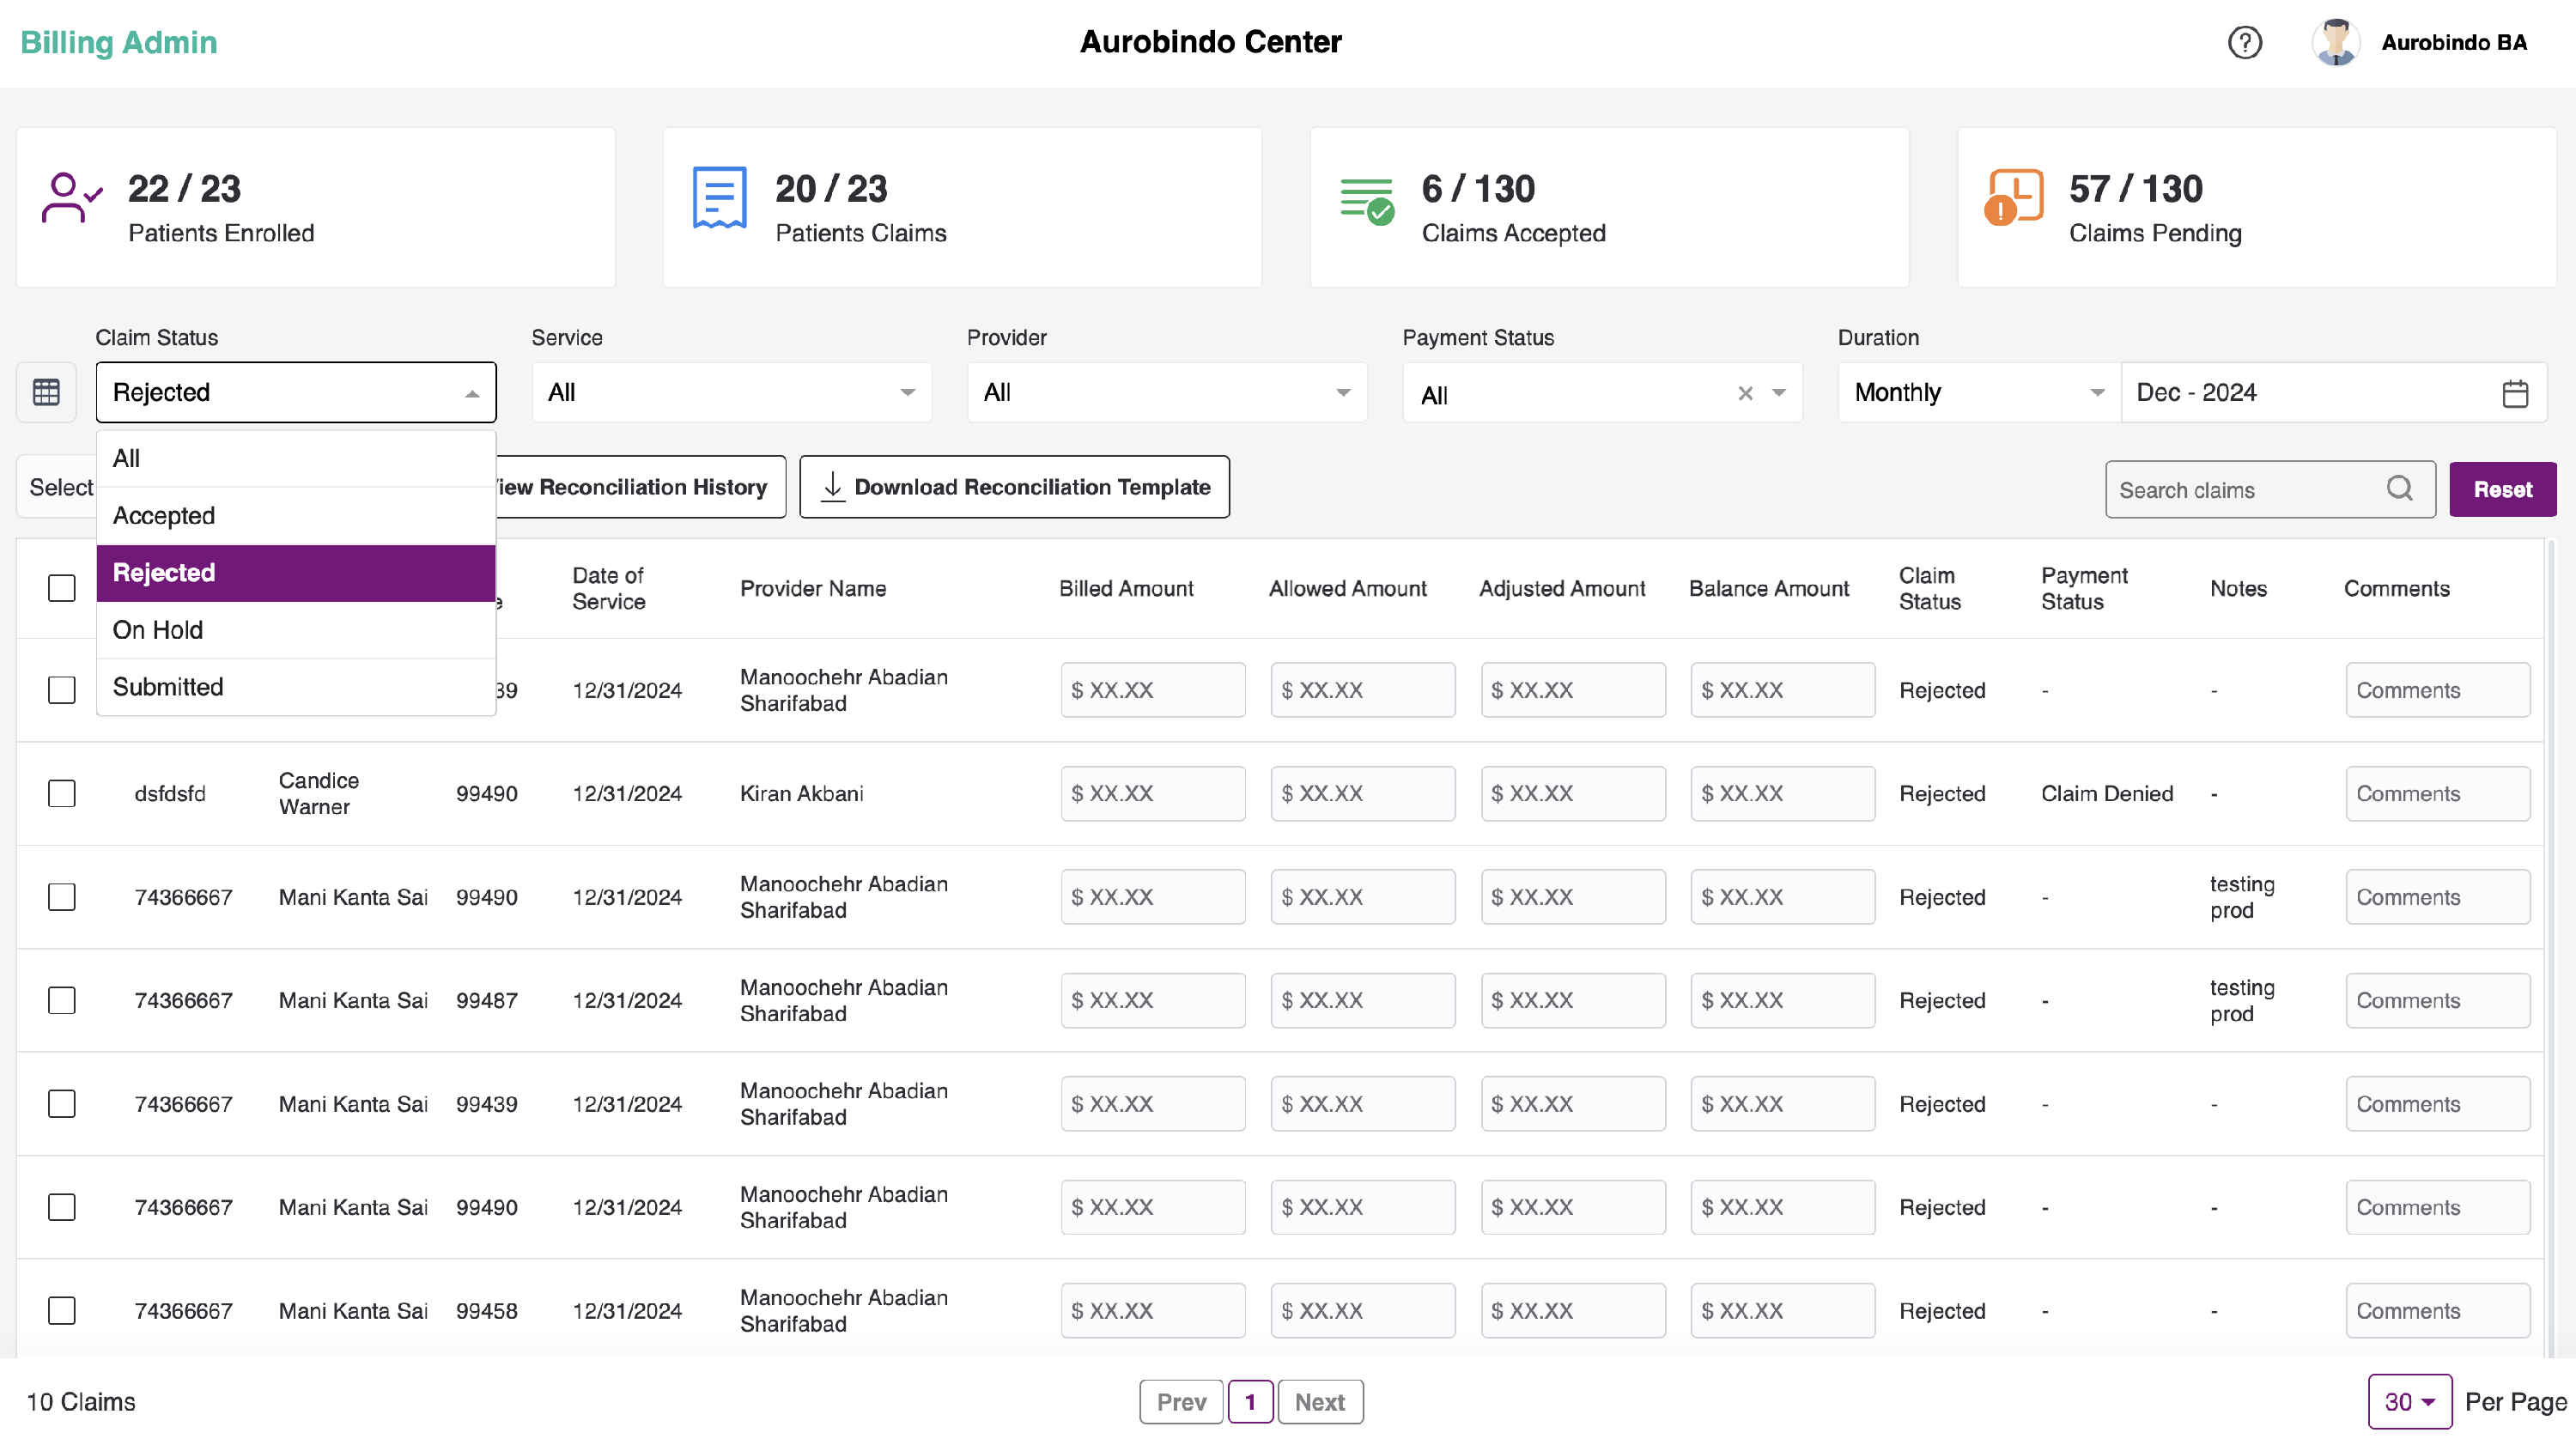
- There are 5 filters - Status, Program, and Provider, Duration and Search Bills, using which we can search the bills to review.
- User can filter the submitted billing list based on the Status of the bill in 4 categories.


- Submitted Bills
- Bills on Hold
- Accepted bills
- Rejected bills
- Patients which are qualified by rules engine for the set of rules mentioned for respective CPT code, will be ready to Bill and patients which do not qualify the set of rules mentioned are rejected by rules engine.
- User can filter the submitted billing list based on the type of billing or product (All/RPM/CCM/RTM/TCM/PMPM)
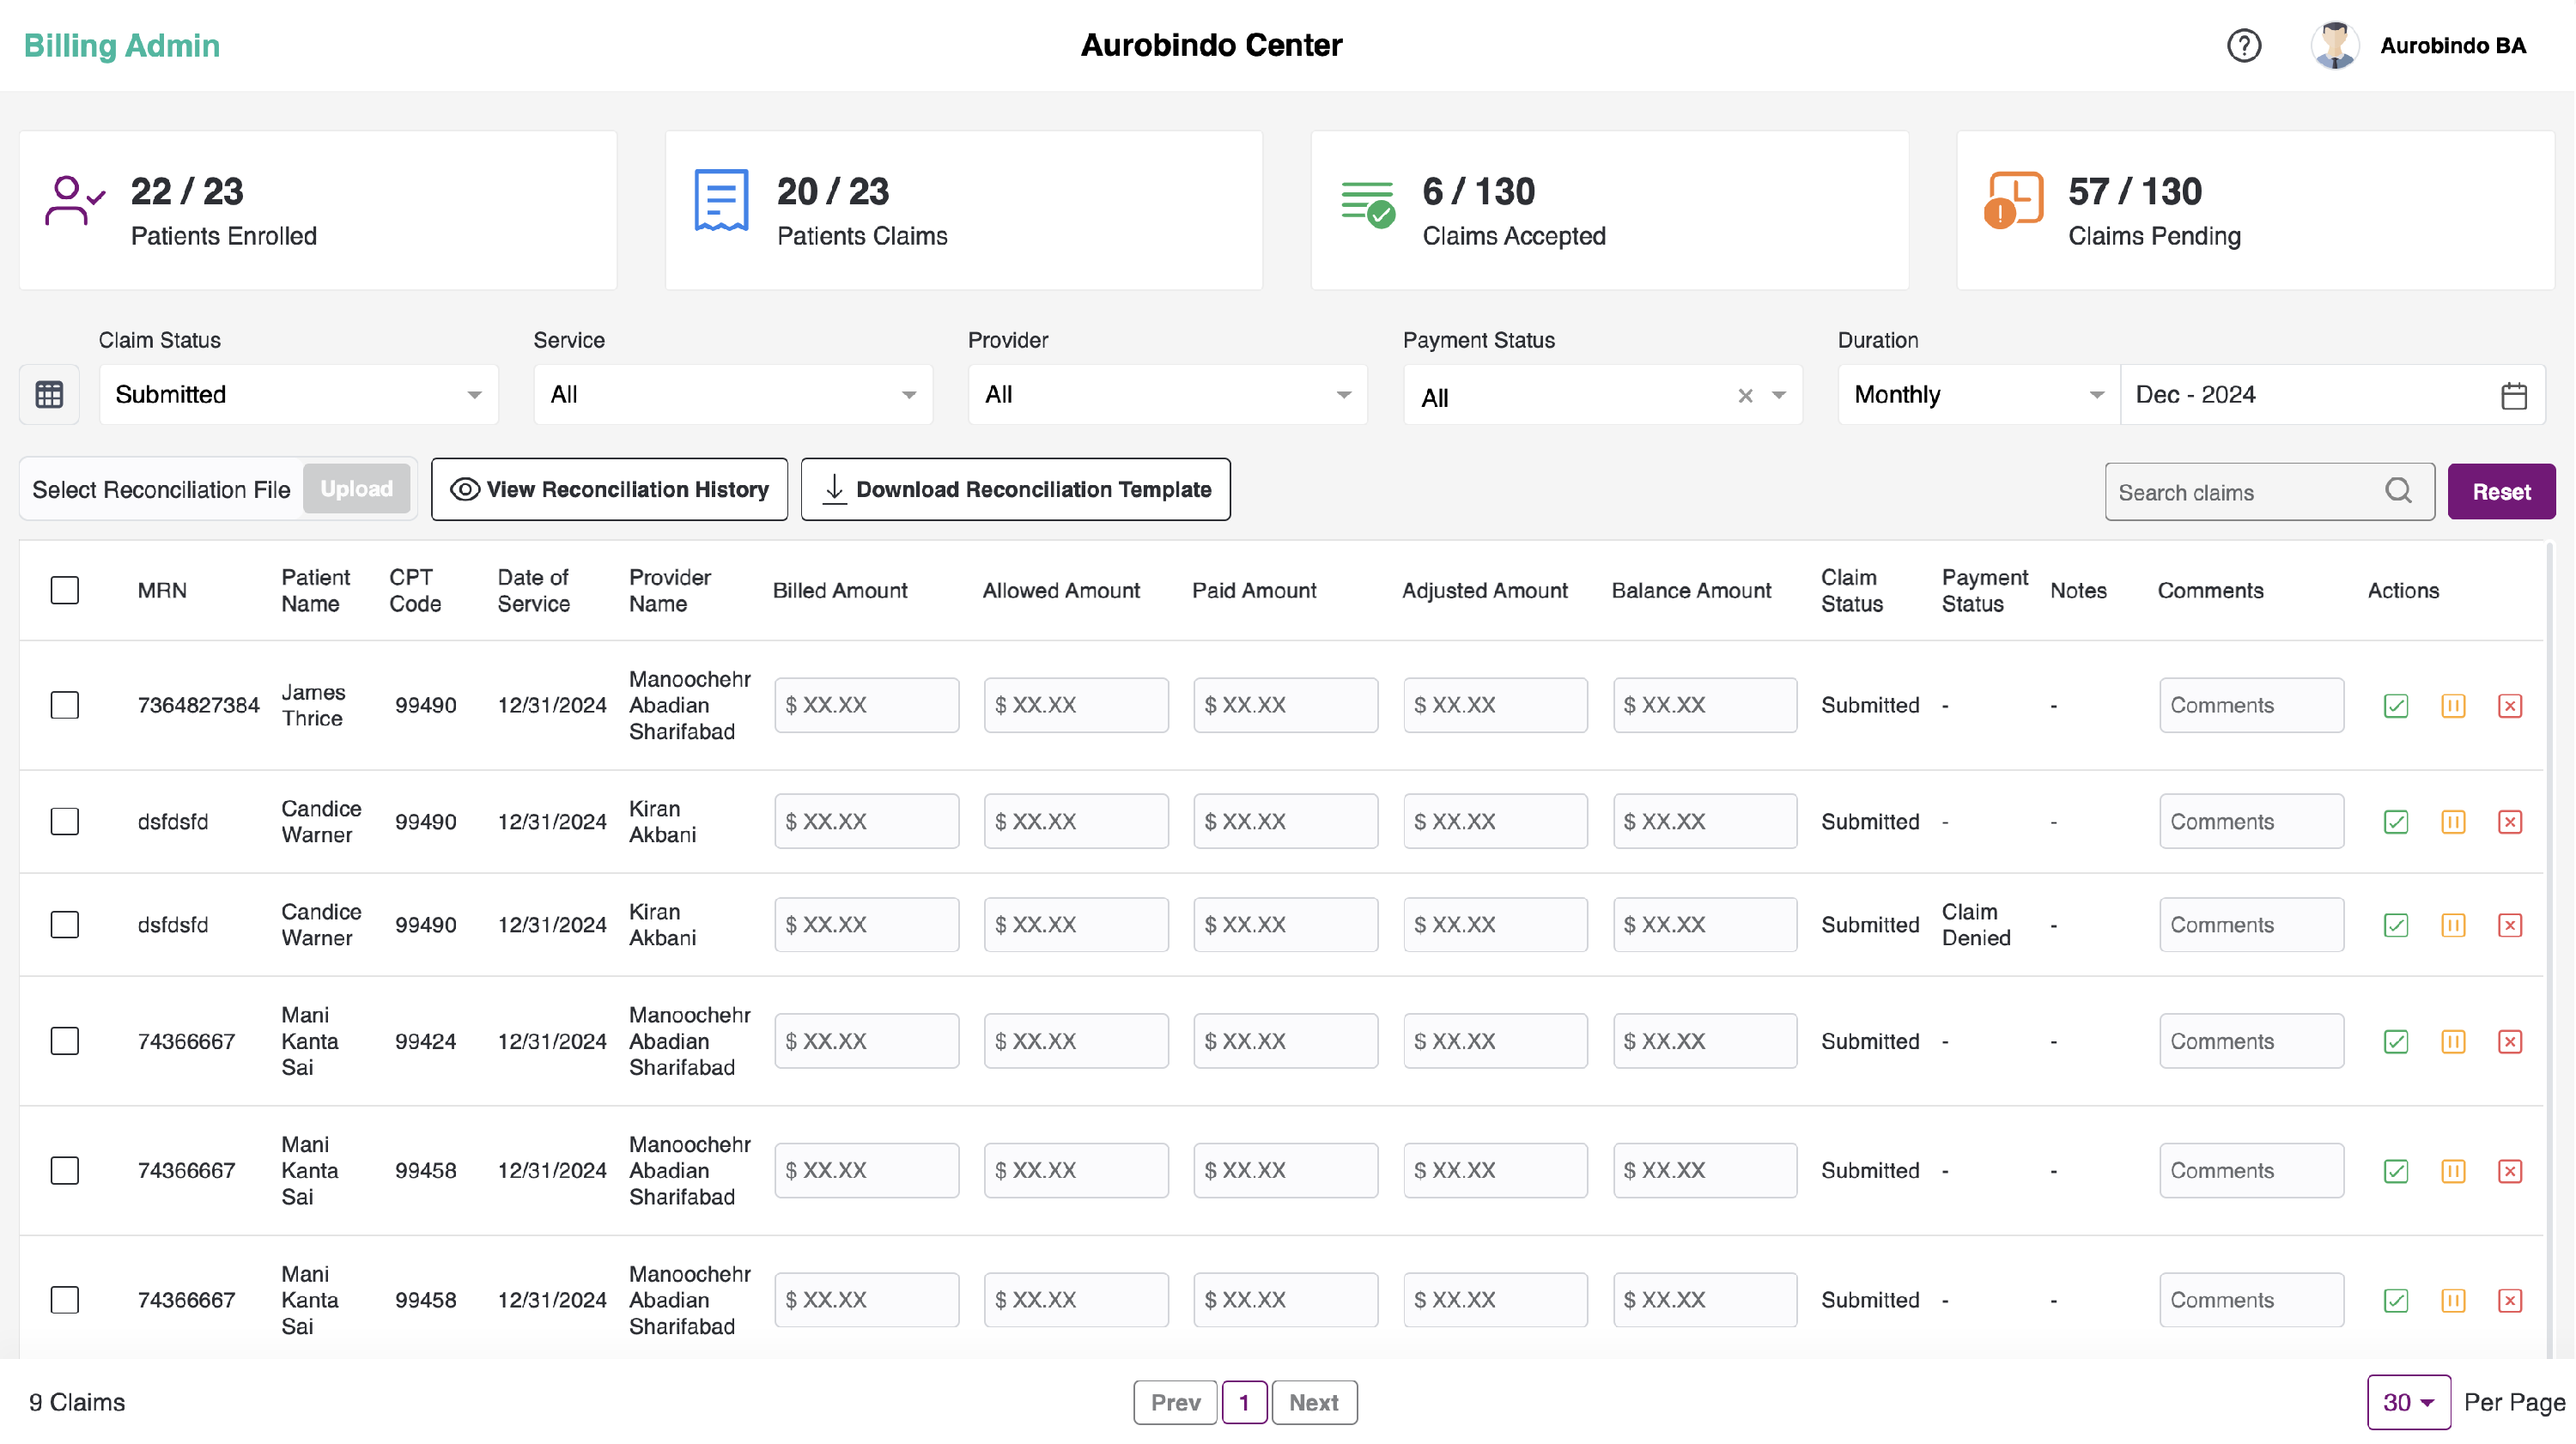
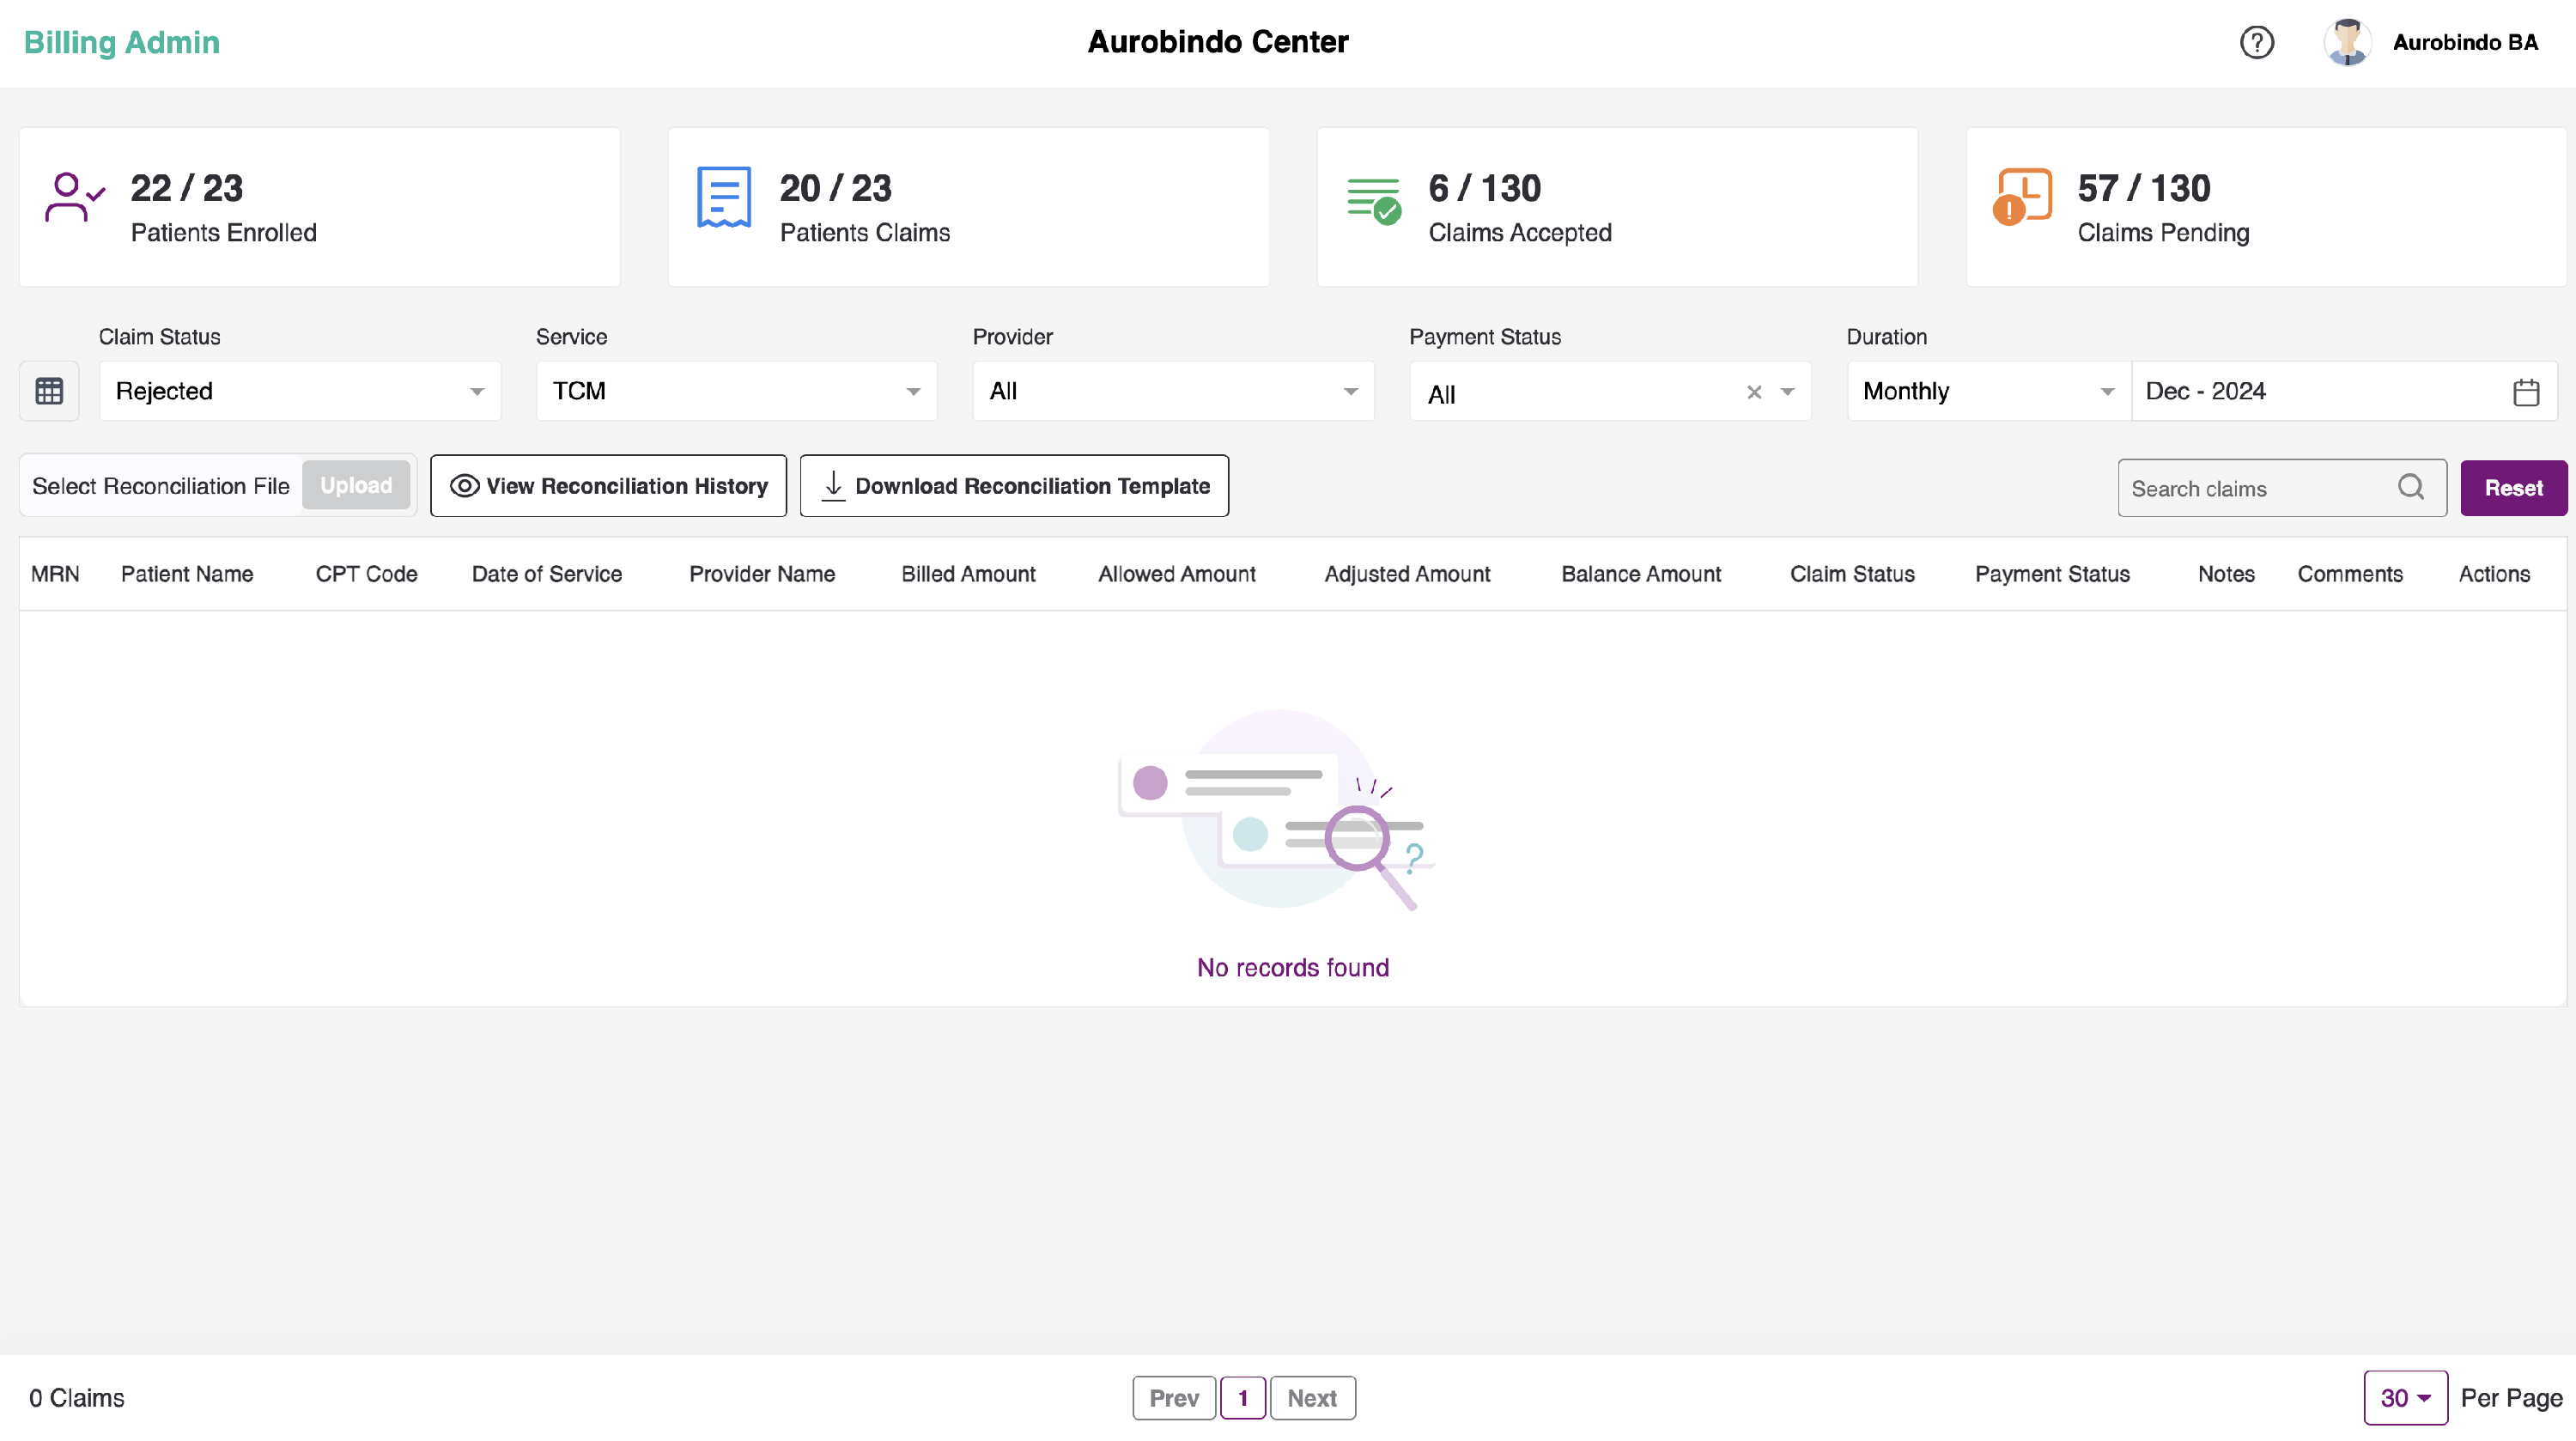
- Click on the Status filter and select Submitted Bill option and Program filter and select CCM . The following screen can be seen.
- User can filter the submitted billing list based on the selected duration of Date from and Date to. We can view the bills based on the Duration type - Monthly or Quarterly, by default, we have Monthly selected.
- User can filter the submitted billing list based on the provider name for the specific center.
- Search field will be available to search the required data on the dashboard.
- Below the filters, we can see the table with following headers:
- Checkbox - To select all the records
- Patient EMR ID
- Patient Name
- Date of Service ( Date on which the service was provided)
- CPT Type (RPM/CCM/TCM/Others CPT code and Topic)
- Note (Meeting Notes while scheduling)
- Provider Name
- Bill details (Bill ID and Month Date, Year on which billing was submitted )
- Actions (Approve /On Hold /Reject)
- All the submitted bills in the list, in the checkbox form, user can select the bulk actions to mark the selected bills as Approved or Rejected. And also can download the bills by clicking on the Download option.
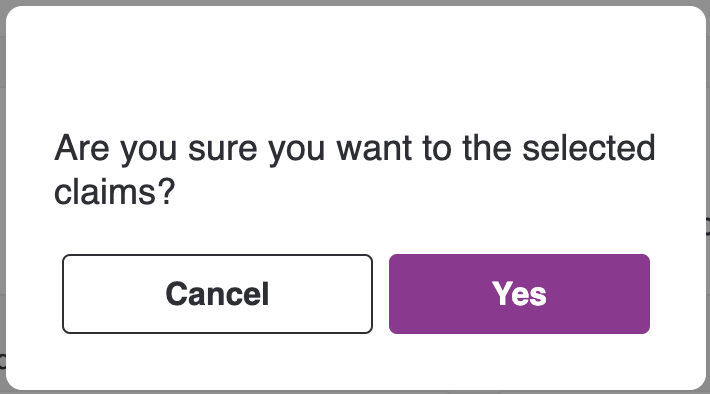
- Click on the checkbox and click on the Accept selected bills at the right, to submit the bills. You will view a pop-up to confirm if you want to accept the bill or not. Click on Yes to accept the bill.

-
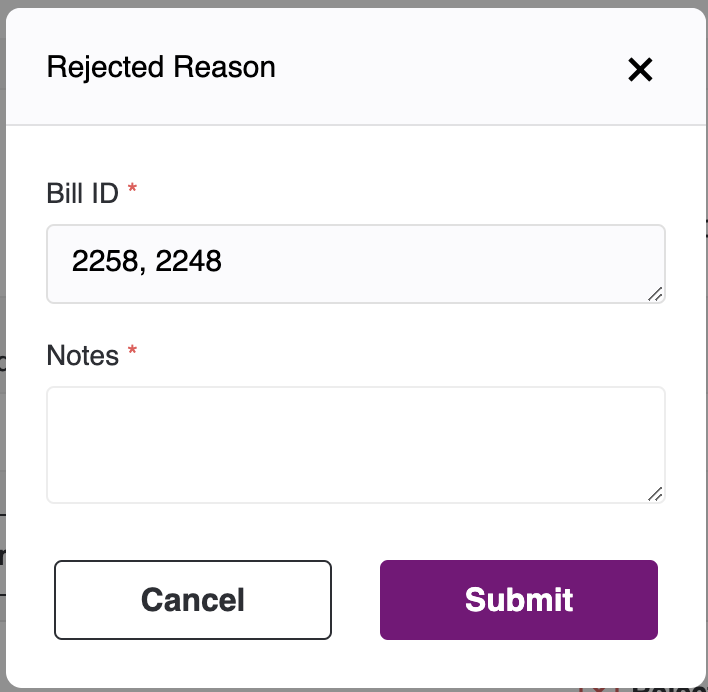
We can also reject bulk bills by selecting the records and clicking on the "Reject selected claims" button, which will be visible in the headers once you select the bills. Upon clicking the button, a pop-up will appear where you have to enter the reason for rejecting the bills and click submit. The bills will then be seen under rejected bills.
- You can perform actions - Approve, On Hold and Reject for individual calls. After the call log is being Approved/ is On Hold / Rejected. Those call logs will be categorised into Accepted/Rejected/On Hold respectively.

- If there are no calls logs, you will see an empty state showing No records found.
- After the bills are accepted, we can view them by selecting the Status as Accepted.
- Here, to download the Bill report, check the box for an individual record or check the box in the header to download report for all the reports.
- We can download the report w.r.t any Status - All, Ready to bill, Submitted, On-Hold, Rejected and Approved.
- You can view download option at the right, click on the download to download the report. You can view it in your downloads.
-
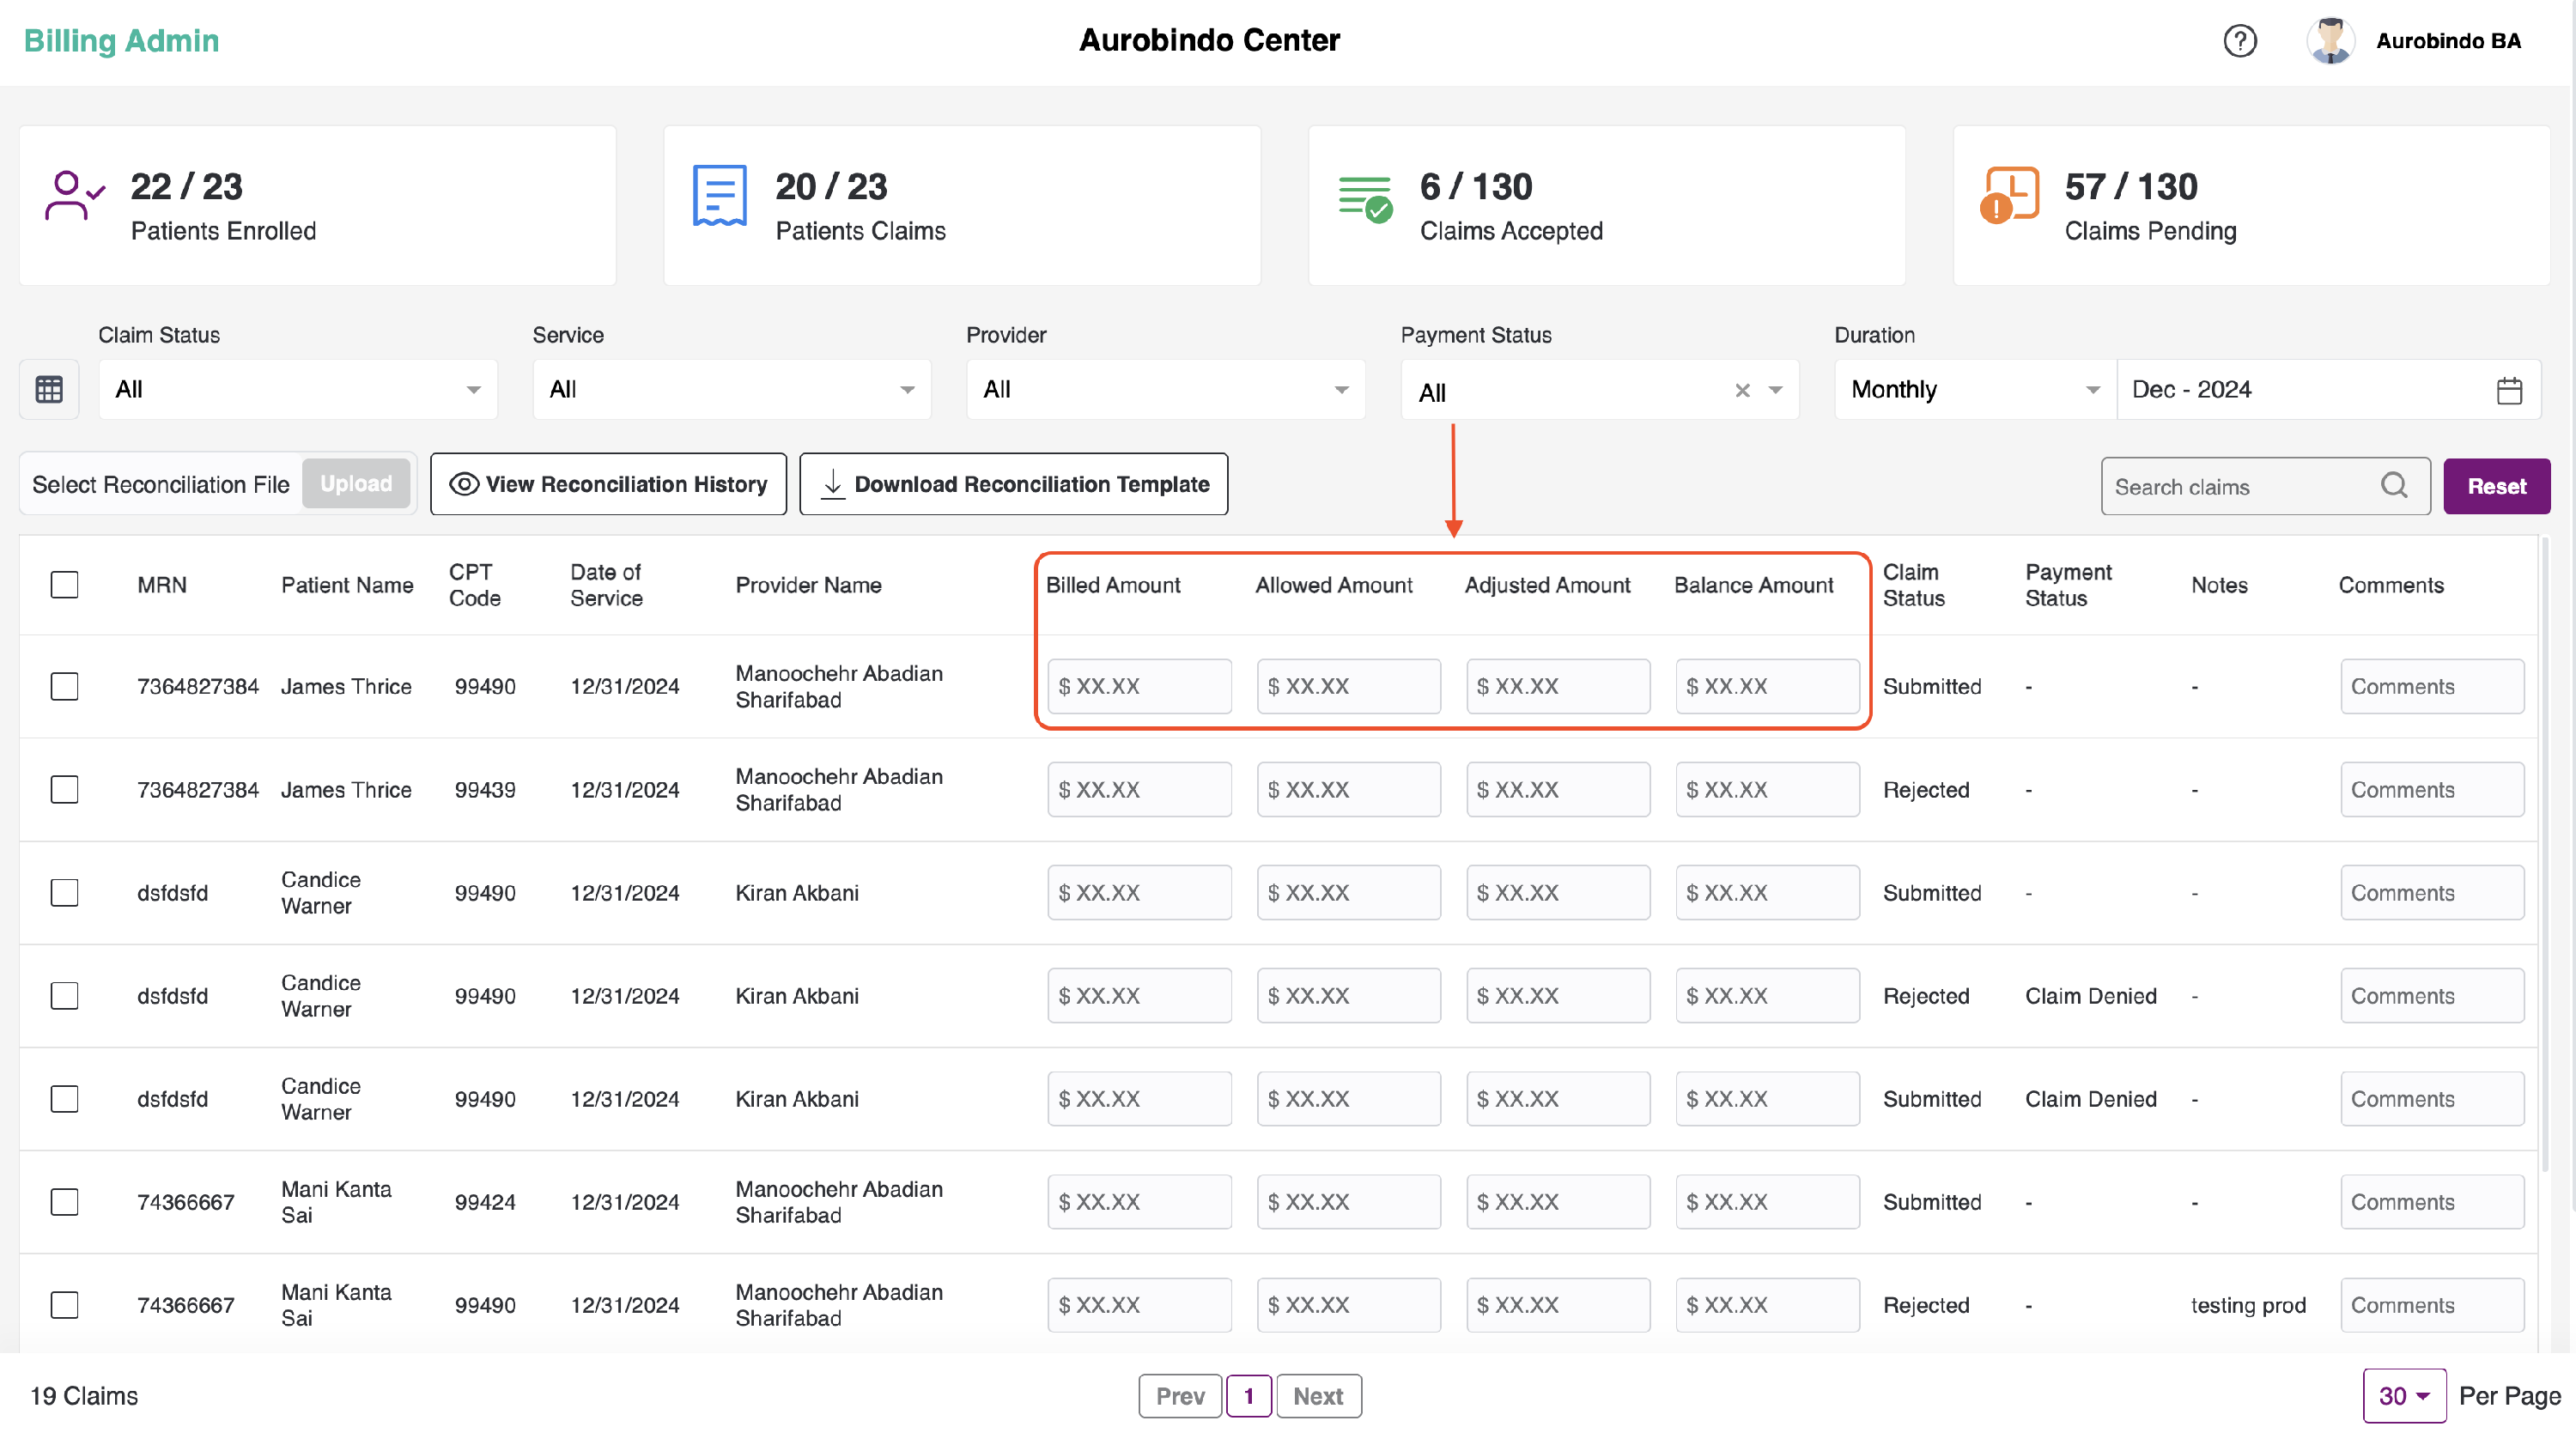
We can also add the Billed Amount, Allowed Amount, Adjusted Amount, Balance Amount for each bill in the input field where you can enter the amount and click outside the field. It will be saved, but it is only for reference and will not be referenced anywhere else.
-
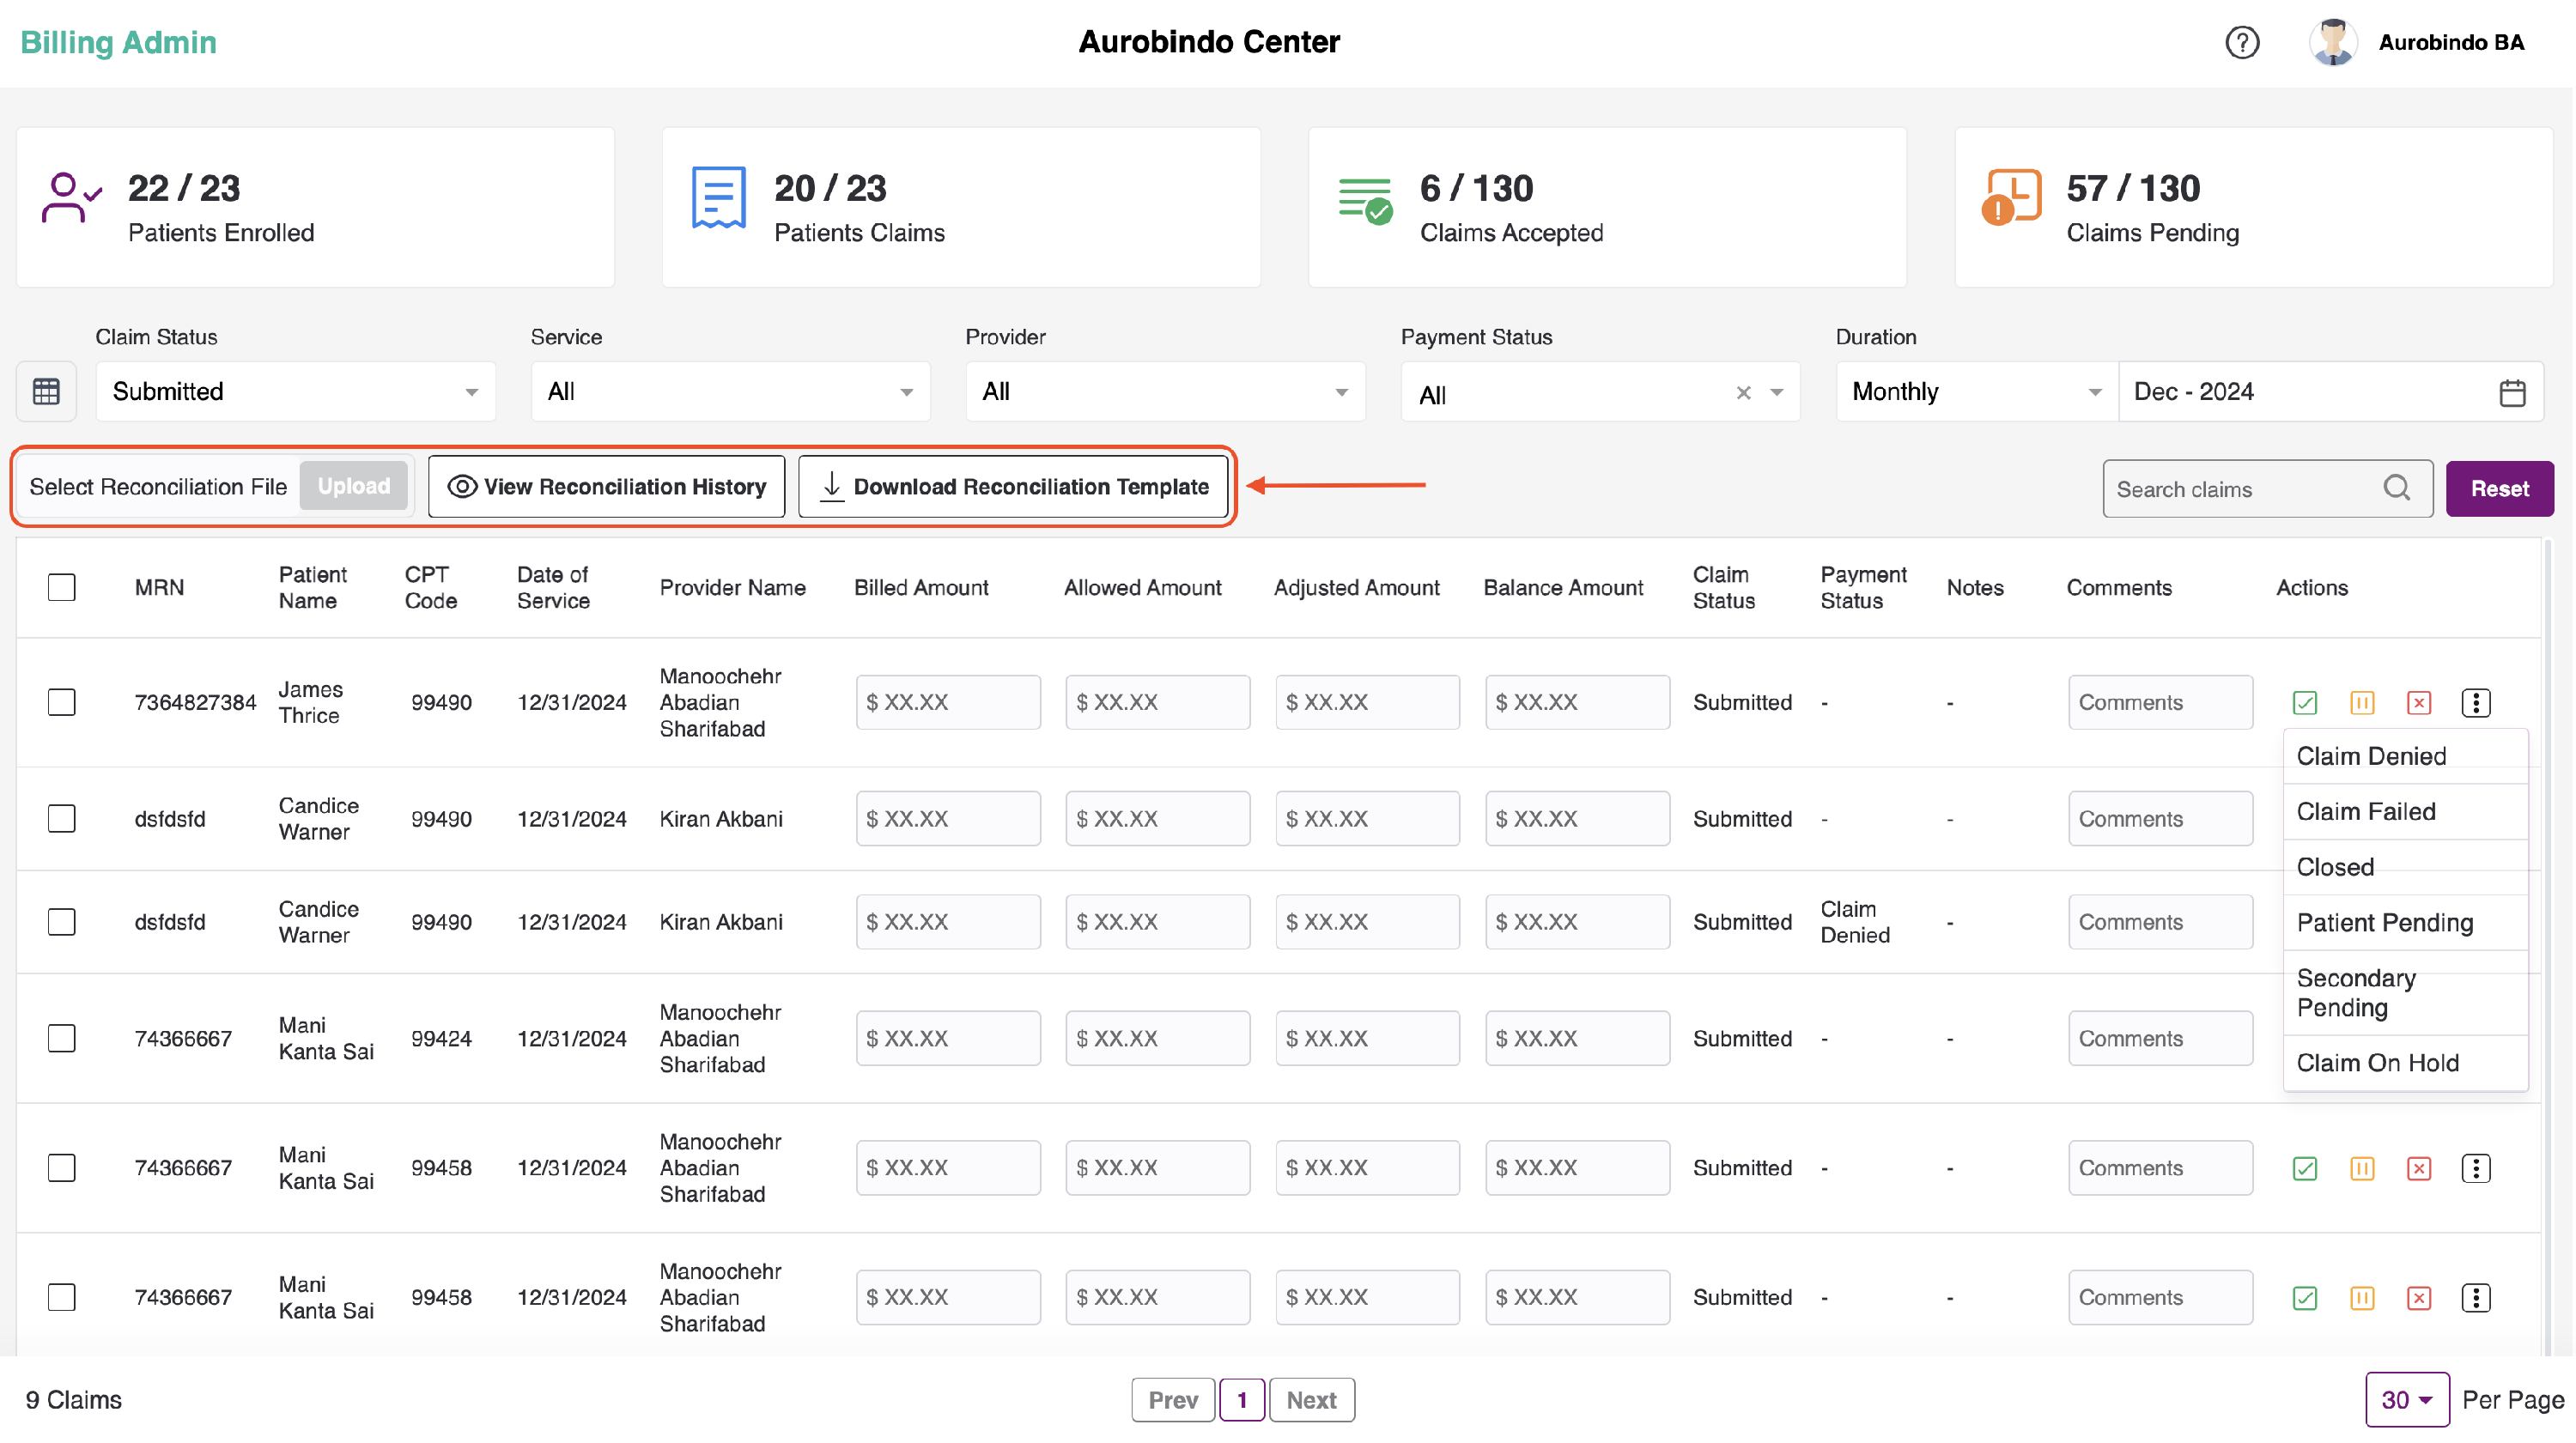
We also have the options of Claim Denied, Claim Failed, Closed, Patient Pending, Secondary Pending, and Claims On Hold to change the payment status of each claim. To access these options, select the submitted claim status and click on the more icon as shown in the below image.

-
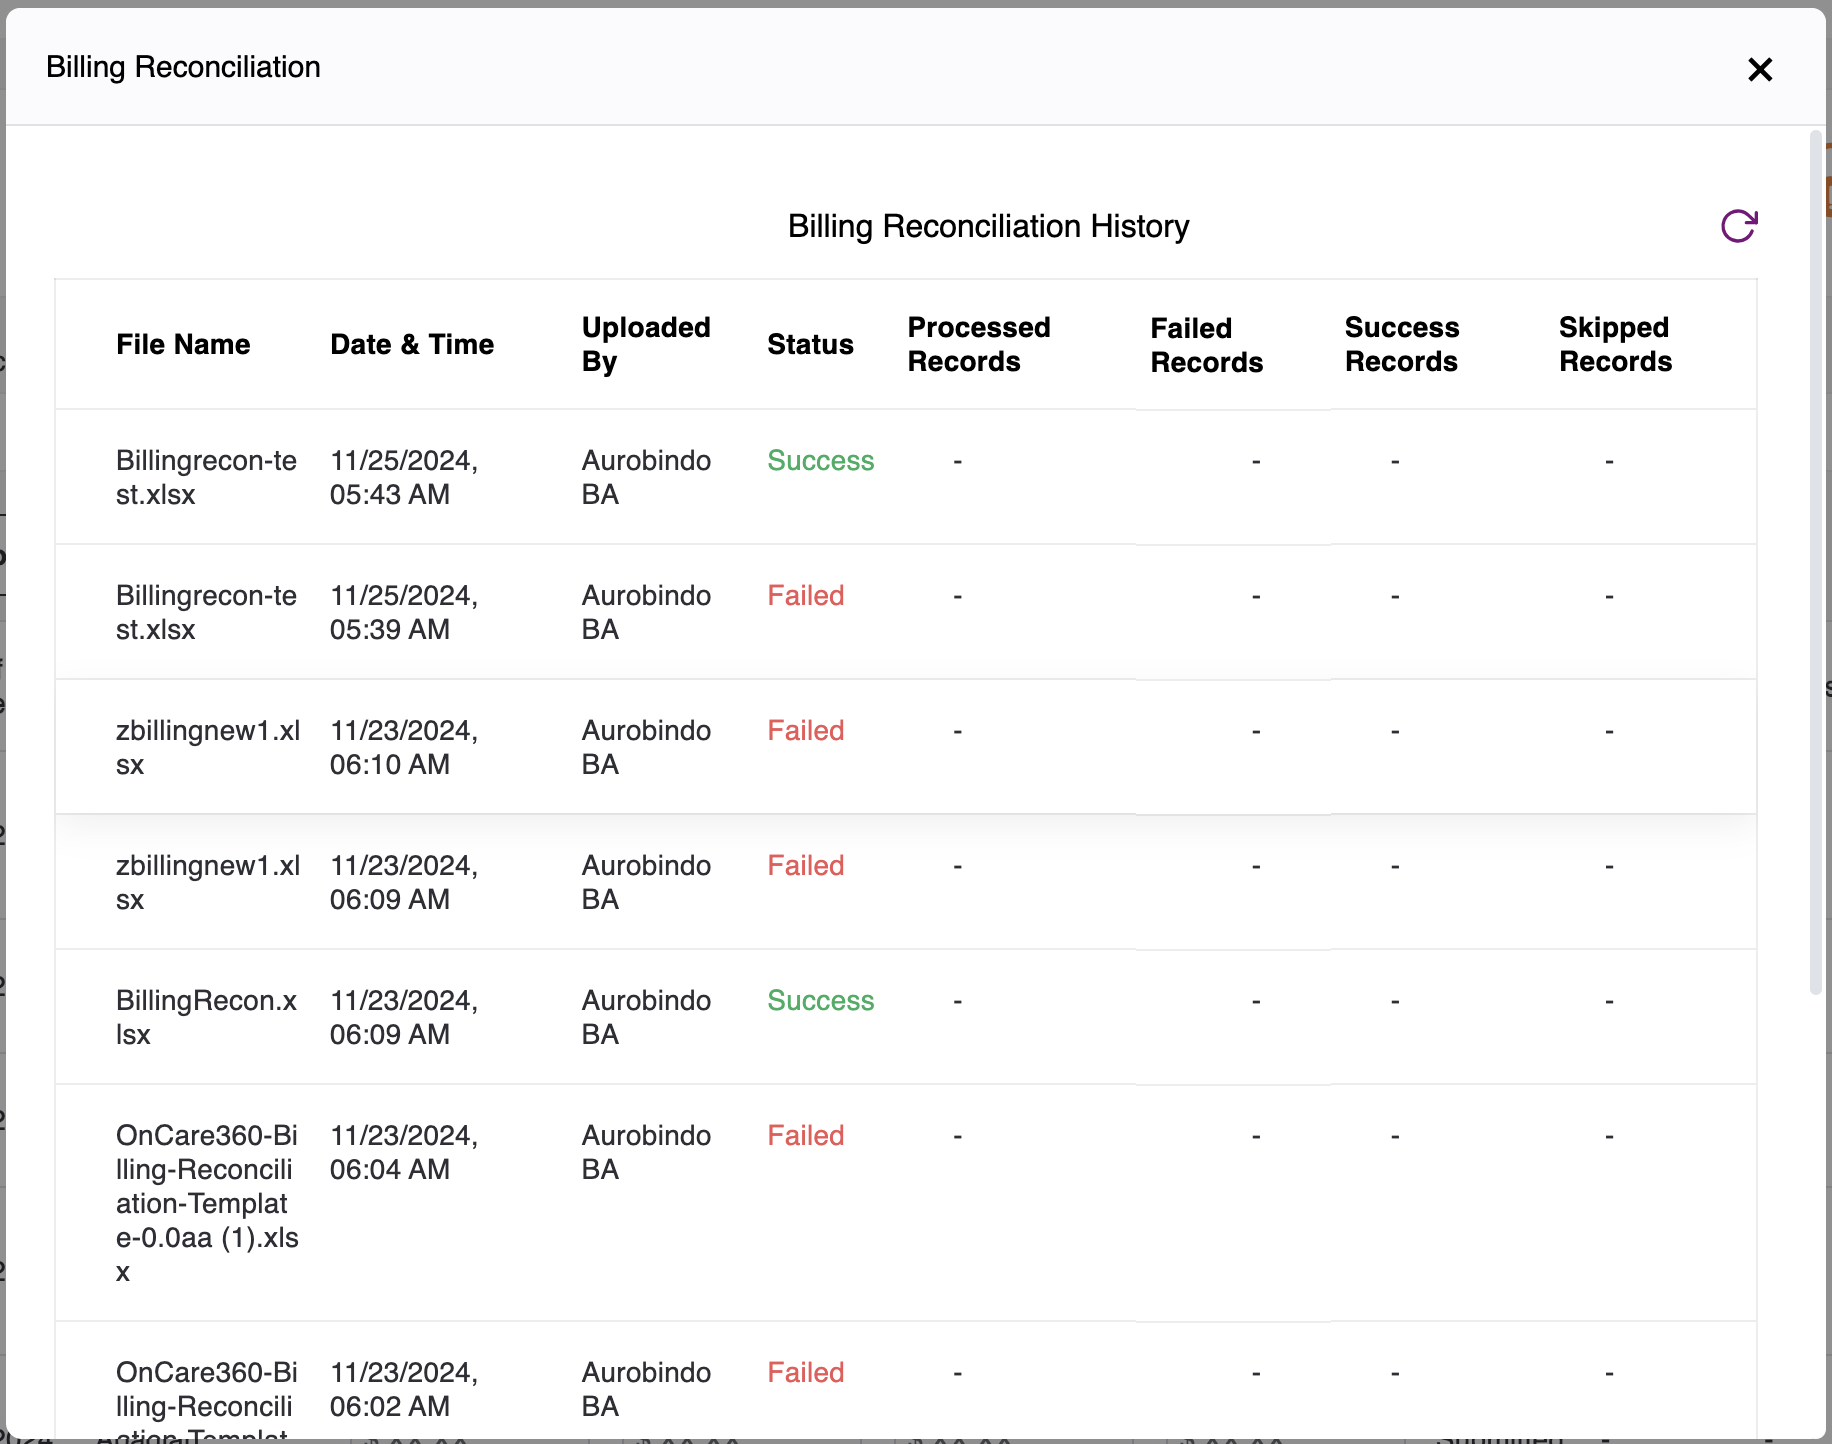
We also have the option to upload the billing reconciliation file. You can upload an Excel file with the claims data of each patient and check the history of the uploaded file. Additionally, you can download a sample file or sample reconciliation template by clicking on the "Download Reconciliation Template" button.


Note:
- Patients enrolled – the count of patients who have given the consent for subscriptions available for a center/ total number of patients of a specific center.
- Patients billed – the count of patients for whom the bills are submitted / the total number of patients enrolled.
- Bills accepted – count of bills approved / count of total bills(accepted+ rejected+ on hold+ submitted)
- Bills pending - count of bills in ready to bill state/ count of total bills(accepted+ rejected+ on hold+ submitted)